
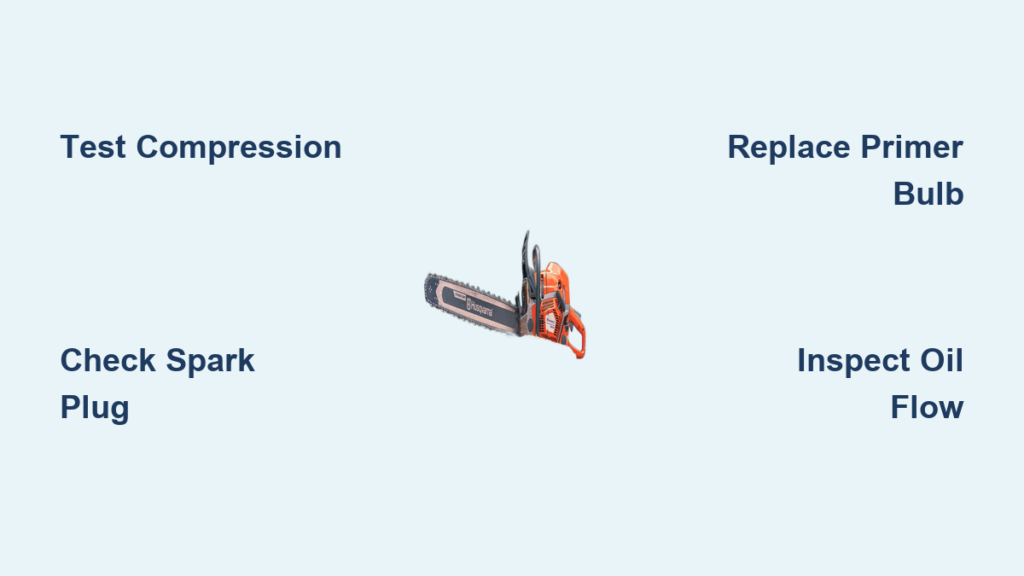
If your Husqvarna chainsaw won’t start, stalls under load, or the chain is overheating, you are not alone. Many of these issues stem from simple, repairable causes that you can fix in under an hour with basic tools. Whether you own a 455 Rancher, 450, or 120 model, the diagnostic sequence stays the same: compression, then spark, then fuel, then oil. This guide walks you through each step so you can restore your saw to full function without calling a professional.
Confirm Engine Compression First

Before diving into carburetors or fuel lines, rule out mechanical engine damage by testing compression. Low pressure means worn rings, piston scoring, or valve issues, but most Husqvarna models come back strong when these components are sound.
Test with a Compression Gauge
Remove the spark plug and screw in a compression gauge. Pull the starter rope five to six times with the throttle held open. Healthy readings are around 123 psi for the 455 Rancher and 127 psi for the 450 model. The 120 model should fall within normal range as well.
What Low Compression Means
If your reading drops below 90 psi, check for a blown head gasket. Inspect piston rings for breakage or carbon lock. Look for scored cylinder walls, which appear as visible grooves in the cylinder. Low compression often means a top-end rebuild is needed, but most no-start cases actually have solid compression, so do not jump to worst-case scenarios.
Verify Spark with a Fresh Plug
Even if the old plug looks okay, start with a new spark plug. Old or fouled plugs misfire, especially when fuel-starved. This simple step eliminates one major variable from your diagnosis.
Use the Right Plug
Champion RCJ7Y or NGK BPMR7A fit most Husqvarna models. Check the gap using a feeler gauge. The correct gap is 0.5 mm or 0.02 inches.
Test for Spark Safely
Reinstall the new plug but leave it connected to the wire. Ground the plug tip against the cylinder head. Pull the starter rope and look for a bright blue spark. Spark present means your ignition system works, so focus on fuel. No spark means you need to check the ignition coil wiring, the on/off switch continuity, and the flywheel key alignment. A sheared key kills timing completely.
Inspect the Old Plug
A dry, clean plug means no fuel is reaching the combustion chamber, pointing to fuel system failure. A wet plug indicates a flooded engine or leaking carburetor. Black or fouled plugs mean a rich fuel mixture or old gasoline. White or blistered plugs indicate a lean condition or overheating.
Fix Primer Bulb and Fuel Delivery

No fuel reaching the carburetor? Most often, it is the primer bulb, a small part that kills startup if cracked or air-leaking. This is one of the most common failure points in Husqvarna chainsaw repair.
Replace a Cracked Primer Bulb
The symptom is a bulb that feels soft, will not inflate, or shows visible cracks. The fix is installing an Oregon 49880 primer pump kit, which is a direct OEM replacement. Remove the old bulb and clean the housing thoroughly. Press in the new bulb with the rubber grommet seated flush. Reconnect fuel lines securely. Success comes when the bulb firms up after five to six presses and fuel flows to the carburetor.
Check Fuel Line Routing
Wrong hose connections cause air locks and no-start conditions. The long fuel line connects to the carburetor inlet. The short fuel line draws from the bottom of the tank. Swapping them starves the carburetor. Double-check this during reassembly every time.
Inspect the Carburetor Mount
After replacing the primer, ensure the carburetor is properly reinstalled. Two longer screws go at the bottom. Shorter screws go on top. Tighten in a crisscross pattern to avoid warping gaskets. Use moderate torque because over-tightening strips plastic housings.
Diagnose Oiling System Failures
Overheating bar or stiff, discolored chain? Your oiler is out, and it is a silent killer. Running without oil ruins bars and chains in minutes.
Check Oil Flow Visually
Fill the oil tank. Run the saw over white cardboard for 15 to 30 seconds. Look for an oil streak. No streak means the oiler is not working.
Inspect Key Oiling Components
The oil pump driver is accessed by removing the clutch drum and turning the pump driver counterclockwise off the crankshaft. Ensure it engages the sprocket and spins freely. The oil strainer, located in the tank, is only accessible when the pump is removed. Clean or replace it if clogged with debris. The breather filter, which is gold-colored and located in the pump housing, must be clear and dry. A blocked breather causes vacuum lock and stops oil flow.
Replace the Oiler Assembly
If cleaning does not restore flow, install a new Husqvarna oil pump kit. Align the oil hole on the bar with the pump outlet during reassembly. Recheck flow on paper afterward.
Adjust Idle and Chain Tension
Once running, fine-tune for safety and performance. Improper settings lead to stalling, poor performance, or unsafe chain motion.
Set Low Idle Correctly
Adjust until the engine runs steady but the chain stays still. Use a tachometer if possible. Idle typically falls between 2,500 and 3,000 RPM. Too high causes the chain to creep, which is dangerous. Too low causes the engine to stall.
Calibrate High Idle
Measure RPM under load using a tachometer. A tested unit hit 5,260 RPM. Adjust within spec using the high-speed screw, usually labeled H on the carburetor. Never exceed manufacturer max RPM, which is usually 13,000 to 14,000. Sound is not reliable, so use a digital tachometer for accuracy.
Tension the Chain Properly
Loosen the side nuts. Turn the adjuster clockwise until the bar lifts slightly. The chain should rotate freely by hand but not sag. Retighten side nuts. Recheck after five minutes of use because thermal expansion affects tension.
Reassemble Clutch and Recoil Safely
Improper reassembly leads to vibration, failure, or injury. Follow these steps carefully.
Remove Clutch Drum
Disengage the chain brake. Strike the off shelf with a punch and hammer to break thread lock. Unscrew counterclockwise because standard threads are used. Alternatively, use a Husqvarna impact tool for safer removal.
Inspect Clutch Components
Inspect clutch weights and replace if worn, chipped, or uneven. Springs must provide even tension. Needle bearings should spin smoothly; replace if gritty or pitted. Inspect the sprocket and install a new one if teeth are hooked or cracked.
Overhaul Recoil Starter
Common failures include frayed starter cord, stuck pulley, or weak return spring. Remove the four Torx screws in a crisscross pattern. Wind down the spring carefully because it can snap out. Replace the cord if frayed. Lubricate with high-temp grease. Reassemble with slight cord slack on the drum. Test the pull for smooth return with no binding.
Clean and Inspect Critical Components
Dirt and debris cause hidden failures. Clean thoroughly before reassembly.
Blow Out Debris
Use compressed air on cooling fins, the air intake, carburetor housing, and clutch area. Never wash the clutch or bearings because grease washes out.
Clean the Air Filter
Wash in mild soap and water or专用 cleaner. Air dry completely before reinstalling. Replace if torn or excessively dirty. A clogged filter causes poor performance and hard starts.
Service the Chain Brake
Remove the clutch and activate the brake via the front handguard. Expose the brake band and inspect for cracks, thinning, or glazing. Replace if worn. Release the return spring slowly with a screwdriver. The brake must engage instantly during kickback.
Final Checks Before First Cut
Do not skip the final QA. Safety and performance depend on it.
Verify Oiler Function
Run the saw over cardboard and confirm a visible oil trail. Check the tank level drop after five minutes of use.
Confirm All Fasteners Are Secure
Check the side plate nuts, bar studs, clutch cover, and vibration mounts. Loose parts cause vibration, misalignment, or failure.
Test Safety Systems
The chain brake should engage with the handguard and lock instantly. The safety throttle must require the top lock to be pressed before the trigger pulls. The chain catcher, the metal tab under the clutch cover, must be intact to block a broken chain.
Run a Short Test Cut
Start the saw. It should fire immediately. Idle smoothly with no chain movement. Accelerate to full throttle for clean power delivery. Shut off with the switch. The engine should die instantly.
Prevent Future Repairs
Most breakdowns are preventable with routine care.
Follow Maintenance Schedule
Clean or replace the air filter every five to ten hours. Inspect, gap, or replace the spark plug every 25 hours or seasonally. Rotate the bar and check chain tension after every tank. Clean or replace the oil pump and strainer every 50 hours or annually. Inspect or replace the clutch and sprocket every 100 hours. Replace the primer bulb as needed if cracked.
Use Quality Fuel and Oil
Use fresh 50:1 mix, ethanol-free if possible. Use high-tack, all-season bar oil. Never use motor oil because it does not stick and lacks the necessary additives.
Store Properly
Drain the fuel or use stabilizer for long storage. Loosen chain tension. Cover with a bar scabbard. Store in a dry, dust-free area.
Key Takeaways for Husqvarna Chainsaw Repair
Focus on fuel and oil when compression and spark are good. Replace a cracked primer bulb with an Oregon 49880 kit because it is a common failure point. Clean the strainer and breather if the chain overheasts. Adjust the low-speed screw until the chain stops creeping at idle. Double-check fuel line routing if your saw will not start after reassembly. Long line goes to carburetor, short line goes to tank.
Most Husqvarna chainsaw repairs are simple, affordable, and DIY-friendly. With the right sequence, you will save time, money, and frustration. Keep your saw running like new with regular cleaning, proper adjustments, and quick fixes before small issues become big failures.
Frequently Asked Questions About Husqvarna Chainsaw Repair
Why does my Husqvarna chainsaw not start even though it has spark?
If spark is present but the saw will not start, the problem is likely fuel delivery. Check the primer bulb for cracks. Inspect fuel line routing. The long line must connect to the carburetor inlet, and the short line must draw from the tank bottom.
How do I know if my chainsaw needs a new primer bulb?
A cracked or soft primer bulb will not inflate when pressed. You may also see visible cracks on the bulb surface. If the bulb feels flat or fails to draw fuel after several presses, replace it with an Oregon 49880 primer pump kit.
What causes chain overheating on a Husqvarna chainsaw?
Chain overheating usually indicates oiler failure. Check oil flow by running the saw over white cardboard. Look for a visible oil streak. If there is no streak, clean the oil strainer and breather filter or replace the oil pump assembly.
How often should I clean my Husqvarna chainsaw air filter?
Clean the air filter every five to ten hours of use. Heavier use or dusty conditions require more frequent cleaning. Replace the filter if it is torn or excessively dirty.
What is the correct fuel mix ratio for Husqvarna chainsaws?
Husqvarna chainsaws require a 50:1 fuel mix ratio. Use fresh gasoline and two-stroke oil. Ethanol-free fuel is recommended when available because it prevents moisture-related issues.
How do I adjust the idle speed on my Husqvarna chainsaw?
Adjust the low idle screw until the engine runs steady but the chain stays completely still. Use a tachometer for accuracy. Idle should fall between 2,500 and 3,000 RPM. Too high causes chain creep, and too low causes stalling.