
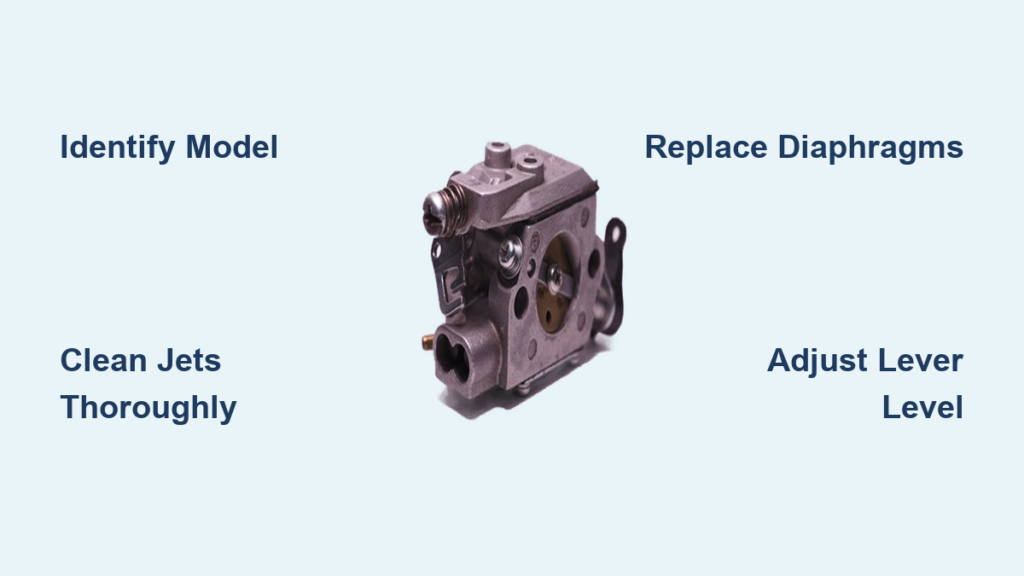
A malfunctioning chainsaw carburetor is one of the most common reasons for poor starting, stalling, surging, or loss of power. When your chainsaw won’t start or runs rough despite fresh fuel and a clean air filter, the carburetor is likely to blame. Fortunately, chainsaw carburetor repair is a manageable DIY task with the right tools, parts, and approach.
Most issues stem from degraded fuel, ethanol damage, clogged passages, or worn internal components like rubber diaphragms and needle valves. This guide walks you through the complete repair process so you can restore your saw’s performance without costly professional service.
Diagnose Carburetor Problems Before Starting Repairs
Before removing the carburetor, rule out simpler causes that mimic carb problems. This saves time and prevents unnecessary disassembly.
Check Basic Engine Functions First
Ensure these fundamentals are in order before blaming the carburetor:
• Fresh fuel (less than 30 days old, ethanol-free preferred)
• Clean air filter (replace if dirty or oily)
• Good spark (inspect plug for fouling, gap at 0.020 inches)
• Intact fuel lines (no cracks, kinks, or blockages)
• Working primer bulb (firm and draws fuel when pressed)
• Proper choke operation (seals fully in both positions)
Red flag warning: Old or ethanol-blended fuel (E10) is the leading cause of carburetor failure. It degrades in 30 days, forming sticky varnish that clogs jets and passages.
Perform a Simple Fuel Test
- Remove the air filter cover and filter.
- Pour 1 teaspoon of fresh fuel directly into the carburetor throat.
- Pull the starter rope and observe results.
If the engine starts and runs briefly before dying, you have a fuel delivery issue and the carburetor is likely clogged. If there is no response, check ignition, compression, or fuel supply instead.
Identify Your Carburetor Model and Source the Right Parts
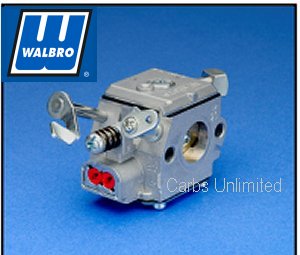
Most chainsaws use third-party carburetors from Walbro, Zama, or Mikuni, not the original manufacturer. Identifying the exact model ensures you get the correct rebuild kit.
Find the Model Number
- Remove the carburetor from the saw.
- Look for a stamped number on the body (examples include Walbro HDA 120 or Zama C1U-S57).
- Take a photo for reference when ordering parts.
Choose the Correct Rebuild Kit
| Kit Type | Best For |
|---|---|
| Gasket and Diaphragm Kit | Soft part replacement only (minor leaks) |
| Complete Rebuild Kit | Full restoration after long storage or complete failure |
Popular kits include K22 DHDA for many Walbro HDA models and Zama RB-100 for Craftsman, Poulan, Troy-Bilt, and McCulloch models. Online kits typically cost under $10, while local shops may charge 2 to 3 times more.
Gather Essential Tools for the Repair Job
Having the right tools prevents damage and speeds up the job significantly.
Must-Have Tools
• Phillips #2 screwdriver
• Flathead screwdriver (5/16 inch)
• Needle-nose pliers
• 7/16 inch socket or nut driver
• Allen wrench set
• Torque wrench (recommended, 25 inch-pounds)
• Carburetor cleaner spray
• Compressed air
• Lint-free rags
• Magnetic tray (holds screws and springs safely)
• Smartphone (to photograph each disassembly step)
Helpful Add-On Tools
• Ultrasonic cleaner for deep cleaning without scrubbing
• Die grinder with Scotch-Brite pad for removing old gasket residue
• Wall Bro Carb Tool 50013 D1 for precise lever adjustment
• Fishing line (10 to 20 pound test) to clear jets safely
• 930 drill bit to seat fuel screen evenly
Pro tip: Photograph every step as you disassemble, especially linkage and gasket layers. This makes reassembly foolproof.
Remove the Carburetor Safely
Work in a well-ventilated area and follow safety steps to prevent accidents.
Step-by-Step Removal Process
- Disconnect the spark plug wire to prevent accidental start.
- Drain the fuel tank into an approved container.
- Remove the cylinder shield using an Allen wrench.
- Pull off the spark plug boot, then remove the air filter cover and filter.
- Set the choke to the full position (down) for easier access.
- Disconnect the fuel lines. The longer line goes to the black barb (fuel supply) and the shorter line to the chrome barb (impulse line). Use pliers gently.
- Detach the throttle linkage by twisting and pulling the spring-loaded end from the throttle shaft. Avoid bending or kinking.
- Unscrew the two mounting nuts (7/16 inch on most models, 8mm on Stihl).
- Lift the carburetor straight off the studs without prying.
Note: If the carburetor is stuck, twist it slightly. It may be sealed by old gasket material.
Disassemble and Inspect Internal Components

Two diaphragms control fuel delivery: the metering diaphragm (regulates flow) and the fuel pump diaphragm (draws fuel from the tank).
Remove the Top Cover (Metering Side)
- Unscrew the single Phillips screw or four screws on some models.
- Lift off the cap to expose the metering diaphragm, gasket, and fuel inlet screen.
- Use a pick to remove the fuel screen.
- Inspect the diaphragm. Replace it if cracked, stiff, creased, or brittle. It should feel soft and flexible.
Remove the Rear Cover (Lever Side)
- Flip the carburetor over.
- Remove the central screw or four screws holding the cover.
- Pry the cover off carefully.
- Extract the metering diaphragm, metering lever, needle valve, and small coil spring.
Critical warning: Place your thumb over the lever before removing the screw. The spring ejects easily and can be lost.
Clean All Parts Thoroughly
Dried fuel and debris block tiny passages and cause poor performance. Thorough cleaning is essential for a successful repair.
Complete Cleaning Process
- Wipe the exterior with a rag to remove loose debris.
- Blow out loose particles with compressed air.
- Soak all metal parts in carburetor cleaner or an ultrasonic bath for 5 to 10 minutes.
- Spray cleaner into every passage including the main jet, idle jet, fuel inlet, venturi, and impulse chamber.
- Clear clogged jets using fishing line or a toothpick. Never use wire, which damages soft brass or plastic.
- Clean gasket surfaces using a die grinder with a green Scotch-Brite pad. Sand lightly without gouging the aluminum.
- Dry completely by blowing all holes with air and letting the carburetor sit for 30 minutes or more before reassembly.
Pro tip: Soak a gummed carburetor overnight in spray cleaner for best results.
Do not file or bend adjustment needles. They are precision-machined and easily damaged.
Rebuild With New Diaphragms and Gaskets

Use a complete kit to replace all worn components for the best results.
Install the Fuel Screen Correctly
- Insert the new screen into its seat.
- Tap it flush using the back of a 930 drill bit, pencil eraser, or Sharpie cap.
- Ensure the tapered end faces inward.
A misaligned screen reduces fuel flow significantly.
Reassemble Needle Valve and Lever
- Place the new spring in its cavity.
- Insert the new needle valve into the metering lever.
- Position the lever so the dimple rests on the spring.
- Hold everything in place and tighten the screw lightly. Over-tightening strips soft aluminum threads.
Replace Diaphragms the Right Way
For the metering side, install the new gasket on the body, add the new diaphragm with the silver disc facing down, then replace the cover and screw.
For the fuel pump side, place the new diaphragm directly on the body with flappers facing outward, add the new gasket on top, then secure with the cover.
Critical error: Installing the gasket before the fuel pump diaphragm blocks flapper movement and prevents fuel from pumping.
Adjust the Metering Lever Correctly

This step sets fuel delivery pressure and prevents flooding or lean running.
Adjustment Steps
- Depress the needle valve gently.
- Push the metering lever down until it is level with the carburetor base.
- Use the Wall Bro Carb Tool 50013 D1 for accuracy. If unavailable, use a straight edge (metal ruler) across the base as a reference.
Too high causes flooding. Too low causes lean running and overheating. This step is crucial for proper function.
Test and Verify Your Rebuild
Verify your work before reinstalling the carburetor on the saw. This catches problems early when they are easier to fix.
Pressure Test (Recommended)
- Connect a 5 to 8 psi air tester to the fuel inlet.
- Apply pressure and watch the gauge.
- A stable reading means a good seal. A pressure drop indicates a leak, so check gaskets, diaphragm, and needle.
Pro tip: Test now. Fixing issues after reinstallation is much harder.
Visual Checks
• No cracks in diaphragms
• Smooth lever movement
• Clean, clear passages
• Proper screen seating
Reinstall the Carburetor Properly
Reverse the removal steps with care to ensure proper function.
Step-by-Step Reinstallation
- Slide the carburetor onto the mounting studs with a new gasket.
- Reconnect the throttle linkage by twisting and locking it into the shaft groove.
- Attach fuel lines. The long line goes to the black barb and the short line to the chrome barb.
- Tighten mounting nuts to 25 inch-pounds or snug without over-tightening.
- Reinstall the air filter housing and cylinder shield.
- Refill the tank with fresh, mixed fuel.
- Reconnect the spark plug wire.
If idle screws were not touched, the saw should start normally.
Adjust Mixture Screws for Optimal Performance
Fine-tune the carburetor once the engine is warm to achieve the best running condition.
Adjustment Procedure
- Warm the engine for 3 to 5 minutes.
- Set the idle speed with the T screw. Adjust until the engine runs steadily but the chain does not rotate.
- Adjust the L screw (low-speed fuel). Turn clockwise to lean and counterclockwise to enrich. Goal is smooth acceleration without hesitation.
- Adjust the H screw (high-speed fuel). Test at full throttle. Too lean causes sputtering and overheating. Too rich produces smoke and bogs down under load. Make adjustments in 1/8-turn increments.
- Recheck idle speed after tuning L and H.
- Test under load by cutting a small log.
Never mix up H and L needles. They have different thread pitches.
Initial setup: Gently seat both needles, then back out 1 turn to start.
Troubleshoot Common Post-Repair Issues
| Symptom | Likely Cause | Fix |
|---|---|---|
| Starts but dies | Lean mix, air leak, clogged screen | Recheck gaskets, diaphragm, screen |
| Flooding | Lever too high, bad diaphragm | Adjust lever, replace diaphragm |
| Hard starting | Old fuel, clogged jet | Flush system, clean jets |
| Surging idle | Idle jet clogged | Clean idle circuit |
| No fuel flow | Screen blocked, diaphragm damaged | Inspect screen, test diaphragm |
| Chain moves at idle | Idle too high | Turn T screw down |
| Overheats or weak power | Lean mixture (H/L too far in) | Enrich slightly, test under load |
Prevent Future Carburetor Problems
Extend the life of your repair with simple maintenance habits.
Best Practices
• Use fresh fuel never older than 30 days
• Add fuel stabilizer (STA-BIL, Sea Foam) for storage
• Drain the carburetor before long-term storage
• Replace the air filter every season
• Avoid E10 fuel. Use ethanol-free options like REC-90 or Aspen 2
• Inspect the diaphragm yearly on heavy-use saws
• Clean the air filter every 5 to 10 hours of use
Recommended Service Interval
Rebuild or inspect every 2 to 3 years or 50 to 100 hours of operation, whichever comes first.
Frequently Asked Questions About Chainsaw Carburetor Repair
How do I know if my chainsaw carburetor is bad?
Common symptoms include hard starting, stalling, surging, poor throttle response, excessive smoke, or loss of power. A fuel test (pouring fresh fuel directly into the throat) can confirm whether the carburetor is restricting fuel flow.
Can I rebuild my carburetor myself, or do I need a professional?
With basic tools and this guide, most DIYers can complete a chainsaw carburetor repair successfully. The process involves removing the carburetor, replacing diaphragms and gaskets, cleaning passages, and adjusting the metering lever.
What causes chainsaw carburetor failure?
The primary cause is degraded fuel. Gasoline older than 30 days forms gum and varnish that clog jets. Ethanol-blended fuel (E10) attracts moisture, leading to phase separation and corrosion. Long-term storage with fuel left in the carburetor is especially damaging.
How much does a carburetor rebuild cost compared to replacement?
A complete rebuild kit costs under $10 online. Replacement carburetors typically run $50 to $150 or more, plus labor if done professionally. Rebuilding saves significant money while restoring full performance.
What tools do I need for chainsaw carburetor repair?
Essential tools include screwdrivers, pliers, sockets, Allen wrenches, a torque wrench, carburetor cleaner, compressed air, and a magnetic tray. Optional but helpful tools include an ultrasonic cleaner, pressure tester, and the Wall Bro adjustment tool.
How often should I rebuild my chainsaw carburetor?
Inspect or rebuild every 2 to 3 years or every 50 to 100 hours of use. Heavy-use saws or those stored with fuel may need more frequent attention.
Key Takeaways for Successful Chainsaw Carburetor Repair
Rebuilding a chainsaw carburetor is a cost-effective fix that restores full performance when done correctly. The most important steps include identifying your exact carburetor model to source the right rebuild kit, cleaning every passage thoroughly without damaging precision components, and replacing all soft parts including diaphragms, gaskets, needle valve, and fuel screen. The metering lever adjustment is critical. It must sit flush with the carburetor base to prevent flooding or lean running. Always test for leaks with a pressure tester before reinstalling on the saw. Finally, prevent future problems by using fresh, ethanol-free fuel and adding stabilizer before storage. With attention to detail, even beginners can complete this repair successfully while saving $100 or more on replacement costs.



