
A loose sprocket acts as a ticking time bomb for your entire drivetrain system. Constant throttle cycling and rough terrain create vibrations that rapidly back out bolts, leading to chain slippage or total mechanical failure if you ignore the issue.
This guide details exactly how to fix a loose sprocket using calibrated torque tools and chemical locking agents. You will learn the critical pre-ride inspection steps required to stop minor play from becoming a catastrophic safety hazard on the track or trail.
Diagnose Sprocket Bolt Loosening Early
Identifying a loose sprocket before it fails requires looking for specific visual and auditory warning signs. The progression from tight to loose happens exponentially fast once any movement begins.
What Visual Clues Indicate Bolt Movement?
Inspect the interface between the bolt head and the sprocket surface for gaps. Look for shiny wear marks around the bolt holes, which indicate the hardware has rotated against the metal. Metal shavings near the hub often signal that metal-on-metal movement is already occurring.
How Do You Hear a Loose Sprocket?
Listen carefully for metallic tapping or ticking sounds while the engine idles. A distinct buzzing noise under light throttle or intermittent clicking that syncs with wheel rotation suggests the bolts have lost their clamping force.
How to Test for Radial and Axial Play
Place the bike on a stand and grip the sprocket at the three and nine o’clock positions. Attempt to move the component side-to-side or in and out. Any detectable wiggle means the bolts are compromised and require immediate attention.
Execute Pre-Ride Torque Checks Every Time

Skipping a pre-ride inspection is the most common cause of sprocket failure. Bolts do not loosen slowly; they accelerate rapidly once a fraction of play develops due to energy dispersion from throttle bursts.
Why Hand-Tightening Fails Under Stress
Guessing tightness by feel is unsafe and unreliable for high-performance drivetrains. Over-tightening risks stripping threads, while under-tightening leaves room for vibration-induced loosening. Only a calibrated tool delivers the precise force needed.
Step-by-Step Torque Verification Process
- Consult your service manual for the exact pound-foot or Newton-meter rating.
- Place your calibrated torque wrench on each bolt head firmly.
- Apply steady force until the wrench clicks, signaling the correct specification.
- Do not tighten further after the click, as this alters the clamping load.
- Repeat this process before every single ride, regardless of when you last checked.
The Critical Nature of Daily Inspections
Riders often assume bolts stay tight if they were secure previously, but this is a dangerous misconception. High-impact environments constantly work against fastener integrity, making daily verification non-negotiable for safety.
Apply Thread Locker for Vibration Resistance
Chemical locking agents provide a secondary defense layer against the intense vibrations that mechanical torque alone cannot always stop. This step is essential for long-term security.
Selecting the Correct Loctite Grade
Choose Loctite Blue for medium strength that allows removal with hand tools during regular maintenance. Use Loctite Red only for permanent installs where heat will be required for removal. Avoid using green retaining compounds unless specifically assembling pre-built units.
Proper Application Techniques for Maximum Hold
- Remove each bolt carefully and clean threads with isopropyl alcohol.
- Apply a single drop of thread locker to the first few threads of the bolt.
- Reinstall the bolt and torque it to the manufacturer’s specification immediately.
- Allow twenty-four hours for the chemical bond to fully cure before riding.
Warnings for Aluminum Hub Compatibility
Never apply thread locker to aluminum hubs without verifying manufacturer guidelines first. Certain chemical reactions can cause corrosion or seizing, making future removal impossible without damaging the hub.
Understand the Mechanics of Sprocket Stress
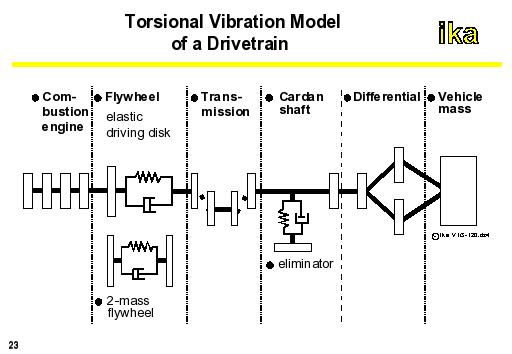
Fixing a loose sprocket requires understanding why they fail in the first place. The root cause lies in the intense energy dispersion inherent to drivetrain operations.
How Throttle Cycling Creates Fatigue
Every time you roll on the throttle, the sprocket spins rapidly, and it slows down when you release it. This constant acceleration and deceleration cycle creates torsional stress that actively works against bolt clamping force.
The Impact of Terrain on Fastener Integrity
Jumps, whoops, and rough trails send shockwaves through the rear wheel assembly. These vertical forces combine with rotational torque to mimic a constant vibration test that mimics laboratory loosening conditions.
Why Static Friction Fails Over Time
Bolts rely on static friction to remain stationary, but combined forces disrupt this grip. Once micro-movement starts, it generates heat and wear that further reduces friction, leading to rapid and complete loosening.
Replace Damaged Bolts and Components

Reusing hardware that has significantly loosened is risky and often leads to repeat failures. You must assess the condition of your components before reassembly.
When to Discard Old Sprocket Bolts
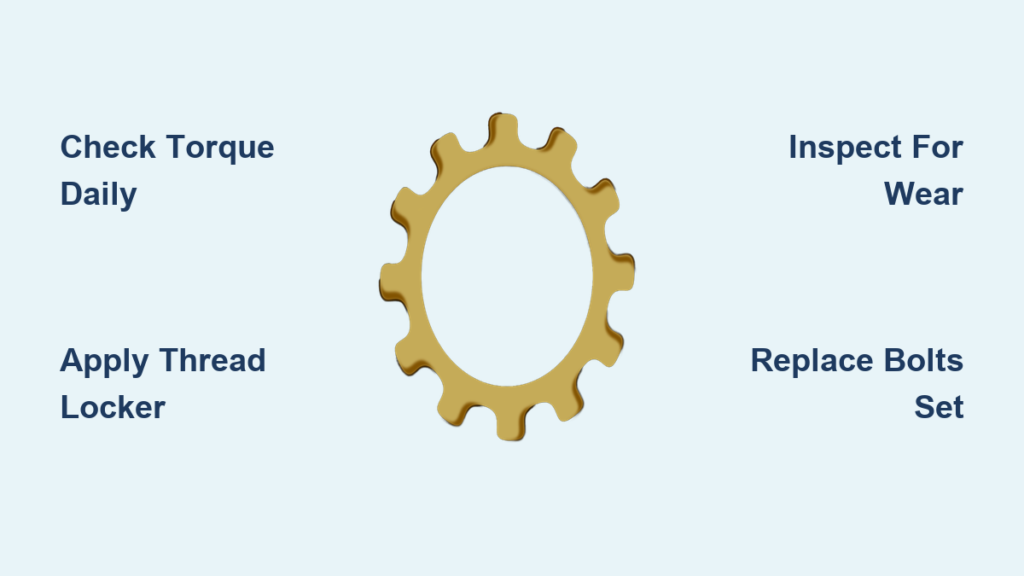
Replace bolts immediately if threads appear stretched, galled, or stripped. Discard any hardware with rounded heads, cracks, or signs of bending, as these defects compromise structural integrity. Always replace the entire set to ensure even load distribution.
Inspecting the Sprocket and Hub Surfaces
Check the mounting surface for cracks, warping, or enlarged bolt holes. Corrosion or pitting on contact surfaces prevents proper seating and allows movement to persist even after tightening.
Re-Torque Procedures After Replacement
- Install new components with fresh thread locker applied to the threads.
- Torque all bolts to spec using a calibrated wrench in a star pattern.
- Ride for ten to fifteen minutes, then recheck torque to account for initial settling.
- Inspect the assembly again after fifty miles or one week of use.
Prevent Future Sprocket Loosening Issues

Long-term reliability comes from combining mechanical precision with chemical security and a strict maintenance schedule.
Combining Mechanical and Chemical Defenses
The most effective strategy uses both a torque wrench for correct clamping force and thread locker to resist micro-movement. Together, these methods create a dual-defense system that outperforms either technique used alone.
Establishing a Strict Maintenance Routine
Create a checklist that includes torquing sprocket bolts before every ride. Reapply thread locker every few removals or annually, and replace worn bolts immediately rather than reusing them.
Upgrading to Locking Hardware Features
Consider upgrading to flange-head bolts that offer a wider bearing surface to reduce pull-through. High-tensile stainless steel bolts or those with integrated locking features can provide greater resistance to fatigue and vibration.
Key Takeaways for Fixing Your Loose Sprocket
Fixing a loose sprocket is an ongoing discipline rather than a one-time repair job. Your safety depends on respecting the cycle of energy and impact that constantly works to undo your fasteners.
The most critical steps involve checking torque before every ride, using a calibrated wrench, and applying thread locker as a backup. Combine these actions with regular visual inspections to eliminate one of the most preventable causes of drivetrain failure.
Stay proactive and keep your sprocket locked down tight to ensure safe riding conditions on every outing.
Frequently Asked Questions About Fixing Loose Sprockets
How often should I check my sprocket bolts?
You must check and torque your sprocket bolts before every single ride. The high-stress environment of riding causes bolts to loosen rapidly, and skipping even one check can lead to catastrophic failure.
Can I just use Loctite instead of a torque wrench?
No, thread locker is a secondary defense, not a replacement for proper torque. You must use a calibrated torque wrench to meet manufacturer specifications, as chemical agents alone cannot guarantee safety under heavy load.
What happens if I ignore a slightly loose sprocket?
A slightly loose sprocket will quickly unravel completely due to increased movement and lack of clamping force. This progression can lead to chain slippage, broken bolts, or total drivetrain failure while riding.
Why do my sprocket bolts keep coming loose?
Constant throttle cycling and terrain impacts create energy dispersion that breaks the static friction holding bolts in place. Without regular re-torquing, these forces inevitably cause even tight bolts to back out over time.
Do I need to replace all sprocket bolts if one is damaged?
Yes, you should always replace sprocket bolts as a complete set. Mixing old and new hardware leads to uneven tension distribution, which can cause the entire assembly to fail prematurely.



