
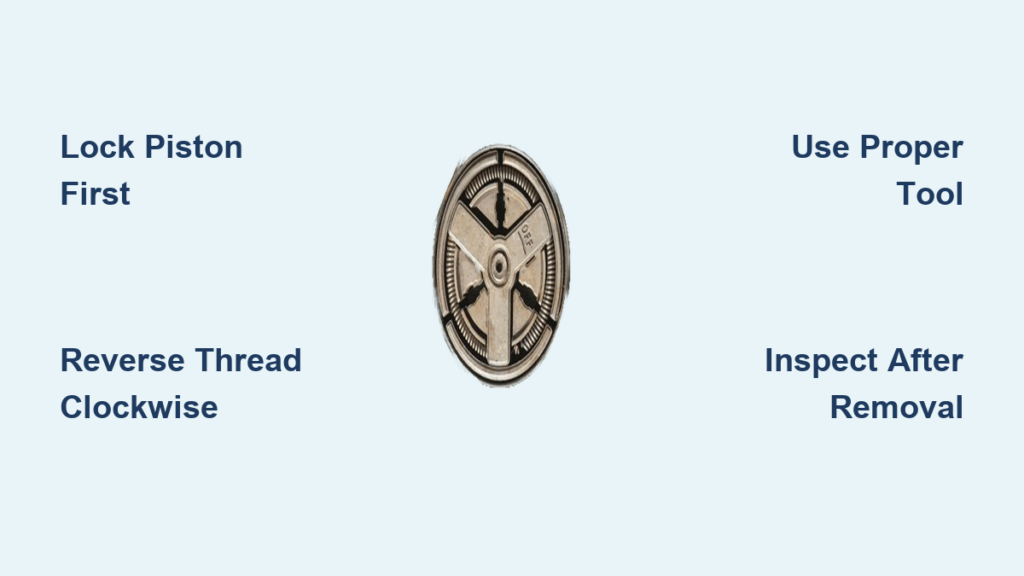
If your chainsaw won’t engage the chain or slips under load, a worn or seized clutch could be the culprit. Knowing how to remove a chainsaw clutch is essential for diagnosing and fixing these issues. This guide walks you through every step, from safely locking the piston to removing stubborn clutches without damaging internal components. Whether you own a STIHL, Husqvarna, Echo, Poulan, or another brand, this comprehensive tutorial covers tools, techniques, and expert tips to get the job done right.
You’ll learn how to avoid common mistakes like shearing the flywheel key, cracking the piston, or leaving rope inside the cylinder. These errors can turn a simple repair into a costly engine rebuild, so we’ll show you the proper techniques to complete the job correctly and safely.
Essential Safety Precautions Before Chainsaw Clutch Removal
Before touching any tools, follow these critical safety steps to prevent injury and damage.
Prepare the Chainsaw for Safe Disassembly
Turn off the chainsaw and let it cool completely. Disconnect the spark plug wire to prevent accidental starts. Remove the guide bar and chain, then relieve tension using the adjustment screw. Engage the chain brake to stabilize moving parts during disassembly. Wear gloves and eye protection because metal shards and sharp edges are common. Work on a clean, flat surface to avoid losing small parts like E-clips or washers.
Never use metal tools inside the cylinder bore. Even slight contact can score the walls or damage the piston, leading to compression loss and engine failure.
Locking the Piston to Prevent Crankshaft Rotation

The crankshaft will rotate when you try to loosen the clutch unless the piston is locked at top dead center (TDC). Use one of these proven methods to immobilize the engine.
Using the OEM Piston Stop (Best Method)
The STIHL OEM Part #0000 893 5903 threads directly into the spark plug hole. It safely contacts the piston dome without damaging cylinder walls. This tool works on MS200, MS660, and many other models. It ensures straight alignment and full immobilization.
This method eliminates the risk of piston cracking or thread damage, making it the superior choice for clutch removal.
Inserting Starter Rope into the Spark Plug Hole (DIY Method)
Remove the spark plug with a 19mm socket. Rotate the flywheel slowly until the piston reaches TDC, just above the exhaust and intake ports. Feed 12 to 18 inches of clean pull-rope or starter rope into the cylinder. Push it fully in so the piston rests against the rope, locking position.
This method carries risks. If rope protrudes into the exhaust port, the piston can crack between the crown and top ring. This damage is often invisible until startup. Use undamaged, non-fibrous rope and ensure no strands hang loose.
Unsafe Methods to Avoid
Steel piston stops at an angle can rip out cylinder threads, especially on MS290 or MS460 models. Leaving the spark plug in relies on compression, which is unreliable for high-torque removal. Screwdrivers wedged under the flywheel may slip and damage fins.
Understanding Reverse Thread Direction

All major chainsaw clutches use reverse (left-hand) threads, meaning they loosen clockwise, the opposite of standard nuts. This is critical to understand before attempting removal.
Thread Direction by Brand
| Brand | Loosen Direction | Tighten Direction |
|---|---|---|
| STIHL | Clockwise | Counter-clockwise |
| Husqvarna | Clockwise | Counter-clockwise |
| Echo | Clockwise | Counter-clockwise |
| Poulan | Clockwise | Counter-clockwise |
Look for an arrow or “OFF” marking on the clutch housing. Always follow this indicator.
Removing the Clutch Without Special Tools
Do not own a clutch removal tool? These field-tested methods work even in tight spots.
Hammer and Flat-Head Screwdriver Technique
Insert a sturdy flat-head screwdriver into a clutch notch or groove. Angle it to apply clockwise force to loosen. Tap the handle sharply with a hammer. Short, controlled impacts work best. Repeat until the clutch breaks free, then unscrew by hand.
Avoid hitting outer spring-loaded parts. You may dislodge clutch shoes or damage return springs.
Spark Plug Wrench as an Improvised Socket
Use the inner edge of a 19mm spark plug wrench as a makeshift socket. Tap it clockwise with a hammer to break the clutch loose. This method works well on compact models like STIHL MS170 or MS250.
Apply penetrating oil like WD-40 first if the clutch is seized. This loosens corrosion and reduces impact force needed.
Using a Clutch Removal Tool
For consistent results, invest in the right tool designed for your chainsaw model.
STIHL Three-Finger Clutch Wrench
The STIHL 3-Finger Clutch Wrench costs approximately $5 and fits over clutch fingers securely. Attach a bar wrench or socket and turn clockwise to loosen. This tool is reusable and fits most STIHL models. It is worth buying if you service multiple saws.
Fabricating Your Own Tool
Grind an old socket with a Dremel to fit clutch notches. Weld a 1/4-inch nut onto the clutch body as a temporary fix. Use a deep 3/4-inch socket on Husqvarna models with external nut protrusions.
STIHL Clutch Removal Procedure
STIHL models like MS170, MS250, MS440, and MS660 use an inboard clutch design, meaning the clutch sits behind the sprocket.
Step-by-Step STIHL Clutch Removal
Remove the top cover using a T27 Torx driver. Take off the sprocket cover nuts with a 19mm bar wrench. Release chain tension and remove the guide bar and chain. Use needle-nose pliers to remove the E-clip. Slide off the washer and sprocket drum to expose the clutch.
Remove the spark plug and insert a piston stop or rope. Turn the clutch clockwise to loosen (reverse thread). Pull the clutch straight off the crankshaft.
Inspect the sprocket bearing for smooth spin and no lateral play. On some STIHL models, clutch removal is required to access the oil pump, so misalignment can cause oiling issues after reassembly.
Husqvarna Clutch Removal Procedure
Most Husqvarna models like 372, 450, and 550 have external clutch access, meaning no sprocket removal is needed.
Direct Access Husqvarna Clutch Removal
Remove the top cover and spark plug. Insert a rope or OEM piston stop into the cylinder. Use a prong tool or flat-head screwdriver in clutch notches. Tap clockwise with a hammer to break free.
Some models have a 3/4-inch nut-like protrusion. Use a bar wrench for leverage. This provides faster access than STIHL, ideal for quick maintenance.
Echo Clutch Removal Procedure
Echo chainsaws using clutch Part #A056000181 require a brand-specific removal tool and impact driver.
Echo-Specific Clutch Removal Steps
Remove the brake cover nuts and guide bar. Attach the Echo clutch tool over the housing. Use an impact driver to turn the clutch clockwise to loosen (reverse thread). Reinstall by threading counter-clockwise and tightening securely.
Never improvise here. Wrong tools can strip threads or damage the clutch drum.
Inspecting Components After Removal

Once the clutch is off, inspect these parts for wear and damage.
What to Check After Clutch Removal
Inspect clutch shoes for glazing, cracking, or uneven wear. Test spring tension because weak or broken springs cause slippage. Check the clutch drum for scoring, burrs, or heat discoloration. Examine sprocket teeth and replace if chipped or worn. Verify the sprocket bearing spins smoothly with no wobble. Clean carbon buildup from the crankshaft and check for nicks or thread damage. Note the order of washers and spacers because some models use multiple.
Replace worn parts immediately. A slipping clutch risks kickback and injury.
Proper Clutch Reinstallation
Reassembly is just as critical as removal. Follow these steps to ensure correct installation.
Aligning and Seating the Clutch
Match the worm gear on the crankshaft to the notch in the clutch or sprocket. Slide the clutch on straight without cross-threading. Spin by hand in the tightening direction. STIHL models tighten clockwise. Husqvarna and Echo tighten counter-clockwise.
Do not over-tighten because the clutch self-tightens during operation. Use a piston lock during final seating if needed.
Final Reassembly Checklist
Complete these steps before starting your chainsaw.
Remove the piston stop or rope from the cylinder. Failure to do this causes catastrophic engine damage. Reinstall the sprocket, washer, and E-clip securely. Reinstall the spark plug and tighten by hand plus a quarter turn. Attach the air filter, shroud, and top cover. Verify chain tension is correct and moves freely without sag. Ensure the cutting edge faces forward on top of the bar. Tighten all fasteners including the brake cover and bar nuts. Reconnect the spark plug wire.
Expert Tips to Avoid Costly Mistakes
Use penetrating oil on stuck clutches to loosen corrosion and reduce impact force needed. Avoid hammering outer clutch components because this can disassemble spring-loaded shoes. Use a brass hammer to tap the flywheel off to prevent damage. A harmonic balancer puller helps remove the flywheel safely. Use an air wrench on low setting with short bursts to prevent bearing damage. The STIHL clutch wrench is cheap and reliable. The OEM piston stop prevents cylinder damage and can save you a $200 engine repair.
Troubleshooting Common Clutch Problems
| Symptom | Likely Cause | Fix |
|---|---|---|
| Chain slips under load | Worn pads or weak springs | Replace clutch assembly |
| Chain runs at idle | Broken or fatigued springs | Replace clutch and inspect tension |
| Clutch won’t budge | Crankshaft spinning | Use proper piston stop |
| Clutch won’t seat | Debris or cross-threading | Clean shaft and verify alignment |
| No oil after reassembly | Clutch misaligned with pump gear | Recheck worm gear alignment |
Key Takeaways for Removing Your Chainsaw Clutch
Lock the piston using an OEM stop or rope with caution. Remember that clutches have reverse threads: loosen clockwise and tighten counter-clockwise, except for STIHL reassembly when you tighten clockwise. Follow the “OFF” arrow on the clutch housing. STIHL models require inboard clutch removal with sprocket removal first. Husqvarna offers direct access without sprocket removal. Echo requires a specific tool and impact driver. If you lack special tools, use a screwdriver and hammer, spark plug wrench, or fabricate your own socket. Use impact tools on low setting with short bursts. Inspect all parts and replace worn shoes, springs, or sprockets. Align the worm gear with the sprocket notch during reassembly. Never start the saw with rope or a piston stop inside the cylinder.
Frequently Asked Questions About Removing a Chainsaw Clutch
Why does the clutch have a reverse thread?
Chainsaw clutches use reverse (left-hand) threads so they tighten during operation. As the engine spins, the clutch naturally secures itself more firmly. This prevents the clutch from loosening during use.
What happens if I don’t lock the piston before removing the clutch?
The crankshaft will spin freely, preventing the clutch from loosening. You may strip the threads or shear internal components. Always lock the piston at top dead center before attempting removal.
Can I use an impact wrench to remove a stuck clutch?
Yes, but use caution. Set the impact wrench to low torque and use short bursts in the clockwise direction. High torque can damage bearings or strip threads.
How do I know if my clutch needs replacement?
Signs include chain slipping under load, chain running at idle, or unusual vibration. Inspect the clutch shoes for wear, glazing, or cracking. Weak or broken springs also indicate replacement is needed.
Do all chainsaw brands use reverse threads?
Yes, all major brands including STIHL, Husqvarna, Echo, and Poulan use reverse threads. Always loosen clockwise and tighten counter-clockwise.
Can I reuse the old clutch if it looks okay?
If the clutch shows signs of wear, glazing, or heat damage, replace it. Reusing a worn clutch can lead to slippage, poor performance, and safety hazards.



