
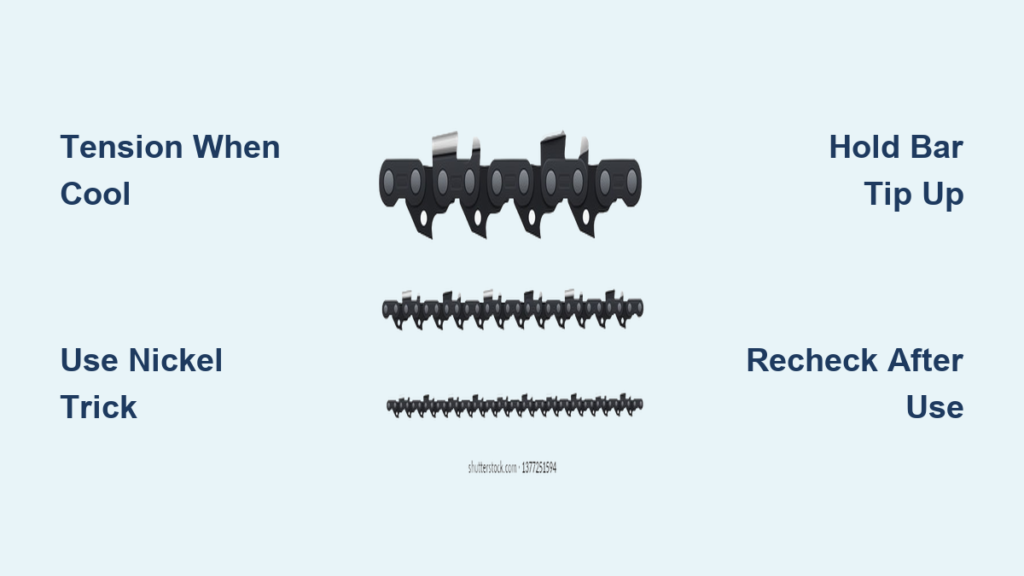
A loose or over-tightened chainsaw chain is a serious safety hazard and can ruin your equipment fast. Knowing how to tension a chainsaw chain correctly keeps you safe, improves cutting performance, and extends the life of your chain, guide bar, and engine. Whether you’re using a gas-powered Husqvarna, a STIHL with a quick-adjust system, or an Oregon Intenz bar, the principles are the same: snug but free-moving, adjusted when cool, and verified with simple field tests.
In this guide, you’ll learn the exact steps to tension your chain safely and accurately, avoid common mistakes, use brand-specific tools, and apply proven verification methods like the nickel trick and snap test. By the end, you’ll be able to adjust your chain confidently every time.
Why Chain Tension Matters for Safety and Performance
A poorly tensioned chain is dangerous and costly. A loose chain can jump off the bar at high speed, causing severe injury. An over-tightened chain binds on the bar, increases engine load, and may lead to overheating or sudden stalling.
Proper tension ensures the chain stays securely on the guide bar, kickback risk is minimized, cutting is smooth and efficient, and vibration and strain on the engine are reduced. Incorrect tension accelerates wear across your chainsaw.
Signs of a too-loose chain include visible sag under the bar, excessive vertical play exceeding 5 mm at mid-bar, and rapid wear on the guide bar groove and drive sprocket. Signs of an over-tight chain include inability to rotate the chain by hand, excessive heat generation at contact points, and premature wear on the clutch drum and crankshaft bearings.
Maintaining correct tension means fewer replacements, lower operating costs, and longer tool life.
When to Check and Adjust Chain Tension
Chain tension should be checked at several key moments to ensure consistent performance and safety throughout your work session.
Check before every use. Always inspect chain tension before starting the saw, as even a short storage period can cause slight loosening due to temperature changes or settling.
Check after the first few minutes of use. New chains stretch significantly during initial operation. After running the saw for 5 to 10 minutes, shut it down, let it cool, and recheck tension to prevent premature wear and derailment.
Check during prolonged cutting sessions. For extended use, stop every 15 to 30 minutes to check tension. Heat cycles cause expansion and contraction, which can loosen the bar nuts or shift tension.
Check after refueling or cooling down. If the saw has been running hot, wait until it cools before adjusting. Tightening a hot chain leads to over-tensioning when it cools and contracts.
Check after chain or bar replacement. Any time you install a new chain or guide bar, tension must be set from scratch. New components need proper seating and initial stretch accommodation.
Tools You Need to Tension a Chainsaw Chain
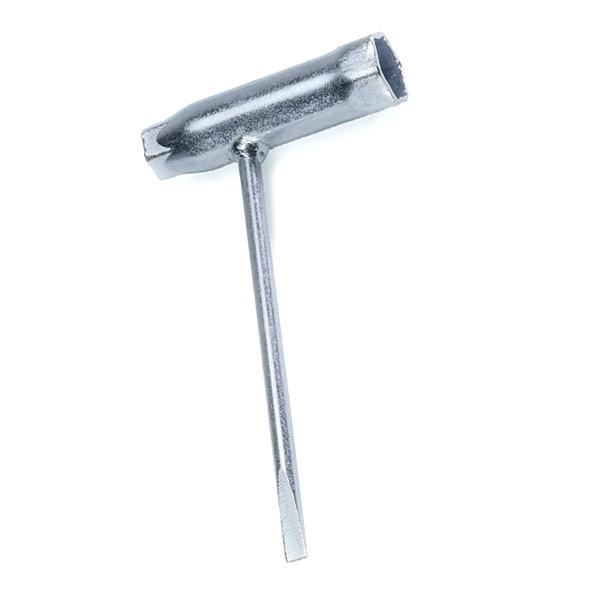
Having the right tools makes chain tensioning faster, easier, and more accurate. Most chainsaws require a few basic tools.
Standard tools by brand include the scrench for Husqvarna, which is a combination wrench and screwdriver for bar nuts and the tension screw. The KombiTool for STIHL is a multi-function tool with screwdriver, wrench, and depth gauge. A flathead screwdriver works for front-mounted tensioners or side-access models. A chainsaw wrench is a universal tool for loosening bar nuts.
Specialized systems allow tool-free adjustments on some models. STIHL B models such as the MS 181 C-BE use a rotating dial or wingnut handle. The Oregon Intenz bar has an adjustable slot in the bar, so you don’t need to hold the tip up.
The nickel trick gauge is essential. Use a U.S. nickel, which is 7/16 inch thick, to measure ideal clearance between the chain and bar. It’s a reliable, no-cost tension gauge that fits perfectly for most standard chains.
Gloves are essential. Always wear cut-resistant gloves when handling the chain. They protect your hands during manual rotation and provide better grip during adjustment.
Step-by-Step Chain Tensioning Process
Follow these steps to tension your chain correctly and safely every time.
Prepare the saw safely. Turn off the engine and disconnect the spark plug for gas models or remove the battery for cordless models. Place the saw on a flat, stable surface. Never adjust under power. Ensure the saw is completely cool, as adjusting a hot chain causes over-tensioning once it cools.
Release the chain brake. Slide the chain brake handle forward toward the front handle to disengage it. On STIHL QuickStop Super models, press the rear lever to fully release. Confirm the chain moves freely. If it doesn’t, the brake is still engaged, and you should not proceed.
Loosen the bar nuts. Use your scrench, KombiTool, or chainsaw wrench to loosen both bar nuts. Back them off 1 to 2 turns, but do not remove. The side cover should remain attached but loose enough to allow the bar to pivot slightly for tension adjustment.
Lift the bar tip upward. With one hand, lift the nose of the guide bar upward and hold it in place. This removes slack and ensures accurate tensioning. Note that Oregon Intenz bars have a built-in mechanism, so you do not lift the tip on those models.
Adjust the tension screw. Locate the tensioning screw, which may be side-access under the side cover near the bar base, front-mounted through a hole in older STIHL models, or a tool-free dial on STIHL B models. Turn the screw clockwise to tighten and counterclockwise to loosen. Adjust gradually while checking chain movement.
Seat the chain against the bar. Turn the screw until the drive links sit flush in the guide bar groove. There should be no gap between the chain and the bottom rail. The chain should ride snugly but still move slightly by hand.
Tighten the bar nuts. While still holding the bar tip up, fully tighten both bar nuts. Use proper torque, but don’t strip the threads. On Oregon Intenz systems, tighten the rear nut first, then the front.
Verify chain movement. Using a gloved hand or the shaft of a tool, rotate the chain along the top of the bar from engine to tip. It should move smoothly and freely without binding or excessive resistance.
Perform final tension checks. Use the nickel trick or snap test to confirm correct tension. Recheck at the midpoint of the bar. If the chain binds or sags, repeat the process.
Recheck after initial use. After 5 to 10 minutes of cutting, stop and recheck tension. New chains stretch quickly, and this second adjustment is critical.
How to Verify Correct Chain Tension

Proper verification ensures your tensioning work is accurate. Use these proven methods to confirm the chain is correctly tensioned.
The nickel trick is the most reliable physical gauge for correct tension. Lift the chain at the mid-bar point and slide a U.S. nickel between a drive link and the top of the guide bar. Adjust tension until the chain presses firmly on the nickel. Hold the bar tip up and tighten the nuts. After tightening, try to pull the nickel out. If it slides out easily, tension is correct. If it’s stuck, the chain is too tight, so loosen slightly. If there’s too much play, the chain is too loose, so tighten more.
The snap test is a dynamic field test to assess responsiveness. Pull the chain down on the underside of the bar, lifting one or two drive links out of the rail. Release abruptly and observe. If it snaps back quickly, tension is correct. If it falls slowly or hangs, it’s too loose. If it doesn’t move or binds, it’s too tight. Repeat at multiple points along the bar.
Visual and manual inspection completes the verification. Look for these signs. Correct tension shows the chain flush with the bar rail, no sag, and rotates freely. Too loose shows visible sag under the bar and more than 5 mm lift at mid-bar. Too tight shows the chain cannot rotate by hand and hot spots on the bar rails.
Brand-Specific Tensioning Systems
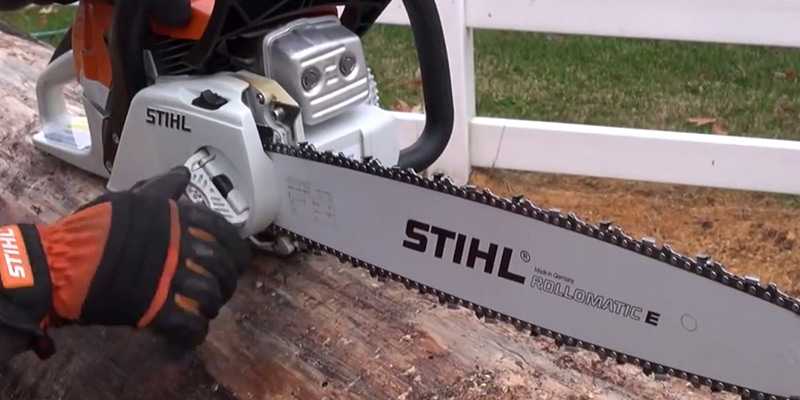
Different manufacturers use different systems, but the core principle stays the same.
STIHL chainsaws use three tensioning methods, but all follow the same principle: clockwise tightens, counterclockwise loosens. The front-mounted screw on older models is accessed via a hole in the front of the saw body using a flathead screwdriver. Turn clockwise to tighten. The side-access screw on most models is located under the side cover and is adjustable without removing the bar. The tool-free quick tensioner on B models uses a rotating dial or wingnut handle. Rotate clockwise to tighten. Always loosen the wingnut slightly, adjust, then retighten fully.
Husqvarna and similar brands use a scrench for both bar nuts and the tension screw. Loosen both bar nuts with the wrench, lift the bar tip, insert the screwdriver into the tension screw and turn clockwise, rotate the chain to equalize tension, fully tighten the bar nuts, and recheck movement and lift.
Common Mistakes to Avoid
Avoid these errors to keep your chainsaw running safely and efficiently.
Tightening a hot chain is a major mistake. Thermal expansion makes the chain longer, so tightening while hot causes it to bind when cooled. Always adjust when cool.
Not holding the bar tip up leads to false slack. Failing to lift the nose during adjustment results in rapid loosening after use.
Over-tightening to prevent loosening is counterproductive. This is a major cause of premature wear. A too-tight chain increases friction, overheats components, and can damage the crankshaft.
Skipping the recheck after first use risks derailment. New chains stretch within minutes, so this step is critical.
Using wrong tools damages hardware. Damaged screws or stripped nuts result from improper tools. Use manufacturer-recommended tools only.
Ignoring guide bar type causes poor results. Powercut and Intenz bars require different techniques. Always follow specific instructions for your bar.
Frequently Asked Questions About Tensioning a Chainsaw Chain
How often should I check chain tension?
Check chain tension before every use, after the first 5 to 10 minutes of operation with a new chain, and every 15 to 30 minutes during prolonged cutting sessions.
Can I tension a chainsaw while it’s still hot?
No. Always let the chainsaw cool completely before adjusting tension. Tightening a hot chain causes over-tensioning once it cools and contracts, leading to binding and damage.
How do I know if my chain is too tight?
If the chain cannot be rotated by hand, if it generates excessive heat along the bar rails, or if the engine stalls during use, the chain is likely too tight. Use the nickel trick or snap test to verify.
What happens if my chain is too loose?
A loose chain can derail from the guide bar during operation, increasing the risk of injury. It also accelerates wear on the guide bar groove, drive sprocket, and clutch drum.
Why does my new chain need to be retensioned?
New chains stretch significantly during their first few minutes of use. Retensioning after 5 to 10 minutes of cutting ensures the chain stays properly seated and prevents premature derailment.
Can I use any coin for the nickel trick?
The U.S. nickel works best because it’s approximately 7/16 inch thick, which matches ideal clearance for most standard chains. Other coins may not provide accurate measurement.
Key Takeaways for Proper Chain Tension
Proper chain tension is not a one-time setup. It’s an ongoing maintenance task that protects you and your equipment.
Always tension a cool chain. Never adjust immediately after use, as thermal expansion causes inaccurate tensioning.
Disengage the chain brake before checking or adjusting tension. This ensures you can rotate the chain freely and get an accurate reading.
Hold the bar tip upward during adjustment, except with Oregon Intenz bars. This prevents false slack and ensures accurate tensioning.
Use the nickel trick and snap test to verify correct tension. These field-tested methods are more reliable than visual inspection alone.
Recheck tension frequently, especially with new chains. A second adjustment after 5 to 10 minutes of cutting is essential for new chain installation.
For model-specific details, always consult your operator’s manual or manufacturer resources. When in doubt, err on the side of slightly loose, as it’s safer than an over-tightened chain.



