
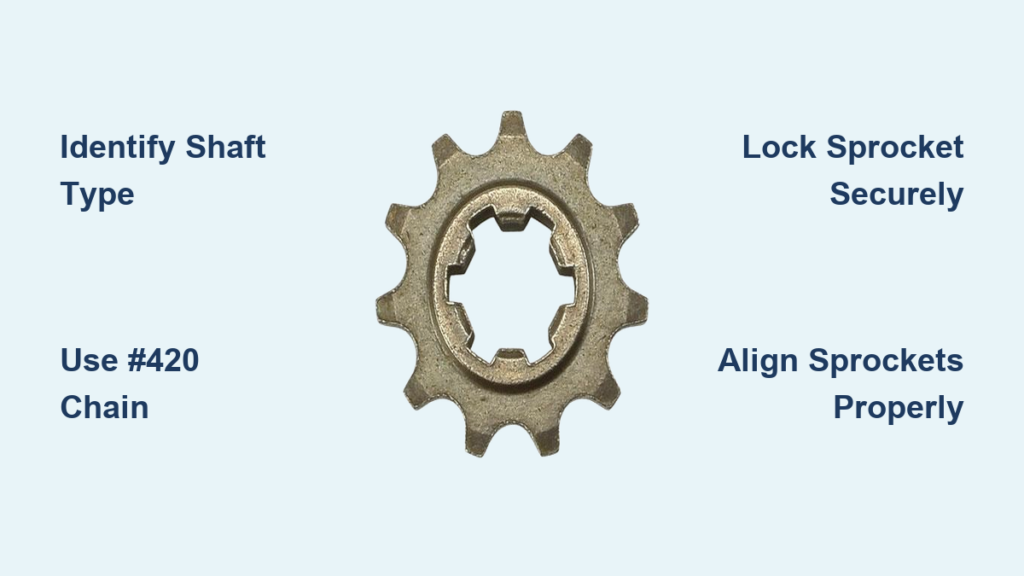
Installing a motor on your bicycle often starts with learning how to put a sprocket on a weedeater shaft securely. Most trimmer shafts lack the built-in features needed for bicycle chains, requiring careful modification to prevent dangerous slippage or failure during operation.
This guide details four proven methods to attach a drive sprocket using common tools and materials found in most workshops. You will learn to identify your specific shaft type, calculate the correct gear ratios, and lock your sprocket in place for a reliable drivetrain.
Identify Your Weed Eater Shaft Type Before Cutting
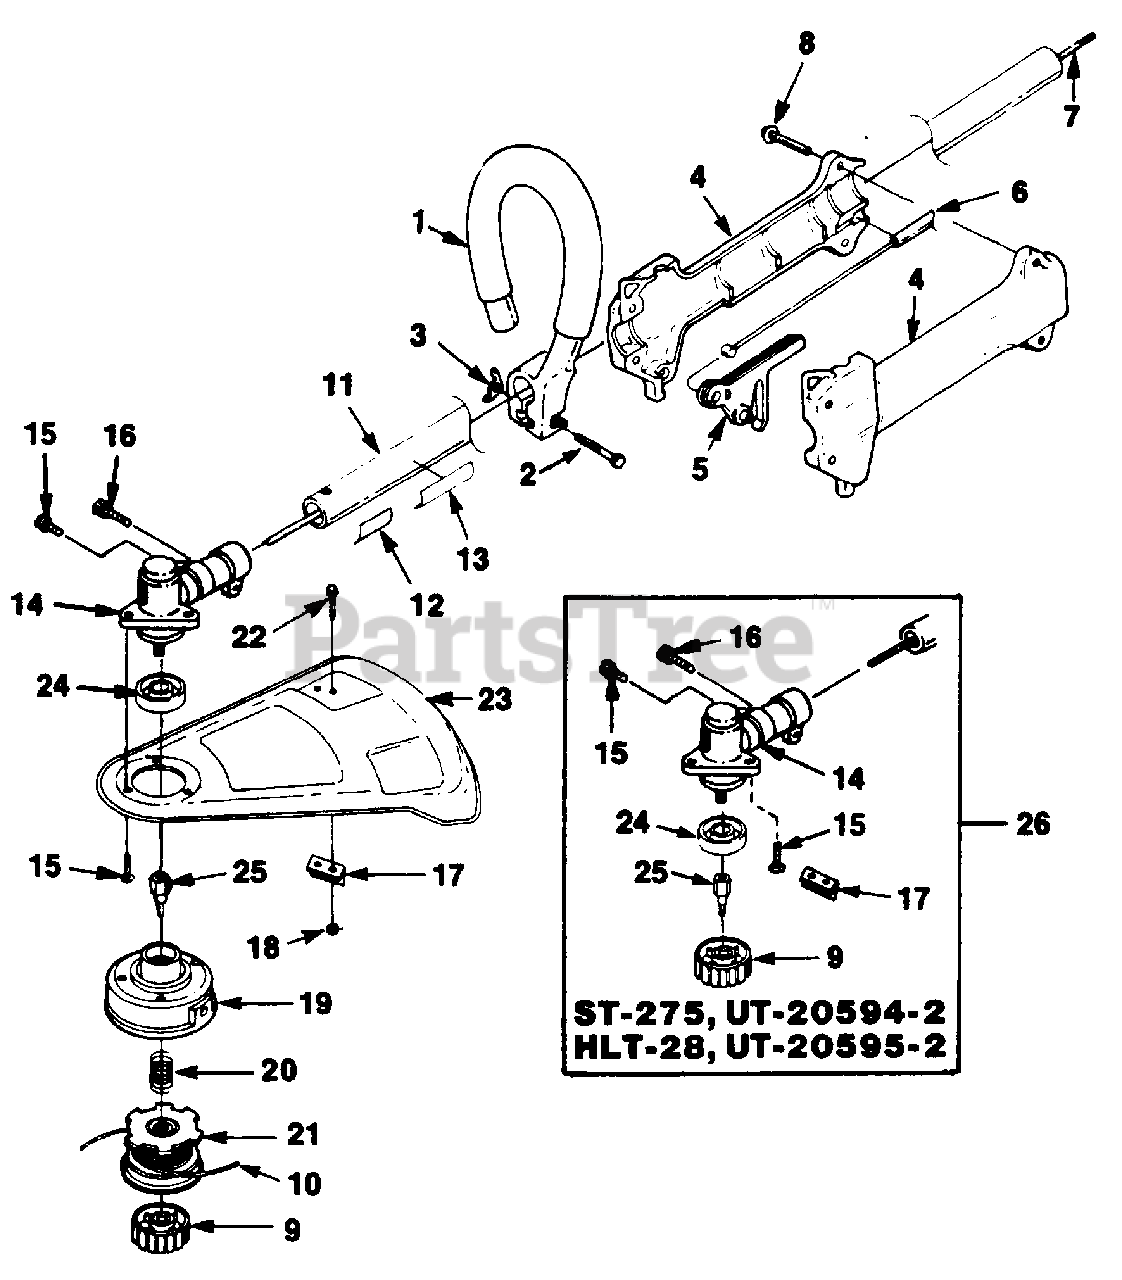
Determining your engine’s output shaft design is the critical first step before selecting a mounting method. Using the wrong technique on a square shaft or a round shaft with a keyway can lead to immediate mechanical failure.
Measure Shaft Diameter and Profile
Use a caliper to measure the exact diameter of the output shaft after removing the string spool. Inspect the surface closely for flat spots, internal square holes, or external keyways that dictate adapter compatibility.
* Round shafts often feature a single flat spot for torque transfer.
* Square shafts are common in specific Homelite models.
* Internal square holes require a peg or custom insert to drive the sprocket.
Verify Engine Rotation Direction
Stand in front of the output side and pull the starter cord to check spin direction. The shaft must rotate clockwise to move a standard bicycle forward without complex gearing reversals. Most two-stroke trimmers spin correctly, but verifying this prevents building a bike that only moves in reverse.
Select the Correct Sprocket and Chain Size

Choosing the right tooth count and chain pitch ensures your small engine can actually move the bicycle weight. A mismatch here results in an engine that stalls on flat ground or a drivetrain that wears out in minutes.
Calculate Gear Ratios for Small Engines
Small 26cc to 31cc engines require significant reduction to generate usable torque. A single stage reduction of 4:1 is rarely enough for real-world riding conditions.
* Engine Sprocket: Use 10-tooth to 14-tooth sizes for the drive unit.
* Rear Sprocket: Pair with a 44-tooth or larger rear cog.
* Total Reduction: Aim for a 10:1 to 13:1 ratio, often requiring a jackshaft system.
Match Chain Pitch to Sprocket
Standard bicycle chains are too narrow and weak for high-RPM gas engines. You must use a #420 roller chain commonly found on mini bikes and go-karts. Ensure your selected sprocket is explicitly rated for #420 pitch to prevent skipping teeth under load.
Method 1: Install Sprocket Using Notched Washer
This technique works best for round shafts that have an existing flat spot and original threading. It reuses the factory retention system for a clean, reversible installation.
Prepare the Spacer and Washer
Cut a short piece of steel pipe to act as a shoulder between the engine body and the sprocket. File a deep notch into a standard metal washer so it matches the flat profile of your specific shaft exactly.
Assemble the Drive Unit
- Remove the original string spool and retaining knot.
- Slide the steel pipe spacer onto the shaft until it seats firmly.
- Tap the notched washer into the center hole of your sprocket.
- Place the sprocket assembly onto the shaft ensuring the notch engages the flat spot.
- Reinstall the original retaining bolt and tighten securely with thread locker.
Method 2: Weld Sprocket to Custom Bolt Adapter
Builders with access to welding equipment can create a permanent, slip-proof drive unit. This method is ideal for clutch-equipped engines where the original hub shape can be matched.
Fabricate the Bolt Drive
Select a Grade 8 bolt and grind a square section on the shank to match the internal shape of your clutch hub. Weld a 14-tooth sprocket directly to the head of this bolt for maximum strength.
Install the Welded Assembly
Press a skateboard bearing into the clutch drum if necessary to ensure smooth rotation around the fixed bolt. Insert your custom bolt through the sprocket and clutch hub, then tighten it down to lock the entire assembly to the rotating shaft.
Method 3: Adapt Square Hole Shafts with Pegs

Some Homelite models feature a shaft with a square recess rather than a protruding round shaft. This requires a custom peg to transfer power from the engine to the sprocket.
Create the Square Drive Peg
Cut a piece of square steel stock that fits snugly into the shaft’s internal hole. This peg acts as the primary driver and must be tight to prevent rounding out the soft metal of the shaft.
Mount Sprocket to Peg
Weld or press your chosen sprocket onto the exposed end of the square peg. If welding is not an option, drill a hole through the engine housing and peg to install a set screw that locks the rotation.
Method 4: Use Commercial Sprocket Adapters

Purchasing a pre-made adapter is the fastest route if your engine model is supported by manufacturers. These kits eliminate fabrication time and offer precise engineering.
Source Model-Specific Kits
Search for adapters designed specifically for Ryobi or Homelite shafts that accept #420 chain. These units typically include keyed couplers and bearing supports that bolt directly to the existing threads.
Install the Adapter Unit
Remove the trimmer head and slide the commercial adapter onto the shaft. Bolt your sprocket onto the adapter face using the provided hardware, ensuring all keys align before final tightening.
Secure Sprocket Alignment and Prevent Slippage
A loose sprocket destroys chains and creates dangerous situations where the drive fails at speed. Proper locking and alignment are non-negotiable for safety.
Apply Locking Mechanisms
Vibration from two-stroke engines will loosen standard nuts quickly. Use blue thread locker on all bolts and employ nylon lock nuts or double-nut techniques on through-bolts. Check all fasteners after the first ten minutes of operation.
Align Front and Rear Sprockets
Misalignment causes rapid chain wear and derailment. Sight down the chain line from above to ensure the engine sprocket and rear wheel sprocket are perfectly parallel.
* Use a straight edge across both sprocket faces.
* Allow no more than 1/16 inch deviation.
* Add shims behind the sprocket if the engine mount angle is off.
Tension Chain and Test Drivetrain Safety
Correct chain tension balances power transfer with component longevity. Too much slack causes slapping, while excessive tension damages bearings.
Set Proper Chain Tension
Install the #420 chain using a rivet-style master link for superior strength. Push down on the mid-span of the chain to check slack.
* Aim for 1/4 inch to 1/2 inch of vertical movement.
* Install a chain tensioner or adjustable mount to maintain this setting.
* Lubricate the chain regularly with wet lube designed for small engines.
Perform Static and Dynamic Tests
Lift the rear wheel off the ground before your first ride. Start the engine at idle and gradually increase throttle while watching for wobble, vibration, or sprocket movement. Stop immediately if you hear grinding or see the chain jumping teeth.
Frequently Asked Questions About Weedeater Sprockets
What size sprocket do I need for a 26cc weed eater?
You typically need a 10-tooth to 14-tooth sprocket on the engine side paired with a large 44-tooth or bigger rear sprocket. This combination provides the high gear reduction necessary for small engines to move a bicycle effectively.
Can I use a regular bicycle chain on my weed eater conversion?
No, standard bicycle chains are too narrow and weak for gas engine torque. You must use a #420 roller chain and matching sprockets to ensure the drivetrain survives the high RPM and power output.
How do I stop the sprocket from spinning on the shaft?
You must create a keyed connection using a flat spot, square peg, or notched washer. Simply tightening a bolt on a smooth round shaft will result in slippage; the drive interface must physically lock the rotation.
Why does my motorized bike stall on flat ground?
Your gear ratio is likely too low for the engine displacement. A 26cc engine often needs a total reduction of 10:1 or higher, which may require adding a jackshaft or installing a larger rear sprocket.
Do I need a clutch to put a sprocket on the shaft?
While not strictly required to mount the sprocket, a clutch is essential for practical riding. Without one, the engine drives the wheel immediately upon starting, forcing you to pedal-start or push-start the bike every time.
Key Takeaways for Installing Your Weedeater Sprocket
Successfully learning how to put a sprocket on a weedeater shaft depends on matching the mounting method to your specific shaft geometry. Whether you choose the notched washer technique, a welded bolt solution, or a commercial adapter, ensuring a keyed and locked fit is vital for safety.
Proper gear reduction and chain alignment are just as important as the physical attachment. Double-check your sprocket parallelism, apply thread locker to all fasteners, and test your setup at low speeds before hitting the road.



