
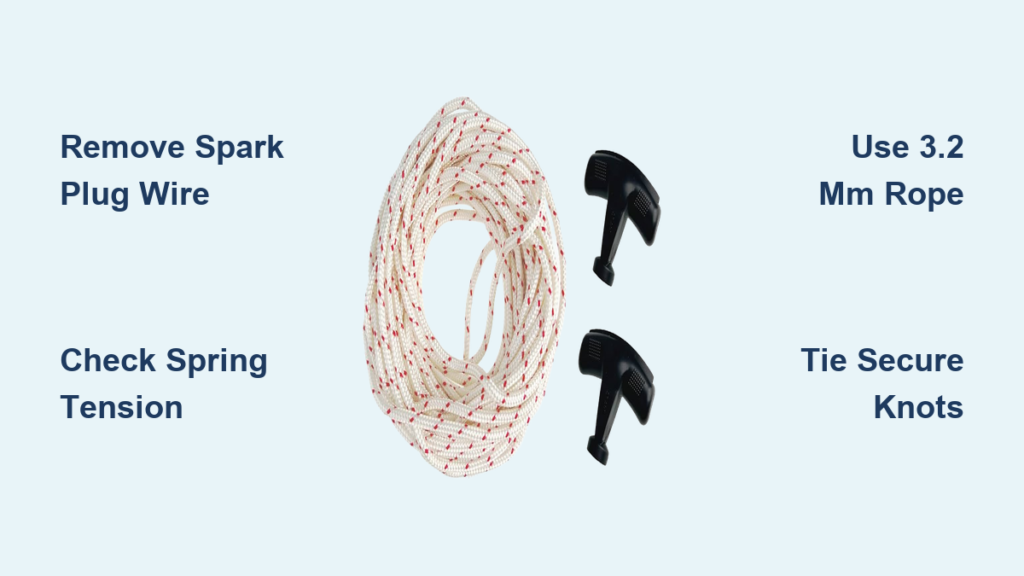
You’re ready to tackle a pile of firewood, but your chainsaw won’t start. You pull the starter cord once, twice, and it either won’t retract or snaps completely. A broken or frayed pull cord is one of the most common chainsaw failures, but the good news is you can fix it yourself in under an hour. With basic tools and the right technique, replacing a pull cord restores reliable starting without costly service calls.
This guide covers everything you need to know about chainsaw pull cord repair step by step. You’ll learn how to safely disassemble the starter housing, replace the rope with correct tension, and reassemble with confidence. Whether you own a Husqvarna, Stihl, Echo, or another brand, this guide delivers model-specific tips, critical safety warnings, and pro techniques used by technicians.
Remove the Starter Housing Safely

Before touching any screws, disconnect the spark plug wire. This prevents accidental ignition during repair, a critical safety step often skipped by beginners. Once disconnected, place the chainsaw on a clean, stable workbench with good lighting.
Locate the recoil starter housing, typically on the side opposite the clutch. It’s held by three to four screws, but their type and placement vary by model. Husqvarna 372 XP uses three hex screws. Stihl MS 261 requires one Torx, one tab screw, and two chain-side screws. Echo CS-620 hides one screw under the brake cover. Use the correct screwdriver, Phillips, Torx, or flathead, to avoid stripping screw heads. Remove each screw carefully and place them on a labeled cloth or tray. If your model has a chain brake or air filter cover blocking access, remove those first.
Lift the housing gently. Inside, you’ll see the reel hub, recoil spring, and starter rope pulley. Don’t force it. If the cover sticks, check for missed screws. Forcing can crack plastic housings or misalign internal parts.
Check for Model-Specific Access Rules
Some chainsaws simplify access for DIY repair. Husqvarna 455 Rancher has a chain-brake cutout, allowing partial access without full disassembly. Echo CS-400 requires removal of the air cleaner and brake coil before the starter housing becomes visible. Always verify your model’s layout before proceeding. A quick photo of screw positions helps during reassembly.
Safety First: Handle the Recoil Spring with Care
The recoil spring is under high tension. Never remove the central fastener unless replacing the spring itself. This can cause violent release, leading to injury or damaged components. If the spring looks broken or deformed, replace it with an OEM part. Wear protective eyewear and gloves. Even experienced users have been injured by uncontrolled spring ejection.
Inspect and Remove the Old Starter Rope
With the housing off, examine the starter rope, pulley, and spring. Look for fraying or complete breakage. Check if the rope is stuck in the notch or housing. Inspect the reel hub for cracks and the spring for corrosion.
If the rope is broken, pull out about 12 inches of the remaining cord. Place it in the notch on the pulley rim and slowly rotate the pulley counter-clockwise to release spring tension. Do this gently. Letting it spin freely can damage the spring.
Use the Locking Method (Husqvarna-Friendly)
On models like the Husqvarna 455 Rancher, you can avoid full disassembly. First, remove only the Phillips screw on the take-up brace. Then, insert a bent metal strip or DIY hook into the cord space. Reinstall the screw to lock the reel in place. This method keeps spring tension controlled while allowing safe rope replacement, ideal for beginners.
Extract the Old Rope Completely
Cut the old rope near the handle. Use needle-nose pliers to untie or pull the knot from the handle end. Then, thread the rope through the pulley hole from outside to inside and remove it. If the knot is jammed inside the pulley, use pliers to retrieve it. Check the pulley hole for enlargement. If it’s worn, the new knot may pull through. Consider replacing the reel hub if damaged.
Prepare the New Pull Cord Correctly
Buy 3.2 mm braided nylon rope, the standard diameter for most chainsaws. Confirm your model’s requirement. Using 2.5 mm or 4.0 mm can cause slippage or binding. Purchase at least 4 feet to allow for knotting and adjustments. Cut the rope to 36 inches unless using the old cord as a template. Clean, square cuts ensure smooth threading.
Heat-Treat the Rope Ends
Use a lighter or heat gun to melt each end for one to two seconds. Then, press with pliers to form a tapered, hardened tip. This prevents fraying and makes threading easier. Warning: Overheating creates brittle tips that crack under tension. Melt just enough to seal the fibers.
Choose the Right Knots
Knot strength is critical for reliable chainsaw pull cord repair. For the pulley end, tie a double overhand knot, large enough to resist pulling through the hole. For the handle end, use a figure-eight knot for bulk and security. After tying, melt and trim the knot ends for durability. A poorly secured knot is a common cause of post-repair failure.
Install the New Starter Rope
Start by threading the new rope through the pull handle. Tie the figure-eight knot on the handle end and melt it. Set the handle aside for now. Feed the other end through the hole in the starter pulley from inside to outside. Then route it through the hole in the starter housing. Make sure the rope lies flat in the notch on the pulley rim. This guides it during winding.
Secure the Pulley Knot
Tie the double overhand knot on the free end inside the pulley. Pull it tight against the pulley wall. The knot must not slip when tension is applied. Double-check that the rope isn’t twisted and runs smoothly from pulley to housing.
Rewind the Recoil Spring Properly
This is the most critical step in chainsaw pull cord repair. Incorrect winding causes weak return or spring failure. Hold the pulley stationary with a flathead screwdriver. Wind it clockwise for three to seven full turns, depending on your model. Husqvarna 372 XP requires three to four turns. Husqvarna 455 Rancher needs 4.5 turns. Echo CS-400 uses four to five turns.
Use the Tape Mark Method for Accuracy
To avoid over-winding, stick a piece of painter’s tape on the pulley edge. Slowly release tension and count how many notches pass the mark. This is the resting state, for example, 1.5 revolutions back. To reset, wind 4.5 turns clockwise, then let it unwind back to the resting position. This ensures correct pre-tension without stressing the spring. Never exceed manufacturer specs. Over-winding leads to spring fatigue and premature failure.
Reassemble and Test the Starter
Align the housing and press it into place. Reinsert all screws and tighten evenly. Don’t overtighten, especially on plastic housings or Torx heads. If your model has a soft-start spring, like the Echo CS-400, reattach it now. Insert one end into the cog hole and rotate until it clicks into place. Reconnect the decompression valve if disconnected.
Perform a Functional Test
Pull the cord slowly. It should extend smoothly. Release. It should retract fully and quickly. No jerking, binding, or slack should remain. If retraction is weak, the spring may be under-wound. If it’s too hard to pull, it’s over-wound. Disassemble and adjust.
Conduct a Cold Start Test
Reconnect the spark plug wire. Engage the decompressor if equipped and pull five to ten times. You should feel consistent resistance and hear the flywheel engaging. If the engine starts, let it run for 30 seconds to confirm normal operation.
Fix Common Post-Repair Issues
Even careful repairs can go wrong. Here’s how to troubleshoot the most frequent problems.
Cord Won’t Retract
Cause: Weak or broken spring, tangled rope, dirty housing. Fix: Clean debris from housing, recheck winding direction and count. Replace spring if damaged.
Hard Pulling Resistance
Cause: Over-wound spring, too-thick rope, or binding. Fix: Verify rope diameter, 3.2 mm standard. Unwind and reset with correct turns.
Cord Pulls Out But Doesn’t Engage
Cause: Disconnected flywheel link or damaged starter cog. Fix: Re-seat the reel on the flywheel shaft. Inspect cog teeth for wear.
Knot Keeps Pulling Through
Cause: Worn pulley hole or undersized knot. Fix: Add a second knot or replace the reel hub. Melt and secure knot thoroughly.
Reel Spins Freely Without Tension
Cause: Spring disengaged or anchor loose. Fix: Reinstall spring end into its slot. Confirm anchor point is secure.
Prevent Future Pull Cord Failures
A well-done chainsaw pull cord repair can last years with proper care. Follow these maintenance tips. Inspect monthly. Look for fraying, stiffness, or discoloration. Clean housing during replacement. Remove sawdust and old grease. Lubricate sparingly. Use dry silicone spray on the rope and pulley. Never use oil, as it attracts dirt. Store dry. Moisture causes rope rot and spring corrosion. Replace cracked handles. A broken handle can lead to sudden detachment. Use quality rope. Cheap alternatives fail faster. Stick with high-strength nylon.
Avoid pulling the cord fully when starting. This stresses the knot and housing. A smooth, controlled pull extends life.
Know When to Call a Pro
While most pull cord issues are DIY-friendly, some problems require expert help. Broken recoil spring that won’t hold tension needs professional replacement. Damaged flywheel or starter clutch also demands certified service. Cracked pulley hub or housing may require complete assembly replacement. Repeated failure after correct repair indicates an underlying issue.
If you’re unsure about spring handling or model-specific quirks, consult your manufacturer’s service manual or a certified technician. Some models, like older Stihl units, have complex internal linkages best left to professionals.
Key Takeaways for Successful Chainsaw Pull Cord Repair

A successful chainsaw pull cord repair saves time, money, and frustration. By following these steps, removing the housing safely, installing the correct rope, winding with precision, and testing thoroughly, you restore reliable starting with confidence. Always prioritize safety, use quality parts, and respect the recoil spring’s power. With regular maintenance, your chainsaw will start strong for seasons to come.
Frequently Asked Questions About Chainsaw Pull Cord Repair
How long does it take to replace a chainsaw pull cord?
Most DIY repairs take 20 to 45 minutes for experienced users. Beginners should allow up to 90 minutes. The process involves disconnecting the spark plug, removing the starter housing, replacing the rope, rewinding the spring, and testing.
What size rope do I need for chainsaw pull cord repair?
The standard diameter is 3.2 mm or 1/8 inch. Always confirm your model’s requirement. Using incorrect diameter causes slippage, binding, or premature failure. Purchase at least 4 feet to allow for knotting and adjustments.
Why won’t my starter cord retract after replacement?
This usually indicates under-wound spring tension. The spring wasn’t wound enough during reassembly. Remove the housing and add additional clockwise turns. Weak or broken springs also cause this issue and require replacement.
Can I reuse the old pull cord handle?
Inspect the handle for cracks, brittleness, or deformation. If it appears damaged, replace it. A cracked handle can cause sudden detachment during use, creating a safety hazard. New handles are inexpensive and readily available.
Is the recoil spring dangerous to handle?
Yes. The recoil spring operates under significant mechanical stress. Never remove the central fastener unless replacing the spring itself. Always wear protective eyewear and gloves. Controlled unwinding and winding prevents violent spring ejection that causes injury.
How do I know if I over-wound the recoil spring?
Over-winding creates excessive pulling resistance and can lead to spring fatigue or breakage. If the cord is extremely hard to pull, unwind several turns and reset to the correct count. Always verify against manufacturer specifications for your model.



