
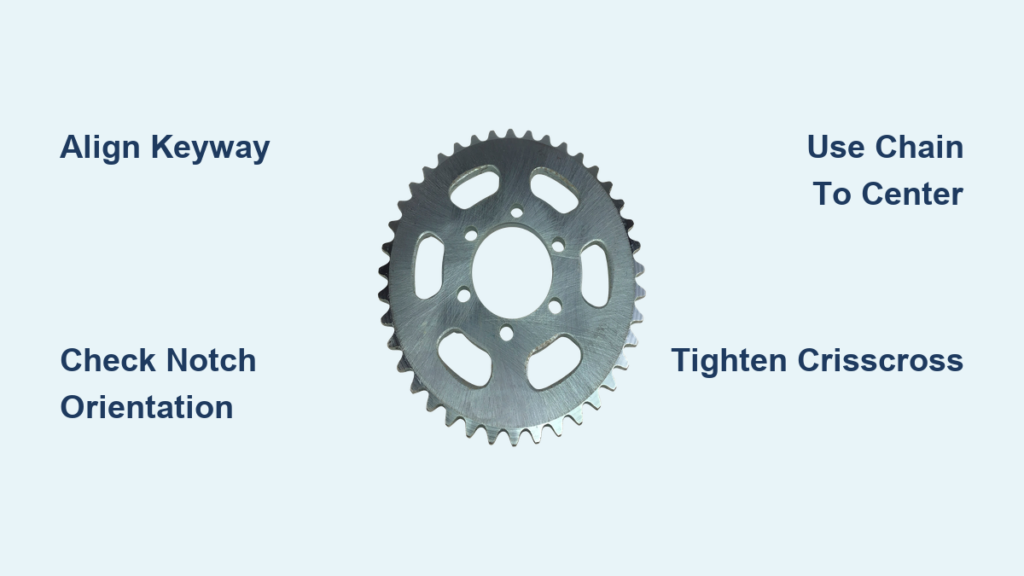
Is your go-kart chain skipping or making strange noises? Learning how to install sprocket on go-kart axle correctly stops power loss and prevents dangerous drivetrain failure before you hit the track.
This guide details every step to align keyways, secure lock collars, and tension your chain for smooth operation. You will master the exact techniques used by pros to ensure your kart runs safely and efficiently.
Prepare Your Workspace and Secure the Kart
Safety starts before you touch a single tool. You must create a stable environment to prevent accidents during installation.
Block Wheels and Disconnect Power Sources
Park your kart on a flat, level surface to ensure stability. Engage the parking brake and place wheel chocks or bricks against the front wheels.
For gas karts, disconnect the spark plug wire immediately. Electric models require battery removal to eliminate accidental startup risks.
Gather Required Tools and Components
Having the right equipment ready saves time and prevents errors. Collect these items before starting:
- Socket wrench set with 7/16″ and 9/16″ sizes
- 3/16″ Allen key for hub set screws
- Pliers for stubborn nuts or collars
- Straight edge or metal ruler for alignment
- Wire brush and degreaser for cleaning
- Penetrating oil like PB Blaster for rust
- Grease or anti-seize compound
- Camera to document disassembly steps
Take photos of the current setup to reference during reassembly. This helps you remember sprocket orientation and collar positions.
Inspect Axle Diameter and Keyway Fitment
A successful installation begins with a clean, undamaged axle surface. Poor preparation leads to wobbling and premature wear.
Check Axle Condition and Cleanliness
Most karts use a 5/8″ solid steel live axle. Verify your size with a caliper or ruler before proceeding.
Look for deep scoring, bending, or heavy rust where components mount. Clean the entire section with a wire brush and degreaser to remove old grease.
Verify Key Stock Length and Fit
The keyway locks the sprocket hub to the axle. It must match the machined slots in both parts perfectly.
Use a key at least 1-1/4″ long for full engagement. Slide it into the axle slot so it sits flush without wobbling.
Apply a thin coat of anti-seize lubricant to the key and slot. This prevents future seizing and makes removal easier.
Mount Sprocket Hub with Keyway Alignment

The hub transfers torque from the axle to the sprocket. Proper positioning here is critical for downstream performance.
Slide Hub and Collar Onto Axle
Slide the hub and a locking collar onto the axle loosely. Position them near the final location on the engine side of the kart.
Identify the interlocking faces of the hub and collar. These must face each other to allow the collar to press firmly against the hub.
Insert Key and Align with Hub Face
Insert the key into the axle slot. Slide the hub over the key until it is flush with the flat side of the hub.
On the collar side, the key should protrude slightly. This allows the collar key relief notch to seat properly over the key.
Index Locking Collar Over Key Relief
Slide the locking collar over the hub and onto the axle. Align the key relief cutout with the protruding portion of the key.
Ensure the key is flush with or just above the collar face. Reposition the key if it appears sunken or recessed.
Tighten Hub Set Screws Securely
The hub typically uses two 3/16″ Allen bolts and a small center set screw. Follow this sequence for best results:
- Snug the Allen bolts to hold the hub in place temporarily.
- Tighten the center set screw to press down on the key.
- Ensure the set screw locks the key to prevent vertical movement.
Do not fully torque yet if you need to adjust final alignment later. Snug is sufficient to prevent slippage during setup.
Pro Tip: Tape the ends of excess key length in high-vibration environments. This prevents snagging while you work.
Install Sprocket with Correct Orientation

Mounting the sprocket requires attention to specific notches and seams. Incorrect orientation causes immediate chain drop.
Identify Half-Circle Notch and Seam
Examine the sprocket closely for two features. Look for a half-circle notch on one edge of the bore and a seam line where it was formed.
Never install the sprocket backward. The half-circle notch must align with the hub keyway or mounting feature.
Remove Sprocket Guard If Present
Many karts have a two-piece sprocket guard held by 7/16″ lugs. Remove all six lug nuts carefully.
Pull off both guard halves gently. Leave the studs in the hub unless they show signs of damage.
Mount Sprocket and Align Seam Opposite Guard
Place the sprocket onto the hub studs. Rotate it so the half-circle notch aligns with the hub keyway.
Position the sprocket seam 180 degrees opposite the guard seam. This distributes stress evenly and reduces fatigue on weak points.
Slide the second guard half back into place. Ensure it fits smoothly without binding or rubbing against the sprocket.
Snug Lug Nuts in Crisscross Pattern
Thread all lug nuts onto the studs loosely. Do not fully tighten them at this stage.
Snug them down lightly in a crisscross pattern. This ensures even pressure and prevents warping the sprocket.
Align Sprocket Using Chain Tension Method
Static installation is not enough. You must dynamically align the sprocket so the chain runs smoothly.
Rotate Axle and Observe Chain Movement
Connect the chain and keep lug nuts loose. Spin the axle by hand through a full rotation.
Watch the chain closely for issues. Look for tightening and loosening cycles or teeth jumping.
Loosen and Re-Center with Chain Pull
Loosen all lug nuts slightly if the chain tension varies. Spin the axle again while applying light tension to the chain.
Let the chain pull the sprocket into its natural center position. This self-aligning technique uses the chain path as a guide.
Final Tighten in Crisscross Sequence
Fully tighten all lug nuts once the chain runs smoothly. Use a crisscross pattern to maintain even clamping force.
Check chain tension for about 1/2 inch of up-and-down play. Adjust as needed at the midpoint between sprockets.
Verify Sprocket-to-Gear Parallel Alignment
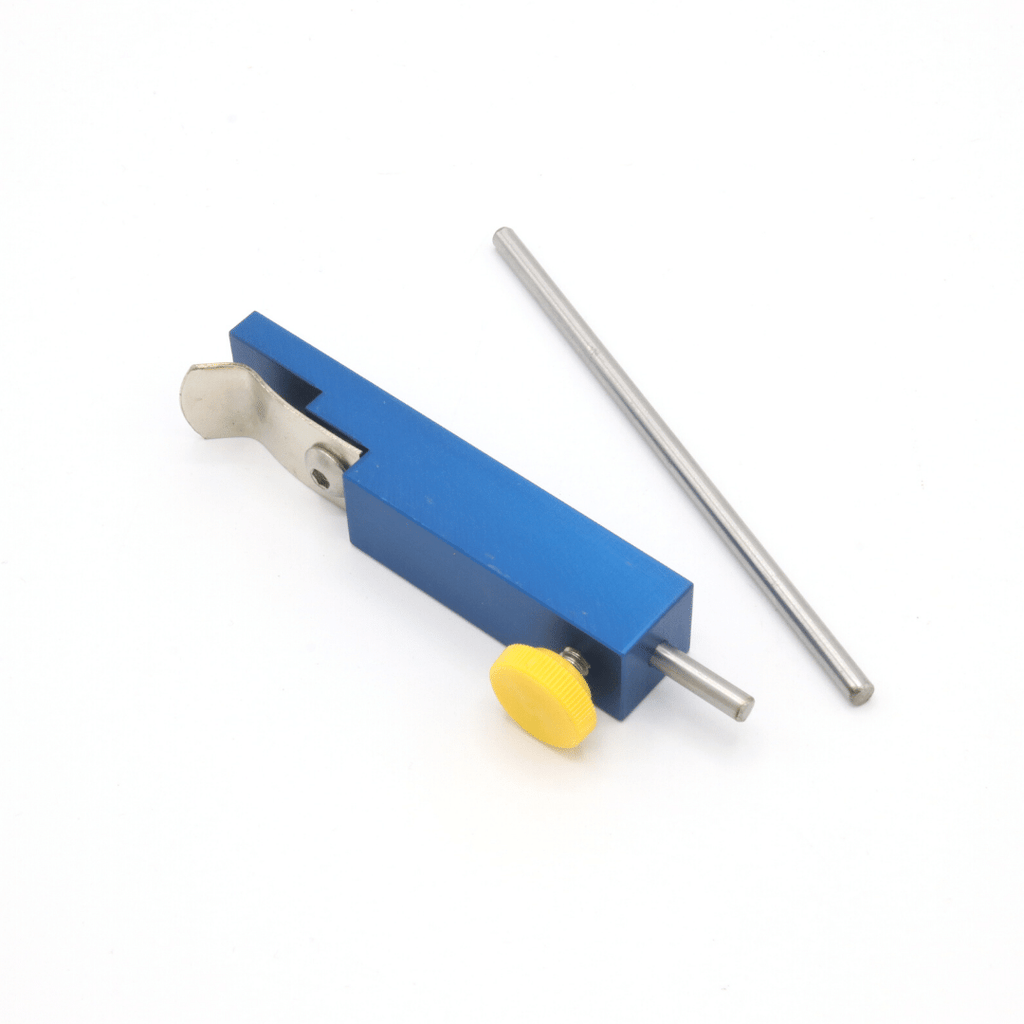
Misalignment with the engine drive gear causes rapid chain wear. You must ensure both sprockets are parallel.
Use Straight Edge for Parallel Check
Place a straight edge against the face of the rear sprocket teeth. Extend it forward to the engine drive gear.
The straight edge should touch both sets of teeth evenly. Gaps indicate the sprockets are not parallel.
Adjust Axle or Engine Mounting if Needed
Loosen engine mounting bolts if misalignment exists. Shift the engine slightly left or right to correct the angle.
Alternatively, adjust the axle position by loosening pillow block mounts. Re-check alignment after every adjustment.
Assemble Full Live Axle System Components
Building from scratch requires a specific order of operations. Follow this sequence for safe assembly.
Slide Axle Through Pillow Block Bearings
Insert the axle through both pillow block bearings first. Support the ends on blocks to keep the shaft level.
Position bearings so the open side faces up. This allows access to mounting bolts later in the process.
Secure Bearings with Retaining Collars
Slide black retaining collars onto the axle ends. Position them against the inner race of each bearing.
These collars prevent bearing movement along the shaft. Do not fully tighten until the axle is mounted to the frame.
Add Outer Lock Collars for Safety
Install silver lock collars on the outside of each bearing. These stop the entire axle from shifting sideways under load.
Tighten these securely once the frame is mounted. They are a critical safety feature for lateral stability.
Install Sprocket and Brake Drum
Slide on a spacer collar on the engine side to prevent rubbing. Mount the sprocket hub and sprocket as detailed earlier.
Install the brake drum on the opposite side using a second keyway. This locks the brake to the axle rotation.
Mount Wheels and Finalize Assembly
Slide wheels onto both ends of the axle. Insert wheel keys if your model requires them.
Spin each wheel to ensure free rotation. Add final lock collars outside the wheels to prevent lateral movement.
Troubleshoot Common Sprocket Installation Issues
Even careful work can encounter problems. Here is how to fix frequent issues quickly.
Chain Skipping or Jumping Teeth
Check these common causes if the chain skips:
- Sprocket installed backward with wrong notch orientation
- Loose or sheared keyway allowing slippage
- Misaligned sprockets causing uneven tension
- Worn chain or sprocket needing replacement
Replace both chain and sprocket as a set for best performance.
Axle Moving Side-to-Side
Lateral movement indicates loose locking components. Check the outer silver lock collars immediately.
Ensure bearing hangers are bolted securely to the frame. Use 3-inch washers under each nut for proper load distribution.
Difficulty Removing Old Sprocket on Hex Axles
Some Manco models use hexagonal axles instead of round keyed ones. Removal often requires dropping the entire axle.
Unbolt the four bearing hanger bolts to slide the axle out. Clean the hex profile with a wire wheel before reassembly.
Avoid cutting the sprocket unless necessary. Dropping the axle is usually faster and safer for hex models.
Frequently Asked Questions About Go-Kart Sprocket Installation
What size keyway do I need for a 5/8″ go-kart axle?
Most 5/8″ axles use a standard rectangular key stock. Ensure the key is at least 1-1/4″ long for full engagement in the slot.
How do I know if my sprocket is installed backward?
Check the half-circle notch on the sprocket bore. It must align with the hub keyway feature or the chain will drop immediately.
Why does my chain tighten and loosen as the axle spins?
This indicates the sprocket is not concentric with the axle. Loosen lug nuts and let the chain self-center the sprocket while spinning.
Can I install a new sprocket without removing the axle?
On round keyed axles, you often can. Hex axle models like some Manco karts usually require dropping the entire axle for removal.
How tight should the chain tension be after installation?
Aim for about 1/2 inch of up-and-down play at the chain midpoint. This allows for suspension movement without slapping.
Do I need to grease the keyway during installation?
Yes, apply a thin coat of anti-seize or grease to the key and slot. This prevents rust seizing and makes future removal easier.
Key Takeaways for Installing Your Go-Kart Sprocket
Installing a sprocket correctly ensures your go-kart transfers power efficiently and safely. Always align the keyway flush, orient the sprocket notch correctly, and use the chain to self-center the assembly before final tightening.
Regularly inspect your lock collars and chain tension to maintain peak performance. Follow these steps precisely to enjoy a smooth ride and avoid costly drivetrain repairs.



