
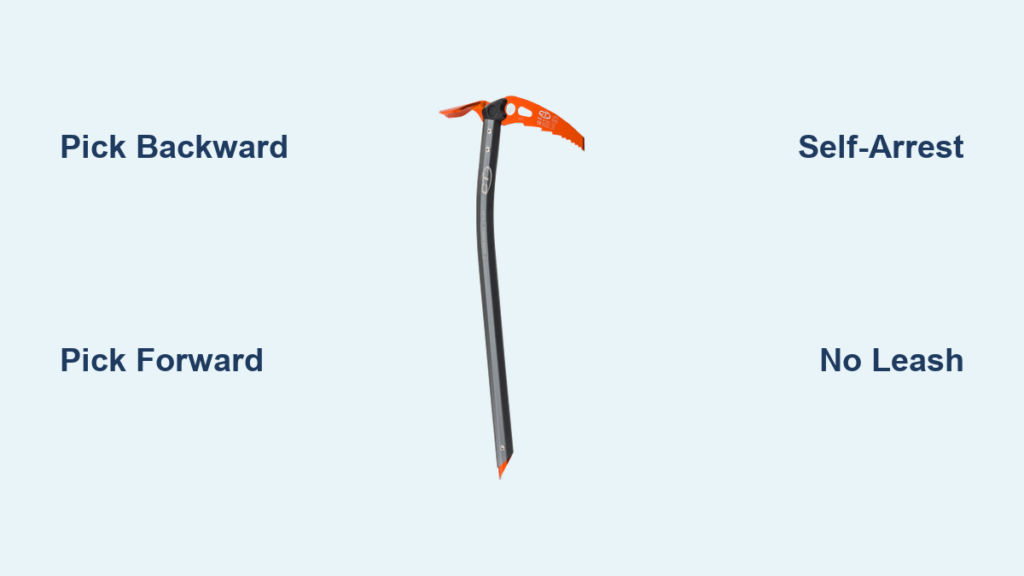
You’re ascending a 45-degree slope of hard-packed snow, boots crunching with each step. The wind bites, and one misstep could send you sliding fast. In moments like this, your ice axe isn’t just gear. It’s your lifeline. Knowing how to use an ice axe properly can mean the difference between regaining balance and a dangerous fall. This guide breaks down the safest, most effective techniques for using a single ice axe unroped on moderate to steep alpine terrain.
Whether you’re new to mountaineering or refining your skills, this isn’t about textbook perfection. It’s about practical control. You’ll learn when to dagger the pick forward, when to keep it back for self-arrest, and why many seasoned alpinists skip leashes. Most importantly, you’ll understand that prevention beats reaction: staying balanced is far safer than relying on a last-second arrest.
Choose the Right Grip for the Slope
The way you hold your ice axe changes with slope angle and snow condition. Using the wrong grip can leave you unprepared for a slip or make a fall unavoidable.
Pick Backward: Piolet Canne for Low Angles
Use this grip on slopes under 35 degrees. Hold the axe shaft near the head in your uphill hand, pick facing backward, spike pointing down. Your wrist wraps loosely around the shaft just above the spike.
This is the standard taught in most US and UK alpine courses. However, some French climbers mock it as Piolet Merde. They consider it useful on gentle terrain but inefficient when the going gets steep.
- Enables instant self-arrest with no repositioning needed
- Keeps axe ready for feet-first arrest
- Minimizes fumbling during a fall
When to avoid it: On 45+ degree hard snow, you can’t rely on a quick arrest. If the pick won’t bite, you need proactive balance tools rather than a reactive tool.
Pick Forward: Daggering for Steep Terrain
On slopes of 40–55 degrees, especially with firm snow, hold the axe pick-forward like a dagger. Your uphill hand grips the head, pick pointing uphill and forward.
- Allows plunging the pick directly into snow for balance
- Provides secure placement on hard-packed surfaces
- Supports rhythm and confidence on steep ground
Place the pick in front of you, then step up. Use the shaft in your downhill hand for additional stability. This technique shines when zig-zagging isn’t efficient.
Pro tip: Don’t remove the axe while front-pointing both feet. That breaks your three-point contact and increases fall risk.
Hybrid Plunging for Rock-Hard Snow
If the snow is so firm the pick barely bites, plunge the entire axe vertically into the snow shaft-first.
- Use when pick placements fail
- Works like a staff for balance
- Best on moderate angles where deep shaft penetration is possible
This isn’t self-arrest ready, but on brittle, icy snow, arrest may not work anyway. Focus on staying upright rather than hoping you can stop after falling.
Leash Use: Security vs. Risk
Should you use a leash? The answer divides alpinists. There’s no consensus, only trade-offs.
Why Some Climbers Use Leashes
- Prevents losing the axe during a fall
- Adds security when plunging the axe deep
- Can be clipped to harness for steeper sections
Some climbers carry a harness-clip leash, using it only when terrain demands it. This hybrid approach offers security without constant entanglement.
Why Many Avoid Leashes
- Risk of snagging during hand changes or traverses
- Can tangle in crampons or ropes
- Slows down axe recovery after a slip
- Reduces freedom of movement
Experienced climbers from the US, France, and Switzerland often climb unroped with no leash at all, relying on grip control and immediate self-arrest readiness.
Expert insight: If you do use a leash, keep it short and tangle-free. On steep, technical ground, many find it more hazard than help.
Self-Arrest: When It Works and When It Won’t
Self-arrest is a critical skill, but it’s not a magic fix. On hard, steep snow, arrest often fails.
Self-Arrest Works When:
- Slope is under 35–40 degrees
- Snow is soft enough for the pick to bite
- You react instantly and position correctly
- Axe is already in self-arrest grip with pick back
Key technique: Roll to your front, kick feet down, and drive the pick into the snow with your shoulder. Keep your body aligned and don’t let the axe cross your back.
Practice this: Do drills on safe, concave slopes. Make it muscle memory.
Self-Arrest Fails When:
- Snow is too hard, like black ice or sun-crusted surfaces
- Slope exceeds 45 degrees where acceleration is too fast
- Pick only penetrates an inch or less
- Axe is not in hand or pick is forward
On alpine PD routes with hard-packed snow, a fall may be unstoppable. That’s why prevention, not arrest, is the real safety strategy.
Reality check: If the run-out ends at a cliff or crevasse, no amount of arrest skill will save you. Focus on not falling in the first place.
Match Technique to Terrain and Snow
Conditions matter more than textbook rules. Here’s how to adapt.
45-Degree Hard-Pack Snow: Balance Over Reliance
On firm snow where the spike sinks only 1 inch:
- Use the axe as a balance aid, not a tool for arresting
- Hold pick forward or back depending on what feels stable
- Step deliberately and maintain three points of contact
- Avoid removing the axe while moving
Assess the danger: Is there a long run-out? Crevasses below? Poor snow stability? If yes, consider roping up.
On descent, down-climb with caution. A running belay may be worth the extra time.
Ice-Like Conditions: Treat It Like Ice Climbing
If the pick slides out and the axe won’t plunge:
- Swing the axe from the shaft to set the pick
- Consider using a second ice tool
- Rope up and protect the climb
Hard alpine ice demands ice climbing techniques, not just walking with an axe.
Crampon Techniques That Reduce Risk

Your feet matter as much as your axe. Use the right footwork to stay stable.
French Technique: Heel-Down for Endurance
- Place foot flat, heel down, on the slope
- Engages full crampon front points and side rails
- Relaxes calf muscles, which is critical on long climbs
This method is energy-efficient and stable on moderate to steep snow. It’s the go-to for alpine traverses and sustained slopes.
Hybrid (American) Technique: Mix Flat and Front-Point
- One foot flat, one front-pointed
- Swap leading foot to balance and reduce fatigue
- Useful when terrain varies
Avoid prolonged front-pointing with a single axe, especially if you lose three-point contact when moving the axe.
Key insight from cb294: “The French technique lets you relax your calves. Balance comes from foot and knee position, not fear of falling backward.”
Real-World Advice from Alpine Experts
Don’t just follow rules. Think like a climber who’s been there.
“Do What Feels Safe and Smooth” – Brunoschull
“There is no right answer. If you’re on hard, steep snow where the spike only goes in an inch, self-arrest won’t work. Focus on balance. If it feels unsafe, rope up or retreat.”
This mindset beats rigid technique. Safety is situational.
“Daggering Is Faster Than Zig-Zagging” – Summo
“Don’t overthink the angle. It’s about how it feels, snow quality, and your fitness. Daggering lets you move efficiently on steep ground.”
On firm snow, direct ascents with pick-forward plunges beat switchbacks.
“Avoid Front-Pointing Without Three Points” – tlouth7
“It’s riskier than it looks. If you lift both feet and move the axe, you’re vulnerable. Maintain contact always.”
This is where many slips begin. Control beats speed.
Final Tips for Staying in Control
The safest way to use an ice axe isn’t about one grip or one rule. It’s about adaptability and awareness.
Practice Self-Arrest—But Don’t Rely on It
- Drill on safe, rounded slopes
- Wear gloves and use your real axe
- Roll into position fast: feet down, pick in
But know its limits. On hard, steep snow, arrest is often a last resort, not a solution.
Prioritize Balance and Prevention
- Use the axe as a balance point
- Keep three points of contact when possible
- Move smoothly with no jerky motions
Staying upright is safer than stopping a fall.
Know When to Rope Up
If the fall consequences are severe:
- Long run-out
- Crevasses
- Cliffs below
- Poor snow stability
Then unroped travel is high-risk. Consider a rope, harness, and running belay.
Retreating Is a Smart Move
If the slope feels sketchy, the snow is bulletproof, or your confidence is low, turn around. The mountain will be there tomorrow.
Frequently Asked Questions About Using an Ice Axe
What Is the Safest Grip for an Ice Axe on a Steep Snow Slope?
The safest grip depends on slope angle and snow hardness. On slopes under 35 degrees, hold the pick backward for instant self-arrest readiness. On 40–55 degree hard snow, hold the pick forward (dagger grip) so you can plunge it directly into the slope for balance.
Does Self-Arrest Actually Work on 45-Degree Snow?
Usually not. On hard-packed snow at 45 degrees or steeper, the pick often cannot penetrate deeply enough to stop a fall. Self-arrest works best on slopes under 35–40 degrees with softer snow. On steeper, firmer terrain, preventing the fall is far more reliable than trying to arrest it.
Should I Use a Leash on My Ice Axe?
It’s a trade-off. Leashes prevent losing the axe during a fall and can help on plunging moves, but they can also snag on crampons, ropes, or during hand changes. Many experienced climbers climb unroped with no leash at all, preferring freedom of movement and faster axe recovery.
When Should I Rope Up on a Snow Slope?
Rope up whenever the consequences of a fall are severe, such as a long run-out, crevasses below, cliffs, or unstable snow. If the slope is short and the run-out is safe, unroped travel may be acceptable. When in doubt, rope up.
What Crampon Technique Works Best With a Single Ice Axe?
The French technique (heel-down, flat-footed) is excellent for relaxing calves and maintaining balance on moderate to steep snow. The hybrid or American technique (one foot flat, one front-pointed) helps reduce fatigue on variable terrain. Avoid extended front-pointing without three points of contact when using only one axe.
Is It Better to Zig-Zag or Go Straight Up Steep Snow?
It depends on snow conditions and steepness. On firm snow at 40–55 degrees, straight-up daggering is often faster and more efficient than switchbacks. On softer snow or moderate angles, zig-zagging conserves energy and reduces slope exposure.
Key Takeaways for Using an Ice Axe Safely
How to use an ice axe safely comes down to context, control, and judgment. Use pick-back grip on low angles for self-arrest readiness. Switch to pick-forward daggering on steep, hard snow where plunging the pick into the slope keeps you balanced. Skip the leash if it hinders movement. Above all, prevent the fall before it happens. Your axe is a balance tool first and a brake second. Master both, and you’ll climb with confidence rather than fear.
Next step: Head to a safe, rounded snow slope and practice both grip transitions and self-arrest drills before taking these skills onto steeper terrain.



