If your Stihl chainsaw won’t start, stalls under load, or the chain isn’t turning, you’re not alone. Thousands of users face these issues every season, many due to preventable problems like stale fuel, air leaks, or worn seals. But here’s the good news: most Stihl chainsaw repairs don’t require replacing the entire engine or carburetor. With the right tools and a methodical approach, you can diagnose and fix 90% of failures in under two hours.
This guide reveals the exact diagnostic process used by professional technicians, based on a real-world overhaul of a 20-year-old Stihl MS192T. You’ll learn how to test compression, detect invisible air leaks, verify spark strength, and avoid the number one mistake: replacing the carburetor too soon. Whether you’re troubleshooting a no-start condition or tuning performance after repair, this step-by-step breakdown gives you the confidence to fix it right the first time.
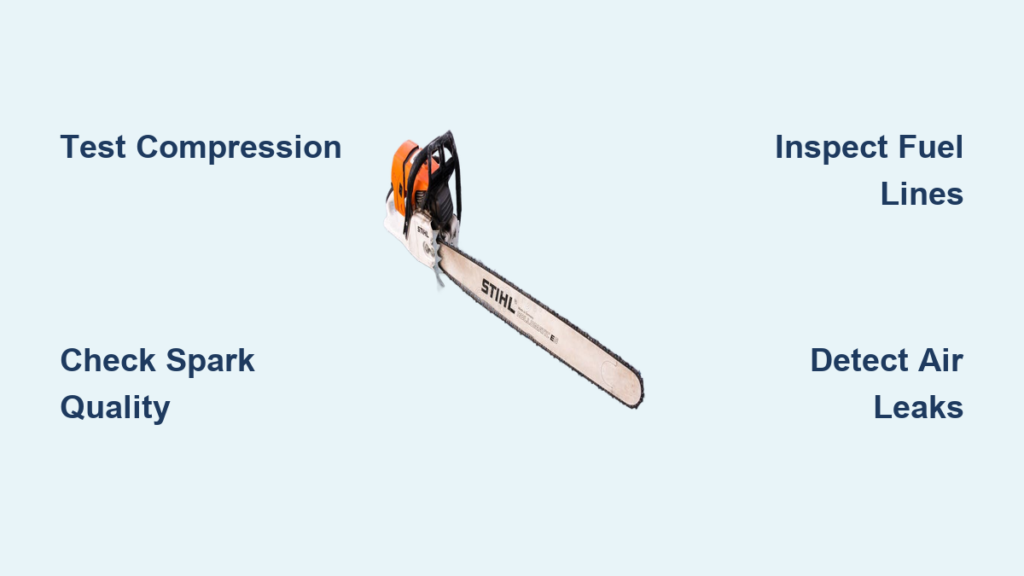
Start with Compression Test

Before chasing fuel or spark issues, confirm the engine’s mechanical health. Low compression means internal damage, while high compression rules it out and directs your attention to fuel or ignition problems.
Why Test Compression First
A compression test is the fastest way to determine if your problem is mechanical or fuel-related. If compression is weak, no amount of carburetor cleaning will help. But if it’s strong, you can focus on simpler fixes.
A good reading is 150 psi or higher. A low reading below 120 psi indicates worn piston rings, cylinder scoring, or crankshaft seal failure. Use a 2-stroke-specific gauge with a long hose and shroud valve for accurate results.
How to Test Compression
Remove the spark plug using a 13/16-inch socket or spark plug wrench. Screw the compression gauge into the spark plug hole. Pull the starter rope five to six times with the throttle held fully open. Record the highest PSI reading.
On the Stihl MS192T case study, the initial reading was 160 psi, confirming healthy internals and meaning the issue had to be elsewhere. If your reading is solid, move to spark and fuel checks. If low, disassemble to inspect piston rings, cylinder scoring, or crankshaft seal failure.
Verify Spark Quality and Gap
Even with a spark plug that looks fine, weak or misfiring spark can prevent starting or cause stalling. Don’t rely on the old method of grounding the plug against the cylinder because that only shows if there’s spark, not how strong it is.
Perform a True Spark Test
Use an extended-gap ignition tester set to a one-quarter-inch gap. Connect the tester between the spark plug cap and the plug. Pull the starter rope. A strong blue spark that jumps the full gap indicates a healthy coil.
A red flag to watch for is orange or weak spark, which means a failing ignition coil or damaged plug cap.
Check Spark Plug Specifications
Use the correct spark plug type, such as NGK BPMR7A or Stihl equivalent. The gap should be 0.5 millimeters or 0.020 inches. Use a feeler gauge to verify this.
Inspect the spark plug for carbon fouling, which indicates a too-rich fuel mixture. Look for oil deposits, which suggest ring or seal leaks. Check for eroded electrodes, which indicate age or wear.
Replace the spark plug every 25 to 50 hours or when symptoms include hard starting and rough idling.
Diagnose Fuel Delivery Issues
No fuel means no start. But fuel problems aren’t always about clogs. They are often hidden leaks or vacuum collapse that go undetected.
Inspect All Fuel Lines
Old fuel lines crack, especially where they contact the tank or carburetor. Don’t just look at them. Squeeze and flex them to find hidden damage.
The main fuel line often splits on the underside, invisible until removed. The primer bulb hose becomes brittle, causing poor priming. The impulse line is critical for carburetor diaphragm operation.
Replace all fuel lines on saws over five years old, even if only one looks bad.
Test for Fuel Flow
Disconnect the fuel line at the carburetor inlet. Place the free end in a clear container. Pump the primer bulb. Watch for a steady fuel pulse.
If no fuel flows, check for a clogged fuel filter, which should be replaced annually. Look for a cracked impulse line, which eliminates pulse and fuel pump action. Check for a collapsed line under vacuum. Use spring-lined replacement hose to prevent this.
Detect Crankcase Air Leaks
Air leaks are silent killers. They mimic carburetor issues but require sealant and gasket fixes, not tuning.
Symptoms of a Crankcase Leak
The engine starts when primed but dies quickly. It idles erratically. It runs lean, producing a high-pitched sound and overheating. It holds idle briefly, then stalls.
These symptoms point to unmetered air entering the system, bypassing the carburetor.
Pressure Test the Crankcase
Use a Mighty Vac hand pump for definitive diagnosis.
Seal the exhaust port with a rubber plug. Keep the spark plug installed to seal the combustion chamber. Connect the Mighty Vac to the intake manifold after removing the air filter. Apply five PSI positive pressure. A rapid drop indicates an air leak.
Switch to 15 inHg vacuum. Immediate loss indicates a significant leak.
Isolate the Leak
Remove the engine and disassemble the flywheel, clutch, and oil pump. Apply soapy water to mating surfaces.
Bubbles at the crankcase joint edge indicate failed RTV sealant. Bubbles near seals indicate bad crankshaft seals.
On the MS192T, the leak was due to degraded RTV, not loose bolts or cracked housing.
Replace RTV Sealant Properly

On older Stihl models, RTV silicone seals the crankcase halves. Over time, it dries, cracks, and leaks, causing air intrusion.
Use the Right RTV
Use DOSS Original RTV or equivalent fuel-resistant, high-temp silicone. Avoid hardware store RTV, which fails under heat and fuel exposure.
Application Steps
Clean surfaces completely with gasket remover and a scraper. Wipe with isopropyl alcohol. Apply a thin, continuous bead around both halves. Do not use a paper gasket. The OEM design relies on RTV for precise clearance. Clamp and let cure overnight before reassembly.
Never skip cure time. Premature use breaks the seal.
Rebuild the Engine Core
Once leaks are sealed, reassemble with fresh internal components.
Install New Piston Rings
Use OEM-spec rings that are pre-gapped. Position rings 90 degrees apart to reduce blow-by. Lubricate lightly with 2-stroke oil before cylinder installation.
Replace Crankshaft Seals
Replace both the front seal on the flywheel side and the rear seal on the clutch side. Use a proper seal driver or socket to avoid pinching. Ensure square seating. A tilted seal leaks immediately.
Torque to Specification
Torque crankcase bolts to 6 N·m or 4.4 lb-ft. Use a calibrated torque wrench. Tighten in a star pattern for even pressure.
Under-torquing causes leaks. Over-torquing cracks the aluminum housing.
Start and Tune the Engine
After repair, proper startup and tuning ensure long-term reliability.
Initial Start-Up Procedure
Fill the tank with fresh 50:1 fuel mix with no ethanol. Engage the choke. Pump the primer until fuel is visible. Pull the starter. It should fire within three pulls.
If it doesn’t start, double-check that the spark plug is seated fully, fuel lines are connected correctly, and the chain brake is disengaged.
Adjust Idle Speed
Turn the idle screw one turn out from gently seated. Start the engine and let it warm up. Adjust until the engine runs steadily and the chain does not move.
Press the tip of the bar lightly against the ground. The chain should not rotate.
Tune High-Speed Needle
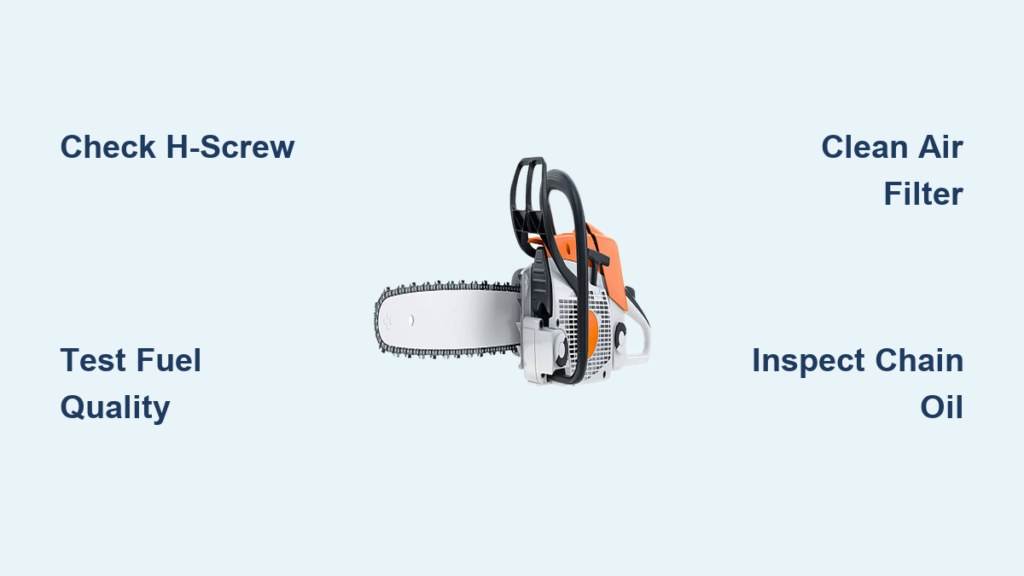
Rev to full throttle. Turn the high-speed H screw slowly clockwise until peak RPM. Back off one-eighth turn to prevent a lean condition. Confirm smooth acceleration with no hesitation.
Running lean causes overheating and piston seizure.
Prevent Chain and Lubrication Failures
A seized chain or dry bar ruins performance and damages components.
Fix Chain Not Turning
Check these three causes.
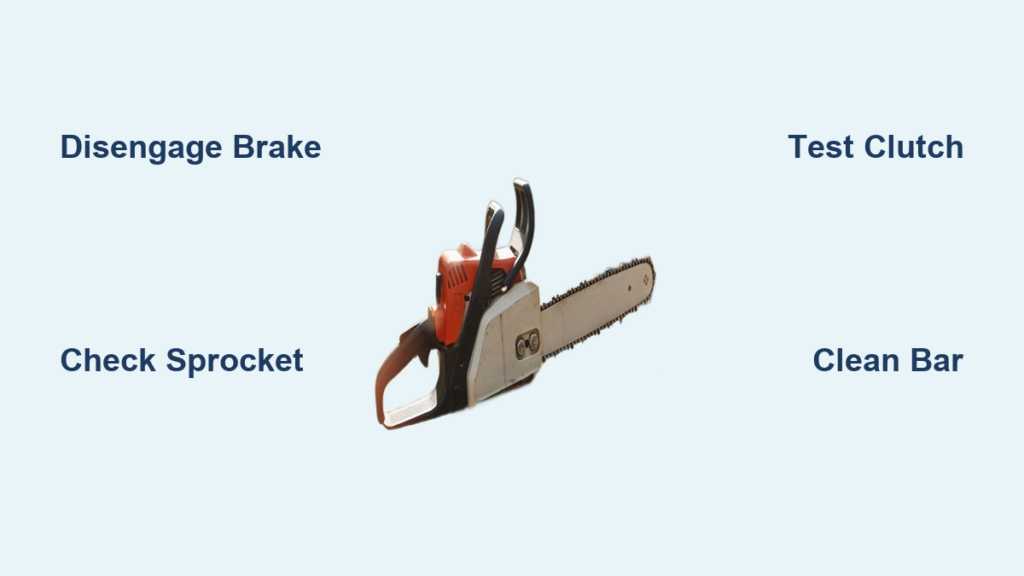
Clutch failure: Worn clutch shoes won’t expand. Stripped drum teeth prevent engagement. Test by spinning the bar tip by hand. The clutch should engage at about one-third throttle.
Chain brake engaged: The brake band locks the sprocket. Fix by flipping the front hand guard forward to release.
Oil pump issues: No oil means rapid chain wear. Test by running the saw near cardboard. You should see oil spray. Check the oil delivery port between the bar and body.
Clean the Oil System
Remove the bar and chain. Clear the oil hole on the saw body. Flush the bar groove with solvent. Refill the oil tank with Stihl MotoOil or equivalent.
Replace the oil filter every 50 hours if equipped.
Avoid Common Repair Mistakes
Even experienced users make these errors, costing time and money.
Never Skip Leak Testing
Rebuilding without pressure testing risks repeating the same failure. Air leaks return within days if not sealed properly.
Do Not Replace the Carburetor Too Soon
Most carburetor failures are actually clogged fuel filters, failed impulse lines, or crankcase air leaks. Clean and adjust first. Replace only if jets are damaged or the diaphragm is torn.
Use Genuine Stihl Parts
Aftermarket carbs, seals, and fuel lines often fail within months. OEM parts cost more but last longer and fit perfectly.
Non-OEM impulse lines collapse under vacuum, killing fuel delivery.
Essential Tools for Stihl Repair
You don’t need a full shop. Just these key tools.
Must-Have Diagnostic Tools
Mighty Vac hand pump for fuel and crankcase leak testing. Compression gauge with long hose, 2-stroke compatible. Extended-gap spark tester to confirm coil health. Torque wrench in N·m, critical for crankcase and cylinder bolts. Feeler gauge for spark plug gap at 0.5 mm.
Basic Hand Tools
Precision flathead screwdrivers, non-magnetic. Carburetor cleaner spray. Gasket scraper and RTV remover. 13/16-inch spark plug socket.
A 30-dollar Mighty Vac can save you 150 dollars in unnecessary carburetor replacements.
When to Call a Professional
Some jobs are best left to experts, especially if you lack tools or experience.
Choose a Certified Service Center
Detroit Diamond Drilling Inc. in Detroit, MI, is a prime example of a trusted Stihl repair shop. It has been family-owned since 1961. Technicians are factory-trained. The shop carries over 100,000 dollars in OEM parts stock, including rare and obsolete items. Walk-in service is available, no appointment needed. Most repairs are completed in a few business days.
Bring the saw, owner manual if available, and any removed or failed parts.
Follow a Maintenance Schedule
Prevention beats repair. Stick to this routine to avoid breakdowns.
After Every Use
Clean the air filter. Check chain tension. Inspect the bar for wear. Refill the oil tank.
Every 10 Hours
Replace the spark plug if fouled. Flush cooling fins. Inspect fuel lines for cracks.
Every 25 Hours
Replace the air filter. Sharpen the chain. Clean carburetor exterior.
Every 50 Hours
Replace the fuel filter. Inspect clutch and sprocket. Check the muffler for carbon blockage.
Annually or 100 Hours
Replace all fuel lines. Inspect crankcase seals. Reapply RTV if the engine was accessed.
Store Your Saw Correctly
Improper storage causes more failures than heavy use.
Winter or Long-Term Storage Steps
Run the saw until the fuel tank is empty, or use stabilizer. Remove the chain and bar. Coat them in oil. Clean debris from cooling fins and the air filter. Store in a dry, temperature-stable place.
Never store with old fuel. It varnishes the carburetor in weeks.
Start and run the saw for five minutes every 30 days if stored with fuel.
Final Repair Checklist
Before declaring your Stihl fixed, verify these points.
Compression at 150 psi or higher. Strong spark across one-quarter-inch gap. Fuel flows freely to carburetor. Crankcase holds 15 inHg vacuum. Idle set so chain does not turn. High-speed needle slightly rich of peak. Oil pump delivering lubrication. Chain sharp and properly tensioned.
Run a load test by cutting a log. If it pulls smoothly without four-stroking or overheating, your Stihl chainsaw repair is complete.
Frequently Asked Questions About Stihl Chainsaw Repair
Why won’t my Stihl chainsaw start even with a new spark plug?
A new spark plug doesn’t guarantee ignition. Test spark strength with an extended-gap tester. Weak spark points to a failing ignition coil or damaged spark plug cap. Also verify fuel delivery and compression before replacing ignition components.
How do I know if my chainsaw has a crankcase air leak?
Symptoms include starting when primed but dying quickly, erratic idle, and running lean with a high-pitched sound. Use a Mighty Vac to pressure test the crankcase. A rapid pressure drop confirms an air leak.
Can I use aftermarket parts for Stihl chainsaw repair?
Aftermarket carbs, seals, and fuel lines often fail within months. OEM parts cost more but last longer and fit perfectly. For reliable repairs, use genuine Stihl parts.
How often should I replace fuel lines on my Stihl chainsaw?
Replace all fuel lines every five years, or immediately if cracks are visible. Even if only one line looks damaged, replace them all because aged lines fail unpredictably.
What causes the chain to stop turning on a Stihl chainsaw?
Check three things: clutch failure, engaged chain brake, or oil pump issues. Worn clutch shoes won’t engage. A locked brake band prevents rotation. No oil causes the chain to seize.
Should I replace the carburetor or clean it first?
Clean and adjust the carburetor first. Most carburetor failures are actually clogged fuel filters, failed impulse lines, or crankcase air leaks. Only replace if jets are damaged or the diaphragm is torn.
Key Takeaways for Successful Stihl Chainsaw Repair
The key to successful Stihl chainsaw repair isn’t guesswork. It’s process. Test compression first to rule out internal engine damage. Verify spark and fuel separately using proper diagnostic tools. Always rule out air leaks before touching the carburetor, because air leaks mimic fuel mixture problems.
With the right tools, including a Mighty Vac, compression gauge, and extended-gap spark tester, you can diagnose issues accurately and avoid unnecessary part replacements. Use genuine Stihl parts and follow the maintenance schedule to keep your saw running reliably for years to come.