Finding the best Hayabusa sprocket setup requires more than just guessing tooth counts. Your third-generation Suzuki demands a specific configuration to unlock its true potential on the street or track.
This guide details exact front and rear combinations to fix acceleration lag or boost top speed. You will learn how to select premium components and avoid costly installation errors.
Calculate Your Final Drive Ratio
The final drive ratio acts as the mathematical bridge between your engine power and rear wheel speed. Changing the tooth count on either sprocket directly alters how quickly your bike accelerates or how high it can rev in top gear.
How Tooth Count Changes Performance
Reducing the front sprocket teeth creates a dramatic percentage change due to the small starting number. Adding teeth to the rear sprocket amplifies this effect for even sharper response.
- Higher Ratio: More rear teeth or fewer front teeth increase torque at the wheel.
- Lower Ratio: Fewer rear teeth or more front teeth lower engine RPM at cruising speeds.
Acceleration Versus Top Speed Trade-Offs
Every modification forces a choice between low-end punch and high-end velocity. You cannot maximize both simultaneously without changing the engine itself.
- Acceleration Focus: Makes the bike feel aggressive but raises highway RPM and limits top speed.
- Top Speed Focus: Reduces engine stress at speed but makes low-speed riding feel sluggish.
Best Street and Track Accelerator Setup
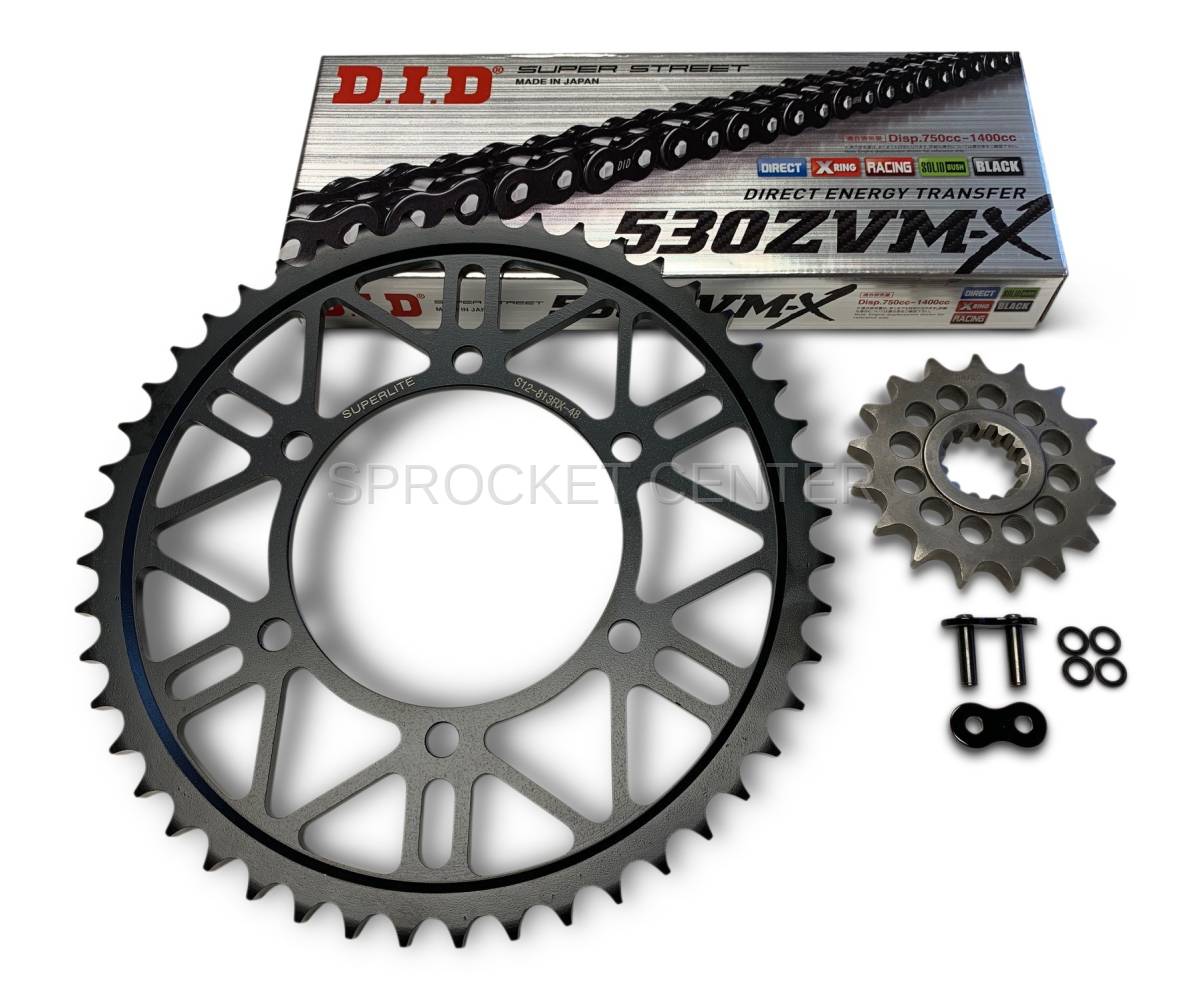
The -1 front, +2 rear configuration remains the most popular upgrade for third-generation Hayabusa owners. This specific combination transforms the bike into a corner-exit monster ideal for technical tracks or aggressive street riding.
Why the -1 Front and +2 Rear Works
This setup typically involves switching to a 16-tooth front sprocket and a 44-tooth rear sprocket. The result is an approximate 12% increase in the final drive ratio that sharpens throttle response instantly.
- Gear Transformation: Third gear feels like second gear while fourth feels like third.
- Powerband Retention: The engine stays in its peak power range longer during acceleration.
- Overtaking Power: Riders experience significantly faster 0–60 mph times and improved passing ability.
Real-World Performance Gains
You will notice faster lap times on tight circuits due to stronger drive coming out of slow corners. Drag strip launches improve because the bike requires less clutch slip to get moving.
Be aware that this setup increases fuel consumption and accelerates chain wear. You should also expect a theoretical top speed reduction of 5 to 8 mph depending on wind and weight.
Top Speed Specialist Configuration
Riders chasing maximum velocity on salt flats or long straightaways need a +1 front, fewer rear teeth approach. This tall gearing strategy lowers the final drive ratio to minimize engine RPM at high speeds.
Implementing Tall Gearing Ratios
A common configuration uses an 18-tooth front sprocket paired with a 40 or 39-tooth rear sprocket. This decreases the final drive ratio by roughly 10 to 14 percent to optimize for top-end run.
- Reduced RPM: The engine spins slower at any given road speed.
- Extended Range: Allows the bike to reach higher speeds before hitting the rev limiter.
- Aerodynamic Dependency: Success depends on whether the engine can overcome air resistance in the taller gear.
Ideal Use Cases for Tall Gearing
This configuration is essential for land-speed events at venues like Bonneville where every mile per hour counts. It also benefits highway touring by reducing engine fatigue and noise over long distances.
Warning: This setup makes the bike feel very sluggish at low speeds. Daily street use becomes frustrating as acceleration suffers noticeably and precise shifting becomes mandatory.
Track-Specific Sprocket Customization
Smart racers never use a one-size-fits-all approach when visiting different circuits. The best Hayabusa sprocket setup changes based on the specific layout and corner types of the track.
Gearing for Short Technical Tracks
Tight circuits with many slow corners require maximum exit speed to maintain momentum. A -1 front and +2 to +3 rear combination keeps the engine in the powerband after low-speed turns.
- Goal: Maximize corner exit speed.
- Example Venues: Willow Springs Big Track tight sections or New Jersey Motorsports Park.
- Effect: Eliminates the need to downshift frequently in technical sections.
Gearing for Long High-Speed Circuits
Flowing tracks with long straights demand a setup that maximizes straight-line velocity. A +1 front and -2 to -4 rear configuration reduces RPM at the top end to extend speed before the next shift point.
- Goal: Maximize straight-line velocity.
- Example Venues: Laguna Seca or Road America.
- Effect: Prevents the engine from screaming at the rev limiter too early on long straights.
Select High-Quality Vortex Sprockets
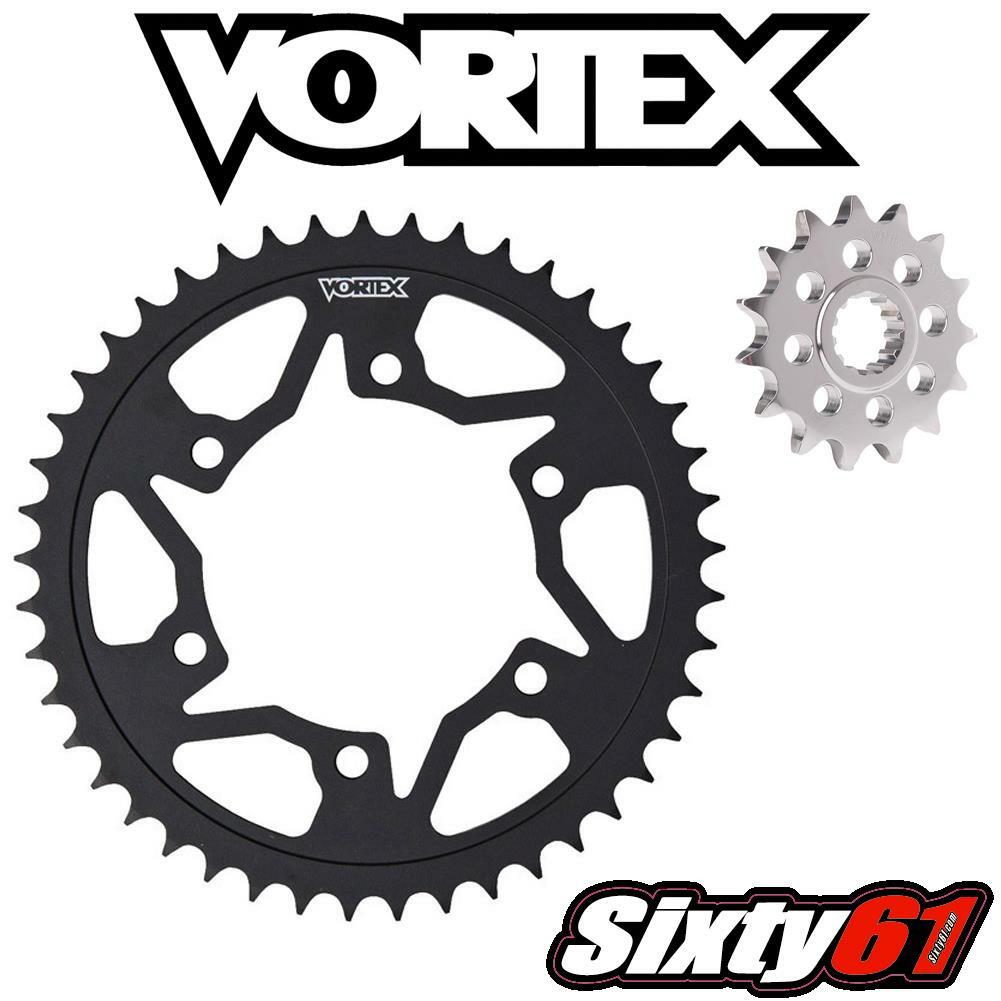
The third-generation Hayabusa produces over 190 horsepower which places immense stress on the drivetrain. Stock or budget sprockets often fail quickly under these loads making Vortex sprockets the recommended choice for serious riders.
Engineering Advantages of Vortex Components
Vortex sprockets utilize forged steel construction that resists deformation under high torque loads. Their case-hardened teeth provide a wear-resistant surface while maintaining a tough core to prevent cracking.
- Precision Machining: Ensures perfect chain alignment to reduce noise and uneven wear.
- Weight Reduction: Lowers rotating mass for quicker acceleration and better handling.
- Professional Endorsement: Used by top race teams worldwide for proven reliability.
OEM Versus Aftermarket Durability
| Feature | OEM Sprockets | Vortex Aftermarket |
|---|---|---|
| Material | Mild steel | High-grade forged steel |
| Hardening | Surface only | Full case hardening |
| Lifespan | 8,000–10,000 miles | 15,000+ miles |
| Cost Efficiency | Lower upfront cost | Higher long-term value |
Investing in high-quality components is essential for safety when running non-stock gear ratios.
Critical Installation and Compatibility Factors
Changing sprocket sizes often requires a new chain length to maintain proper tension and safety. A -1 front or +2 rear setup increases the distance the chain must travel often necessitating a longer chain.
Chain Length and Safety Checks
Using the wrong chain length risks catastrophic failure through binding or derailment. Always measure your specific setup or consult a sprocket calculator before ordering parts.
- Stock Specification: Typically 525 pitch with 110 to 112 links.
- Modified Specification: A -1/+2 setup often requires 112 to 114 links.
- Verification: Perform a mock-up installation to confirm fitment before final assembly.
Speedometer and ECU Calibration Needs
Altering the final drive ratio skews your speedometer and odometer readings significantly. A -1/+2 setup might display 65 mph when you are actually traveling at 60 mph creating legal and safety risks.
- SpeedoHealer Solutions: Plug-in modules recalibrate the speed signal accurately.
- ECU Flashing: Devices like Power Commander adjust speed output and allow fuel map tuning.
- Fuel Mapping: Aggressive gearing may expose lean spots in the factory fuel map requiring retuning.
Maintenance After Sprocket Swap
Performance gearing increases stress on the entire drivetrain requiring more frequent attention. Chain wear accelerates due to higher torque loads especially with aggressive acceleration setups.
Shortened Service Intervals
You must clean and lubricate your chain every 300 to 500 miles instead of the standard 800 miles. Check chain tension weekly or before every track day to ensure safe operation.
- Inspect Monthly: Look for hooking on sprocket teeth or uneven wear patterns.
- Measure Stretch: Replace the chain if elongation exceeds 1 percent after 1,000 miles.
- Matched Sets: Always replace chain and sprockets together to prevent premature failure.
Final Setup Recommendations for Hayabusa Riders
The best Hayabusa sprocket setup depends entirely on your specific riding goals and venue preferences. Most riders find the -1 front, +2 rear configuration with Vortex sprockets offers the ideal balance for street and track versatility.
- All-Around Choice: 16T front, 44T rear, 525 chain, and speedo corrector.
- Top Speed Choice: 18T front, 40T rear, and ECU tune for high-RPM optimization.
- Mild Upgrade: +1 front only for smoother cruising with minimal impact on acceleration.
Select high-quality parts and recalibrate your instruments to ensure your Hayabusa performs safely and effectively.
Frequently Asked Questions About Hayabusa Sprockets
What is the best sprocket setup for faster acceleration?
The -1 front and +2 rear configuration provides the most significant acceleration gain for the third-generation Hayabusa. This setup increases the final drive ratio by approximately 12 percent for sharper throttle response.
Will changing sprockets increase my top speed?
Only a +1 front and fewer rear teeth setup can potentially increase top speed by lowering engine RPM. However, the bike must have enough power to overcome aerodynamic drag in the taller gear.
Do I need a new chain when changing sprockets?
Yes, changing tooth counts often requires a different chain length. A smaller front or larger rear sprocket usually needs a longer chain while the opposite may need a shorter one.
Why are Vortex sprockets recommended for the Hayabusa?
Vortex sprockets use forged steel and case hardening to withstand the high torque of the Hayabusa engine. They offer superior durability and precision compared to stock mild steel components.
How does sprocket changing affect my speedometer?
Changing the final drive ratio makes your speedometer inaccurate by displaying incorrect speeds. You must use a speedo healer or ECU flash to recalibrate the reading for safety.
Key Takeaways for Your Hayabusa Sprocket Setup
Selecting the right sprocket combination transforms your Hayabusa from a generic cruiser into a specialized performance machine. Remember that acceleration gains come with top speed trade-offs and increased maintenance requirements.
Prioritize high-quality components like Vortex sprockets to handle the added stress of modified gear ratios. Always recalibrate your speedometer and inspect your drivetrain frequently to ensure safe operation.
Take action today by determining your primary riding goal and selecting the corresponding tooth count configuration. Your perfect ride awaits with just a simple change of gears.