
A chainsaw chain that jams, breaks, or falls off mid-cut doesn’t always need replacing. In fact, most common chain issues like localized damage, material buildup, or broken links can be repaired safely and effectively with the right tools and techniques. Whether you’re a homeowner clearing storm debris or a professional logger in remote terrain, mastering chainsaw chain repair saves time, money, and downtime. This guide reveals how to diagnose, repair, and maintain your chain using proven methods, from quick field fixes to precision workshop rebuilds.
Diagnose Chain Problems Before Repairing
Identifying the exact issue saves unnecessary work and ensures you apply the right fix. Many chain failures get misdiagnosed as “dead” when they’re actually fully repairable.
Locate Binding or Jamming Points
If the chain stops at one spot when rotating manually, inspect that section closely. Run your fingers along the drive links to feel for a raised or thickened side on a drive link, burr formation from friction, or shiny polished surfaces indicating heat-induced material buildup. These symptoms often mimic stretch or breakage but are fixable with filing.
Check for Broken or Loose Rivets
Examine each rivet where links connect. Look for rivets that are loose, cracked, or sheared, and check if side plates appear separated or misaligned. A single failed rivet can cause total chain separation. If only one or two are damaged, replacement is possible without buying a new chain.
Test on a Clean Sprocket
Remove the chain and rotate it by hand over a known-good sprocket or flat surface. If it moves smoothly, the issue may be with the guide bar groove or sprocket wear, not the chain itself. A worn drive sprocket with shark-finned teeth will rapidly destroy even a new chain, so replace every two to three chain changes.
Repair Thickened Drive Links Quickly

Localized thickening, common in Makita and other brands, causes binding and chain drop. This isn’t stretch. It’s hardened metal buildup from heat and friction that you can file away.
File Down Material Buildup
You can restore a jammed chain in minutes using simple tools.
Tools Needed
• Diamond file (essential for hardened steel)
• Vise or pliers with cloth padding
• Safety glasses
Steps
1. Identify the thickened link causing resistance
2. Secure the chain firmly in a vise or with pliers
3. Use the diamond file to remove excess material from the thicker side
4. File until both sides of the drive link are even in thickness
5. Deburr edges to prevent snagging
Never use a standard file on hardened drive links. Regular steel files dull fast. Diamond-coated files cut efficiently and last longer.
Replace Damaged Cutters Safely
A chipped or snapped cutter doesn’t mean retirement. You can replace individual teeth if the rest of the chain is sound.
Match the Correct Replacement Link
Ensure the new cutter matches the pitch (.325″, 3/8″, etc.), gauge (.050″, .058″, etc.), and cutting direction (top-plate angle). Use an Oregon Pitch-N-Gauge tool to verify specs before buying parts.
Swap a Damaged Tooth
Tools Required
• Bench-mounted chain breaker
• Rivet spinner
• Replacement cutter link
• Safety glasses
Process
1. Use the chain breaker to push out rivets on the damaged link
2. Remove broken link and clean surrounding area
3. Insert new cutter link with cutting edge facing forward
4. Reconnect using new rivets or spin existing ones closed
5. Test joint movement. It should bend freely without binding
Rejoin a Broken Chain in the Field
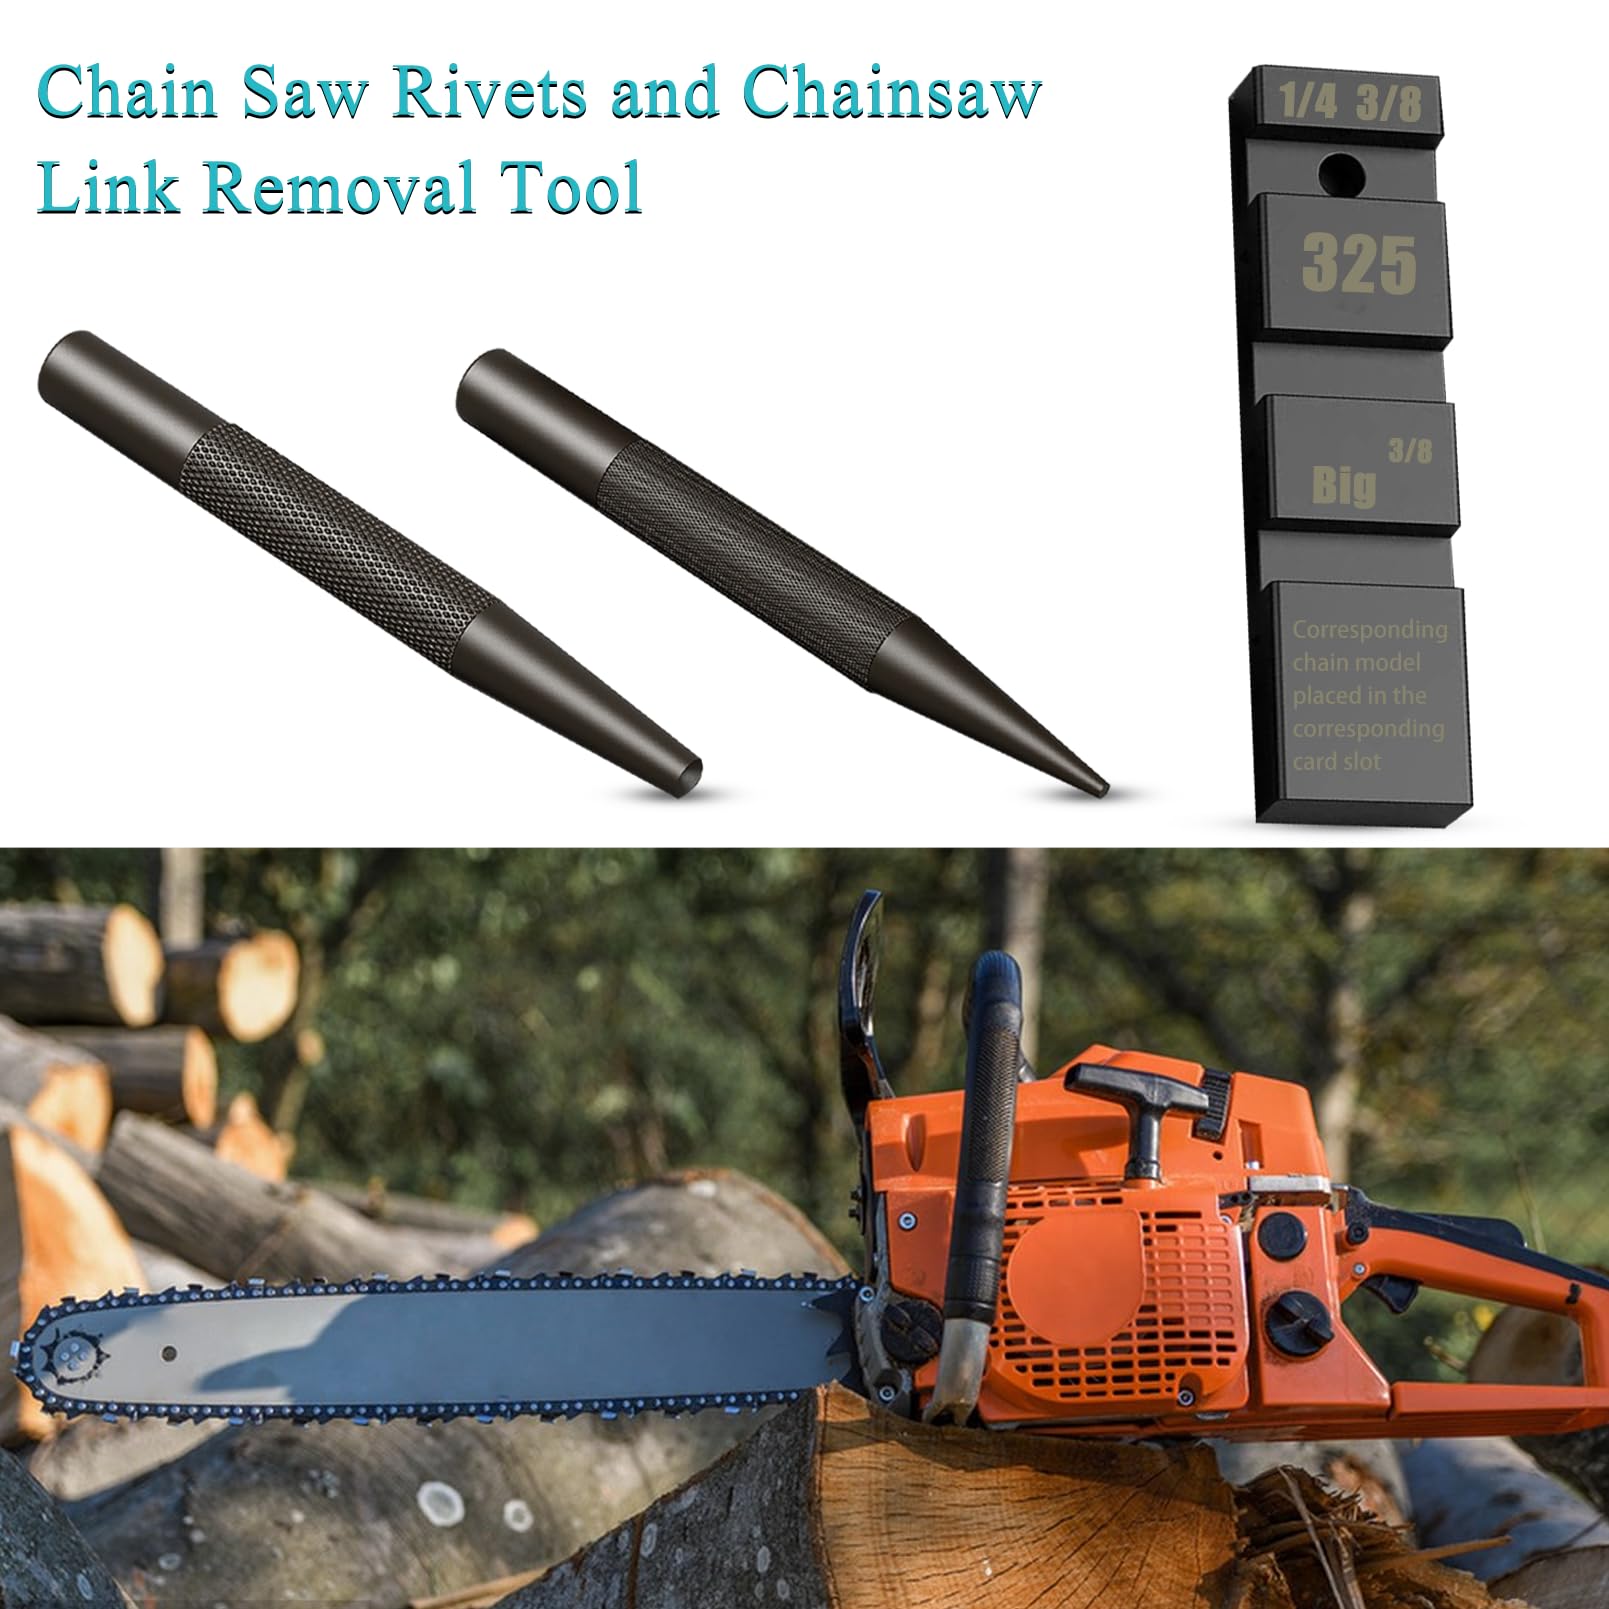
A snapped chain can be fixed fast with different methods depending on your location and available tools.
Use Pocket Breaker and Master Link
This method works perfectly for remote jobs and takes under five minutes to complete.
What You Need
• Pocket breaker
• Center punch
• Hammer
• Master link
• Solid stump (acts as anvil)
Steps
1. Place pocket breaker on a flat, solid surface
2. Insert chain into correct pitch slot
3. Align center punch over rivet
4. Strike with hammer to break the rivet cleanly
5. Insert master link with dot side up for correct cutting direction
6. Ensure link seats fully and chain rotates smoothly
Master links work well for temporary or moderate-duty use. For long-term durability, spin rivets in a workshop instead.
Rebuild with Bench Tools for Permanent Fixes
For lasting repairs, use a bench-mounted breaker and spinner to achieve factory-grade strength.
Required Equipment
• Chain breaker ($14.95)
• Breaker punch ($9.99)
• Adjustable anvil ($13.70)
• Rivet spinner ($99.95)
• Correct insert and take-up handle
• Preset and plain strap (one set per repair)
Steps
1. Break chain at damaged link using bench tool
2. Remove faulty section
3. Align ends with correct number of links
4. Insert connecting link with straps
5. Use spinner to flare rivet ends securely
6. Test articulation. Joint should flex like original chain
Adjust Chain Tension After Repair
Even a perfectly repaired chain fails if tension is off. Proper tension prevents chain sag, overheating, and premature wear.
Set Correct Tension
Tools
• Flat-blade screwdriver or wrench
• Rag for cleaning
Steps
1. Remove side cover by loosening two bolts
2. Clean bar groove and chain of debris
3. Slide chain onto guide bar. Drive links must seat fully
4. Reattach cover and tighten bolts snugly (not fully)
5. Turn tensioning screw clockwise until slack is gone
6. Aim for minimal vertical play. Chain should rotate by hand but not droop
7. Fully tighten cover bolts
8. Recheck tension before each use
Over-tightening causes rapid wear and bar damage. Under-tightening risks kickback and dislodgement during operation.
Prevent Future Chain Failures
Extend chain life with simple maintenance habits that take minutes but save costly repairs.
Essential Maintenance Steps
• Rotate the guide bar end-to-end every other oil refill to even out wear on both sides
• Clean oil channels regularly using wire or compressed air. Dry chains wear out fast
• Sharpen cutters evenly using a round file or grinder to maintain consistent bevels
• Replace worn sprockets every two to three chain changes to prevent premature wear
Know When NOT to Repair
Some chains are beyond saving. Replace instead of risking injury.
Replace the Chain If
• Multiple stretched or deformed links exist
• Severe rust or corrosion is present
• Cracked side plates or rivets are visible
• Chain has been welded or modified
• Pitch or gauge no longer matches the bar
A failed repair can launch metal fragments at high speed. When in doubt, replace the chain.
Choose the Right Tools for Your Needs
Your repair strategy depends on whether you work in the field or shop.
Field Repair Kit Under $50
• Pocket breaker
• Center punch
• Hammer
• Master links (several)
• Diamond file
• Safety glasses
This setup is fast, portable, and effective for emergencies.
Workshop Setup for Long-Term Investment
• Bench chain breaker ($14.95)
• Rivet spinner ($99.95)
• Inserts and handles (match your pitch)
• Straps (preset plus plain)
• Pitch-N-Gauge tool ($24.99)
This setup delivers precision, durability, and professional results. A new chain costs $30 to $80. A spinner pays for itself after three to four repairs.
Real Fix: Makita Chain Jam Resolved
A user reported their Makita chain kept falling off after long cuts. Upon diagnosis, one drive link had shiny, thickened material on one side while the rest of the chain was intact. The sprocket and bar were undamaged. The repair involved using a diamond file to remove the buildup, filing until both sides were even, then reinstalling and adjusting tension. The chain ran smoothly afterward with no further issues after weeks of use, saving $65 on a new chain.
Frequently Asked Questions About Chainsaw Chain Repair
Can a broken chainsaw chain be repaired instead of replaced?
Yes, most broken chains can be repaired by rejoining with a master link in the field or using a rivet spinner in a workshop. Localized damage like thickened drive links or single broken cutters often responds well to filing or replacement. Only chains with multiple damaged links, severe corrosion, or cracked plates should be fully replaced.
How do I fix a chainsaw chain that keeps coming off?
This usually indicates improper tension, worn sprockets, or damaged drive links. First, check and adjust chain tension. Inspect the drive sprocket for shark-finned teeth and replace if worn. If the chain still falls off, examine drive links for uneven thickness or burrs that prevent proper seating in the bar groove.
What causes chainsaw chain binding?
Binding typically results from material buildup on drive links, burr formation, or deformed links preventing engagement with the drive sprocket. Heat and friction cause hardened metal to accumulate on one side of drive links, especially in Makita models. This thickening mimics stretch but files down easily with a diamond file.
How much does chainsaw chain repair cost?
Field repairs using a pocket breaker and master links cost under $50 total. Workshop repairs using a bench-mounted breaker and spinner cost approximately $125 to $150 for the complete tool setup. Once equipped, repairs cost only the price of replacement parts (master links, new cutters, or rivets), which is far cheaper than buying a new chain ($30 to $80).
Can I repair a chainsaw chain myself at home?
Yes, homeowners can perform basic repairs like filing down thickened links, replacing individual cutters, and rejoining broken chains using a pocket breaker and master links. More complex repairs requiring a rivet spinner take practice but are achievable in a home workshop. Always verify pitch and gauge compatibility before purchasing replacement parts.
Key Takeaways for Chainsaw Chain Repair
A chainsaw chain that jams, breaks, or falls off doesn’t automatically need replacement. Most common issues stem from thickened drive links, loose rivets, or improper tension, all of which respond to straightforward repair techniques. Filing down localized material buildup, replacing single damaged cutters, and rejoining broken sections with master links or spun rivets restore full functionality without the cost of new equipment. Preventive maintenance including regular tension checks, proper lubrication, and timely sprocket replacement dramatically extends chain life and reduces failure rates. With basic tools and this knowledge, you can keep your chainsaw cutting efficiently for seasons to come while saving significant money on replacements.



