
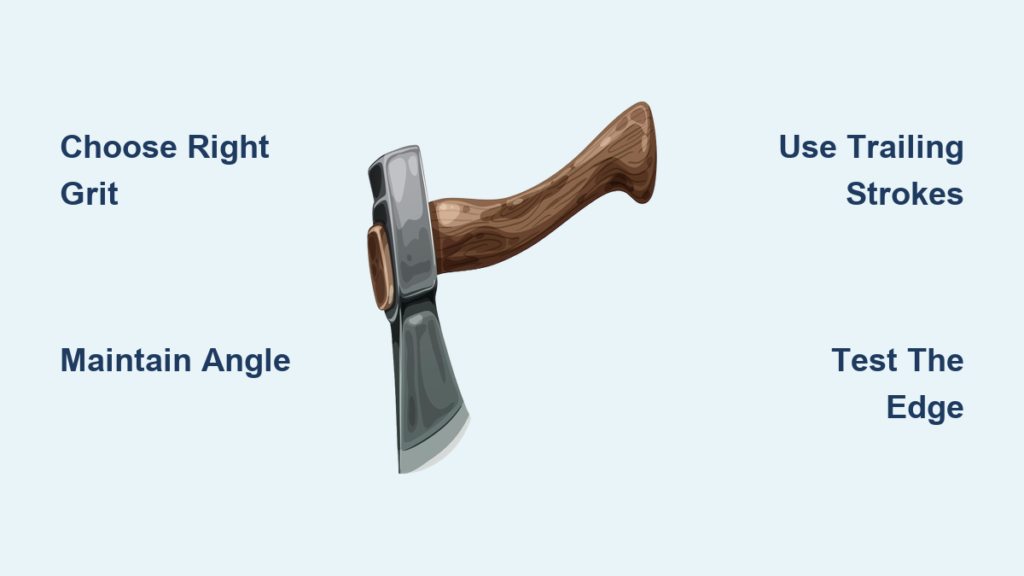
You’ve just finished splitting wood, and your axe isn’t biting like it used to. It glances off logs instead of cutting deep. That’s a clear sign: your axe needs sharpening. The good news is that you don’t need fancy tools. Sharpening an axe with a stone is one of the oldest, most reliable methods, used by woodsmen, campers, and survivalists for generations. With just a few minutes and the right technique, you can restore a razor-sharp edge that cuts cleanly and safely.
Unlike electric sharpeners or files, a sharpening stone gives you full control over the angle, pressure, and finish. Whether you’re using a natural whetstone, a diamond plate, or a simple sandstone from the riverbank, the process remains fundamentally the same. This guide walks you through every step, from choosing the right stone to testing the final edge, so you can confidently sharpen an axe with a stone anytime, anywhere.
Choose the Right Sharpening Stone

Match Grit to Your Axe’s Condition
The first step in how to sharpen an axe with a stone is selecting the correct grit. If your axe is dull or has nicks, start with a coarse stone (80–200 grit) to reshape the edge. This removes metal quickly and corrects imperfections. For routine maintenance, use a medium stone (400–600 grit) to refine the edge. Finish with a fine stone (1000+ grit) to polish and smooth the blade for clean, efficient cutting.
Natural stones like Arkansas or Japanese water stones work well but require soaking. Oil stones need lubrication, while diamond plates are durable and fast-cutting but aggressive. Use light pressure with diamond plates. If you’re in the wild, a flat sandstone can work in a pinch, but expect slower results.
Select a Stable, Flat Stone
Ensure your sharpening stone has a flat, even surface. A warped or uneven stone creates inconsistent edges. Place it on a non-slip surface. Use a damp cloth, rubber mat, or clamp it to a bench. This prevents slipping during sharpening, which could damage the edge or injure your hand.
For field use, carry a compact diamond-coated steel or a foldable whetstone. These fit in a pack and handle most sharpening tasks. Larger stones offer more surface area but are best for home use.
Secure the Axe Properly
Clamp or Stabilize the Head
To sharpen accurately, the axe must stay still. Clamp the axe head in a vise with soft jaws to avoid marring the metal. Position it so the bit is accessible and roughly horizontal. If you don’t have a vise, place the axe on a sturdy log and weigh down the handle with a heavy object. The key is zero movement during sharpening.
Never hold the axe in your hand while sharpening. This risks slipping and serious injury. Always fix the axe, not the stone.
Check for Safety Hazards
Before starting, inspect the axe head for cracks, chips, or loose handles. A damaged axe can fail under stress. Tighten the handle if loose. Wear gloves to protect your hands, especially when working with coarse stones or diamond plates.
Maintain the Correct Sharpening Angle
Find the Original Bevel
Every axe has a bevel, which is the angled edge ground into the blade. Your goal is to follow this existing angle. Most felling axes use a 25–30 degree angle, while hatchets may be slightly sharper at 20–25 degrees. Hold the stone against the bevel to see the current angle. Never exceed the original grind, as this weakens the edge.
To estimate the angle, place your thumb on the bevel and mimic its slope with the stone. Consistency is more important than precision. Just keep the same angle throughout.
Use the Trailing Edge Technique
Instead of pushing the stone forward, use trailing strokes: pull the stone across the edge from heel to toe, moving away from the cutting edge. This reduces the risk of rolling or damaging the fine edge. Apply light, even pressure and let the stone do the work.
Repeat the same number of strokes on each side to maintain symmetry. Start with 10–15 passes per side using the coarse stone, then reassess.
Sharpen with Controlled, Even Strokes
Work Coarse to Fine Grit
Begin with the coarsest stone to address dullness or damage. Use long, smooth strokes along the entire length of the edge. Focus on maintaining the angle and covering the full bevel. After 10–15 strokes, switch sides and repeat. Check for a burr, which is a tiny lip of metal that forms on the opposite side of the edge. Its presence means metal is being removed correctly.
Once the burr forms along the entire edge, switch to a medium stone. Repeat the process: 10–15 strokes per side, trailing motion, consistent angle. Finish with a fine stone using lighter pressure to polish and remove the burr.
Avoid Common Stroke Mistakes
Don’t use short, choppy motions. They create flat spots instead of a continuous edge. Don’t press too hard; excessive pressure generates heat and can remove too much metal. Let the abrasive do the cutting. Keep your strokes full-length, from the heel near the eye to the toe at the far end of the axe.
If sharpening a curved bit, pivot your wrist slightly to match the curve, but keep the bevel angle constant.
Test and Refine the Edge

Check for a Uniform Burr
After sharpening both sides, test for a burr by gently running your finger perpendicular to the edge, moving from the flat side toward the bevel. You should feel a slight ridge along the entire length. If the burr is missing in spots, return to the coarse stone and work those areas.
Once the burr is consistent, switch to the fine stone and make 5–10 light strokes per side to remove it. This creates a clean, sharp edge.
Perform the Paper or Thumb Test
Hold a piece of paper vertically and try to slice through it with the axe edge. A sharp axe will cut cleanly with minimal pressure. Alternatively, lightly touch the edge with your thumb, not across but perpendicular. A sharp edge will catch slightly; a dull one will feel smooth or slide off.
Never drag your thumb along the edge. This is dangerous and can dull the blade.
Hone for a Razor-Sharp Finish
Use a Strop or Fine Stone
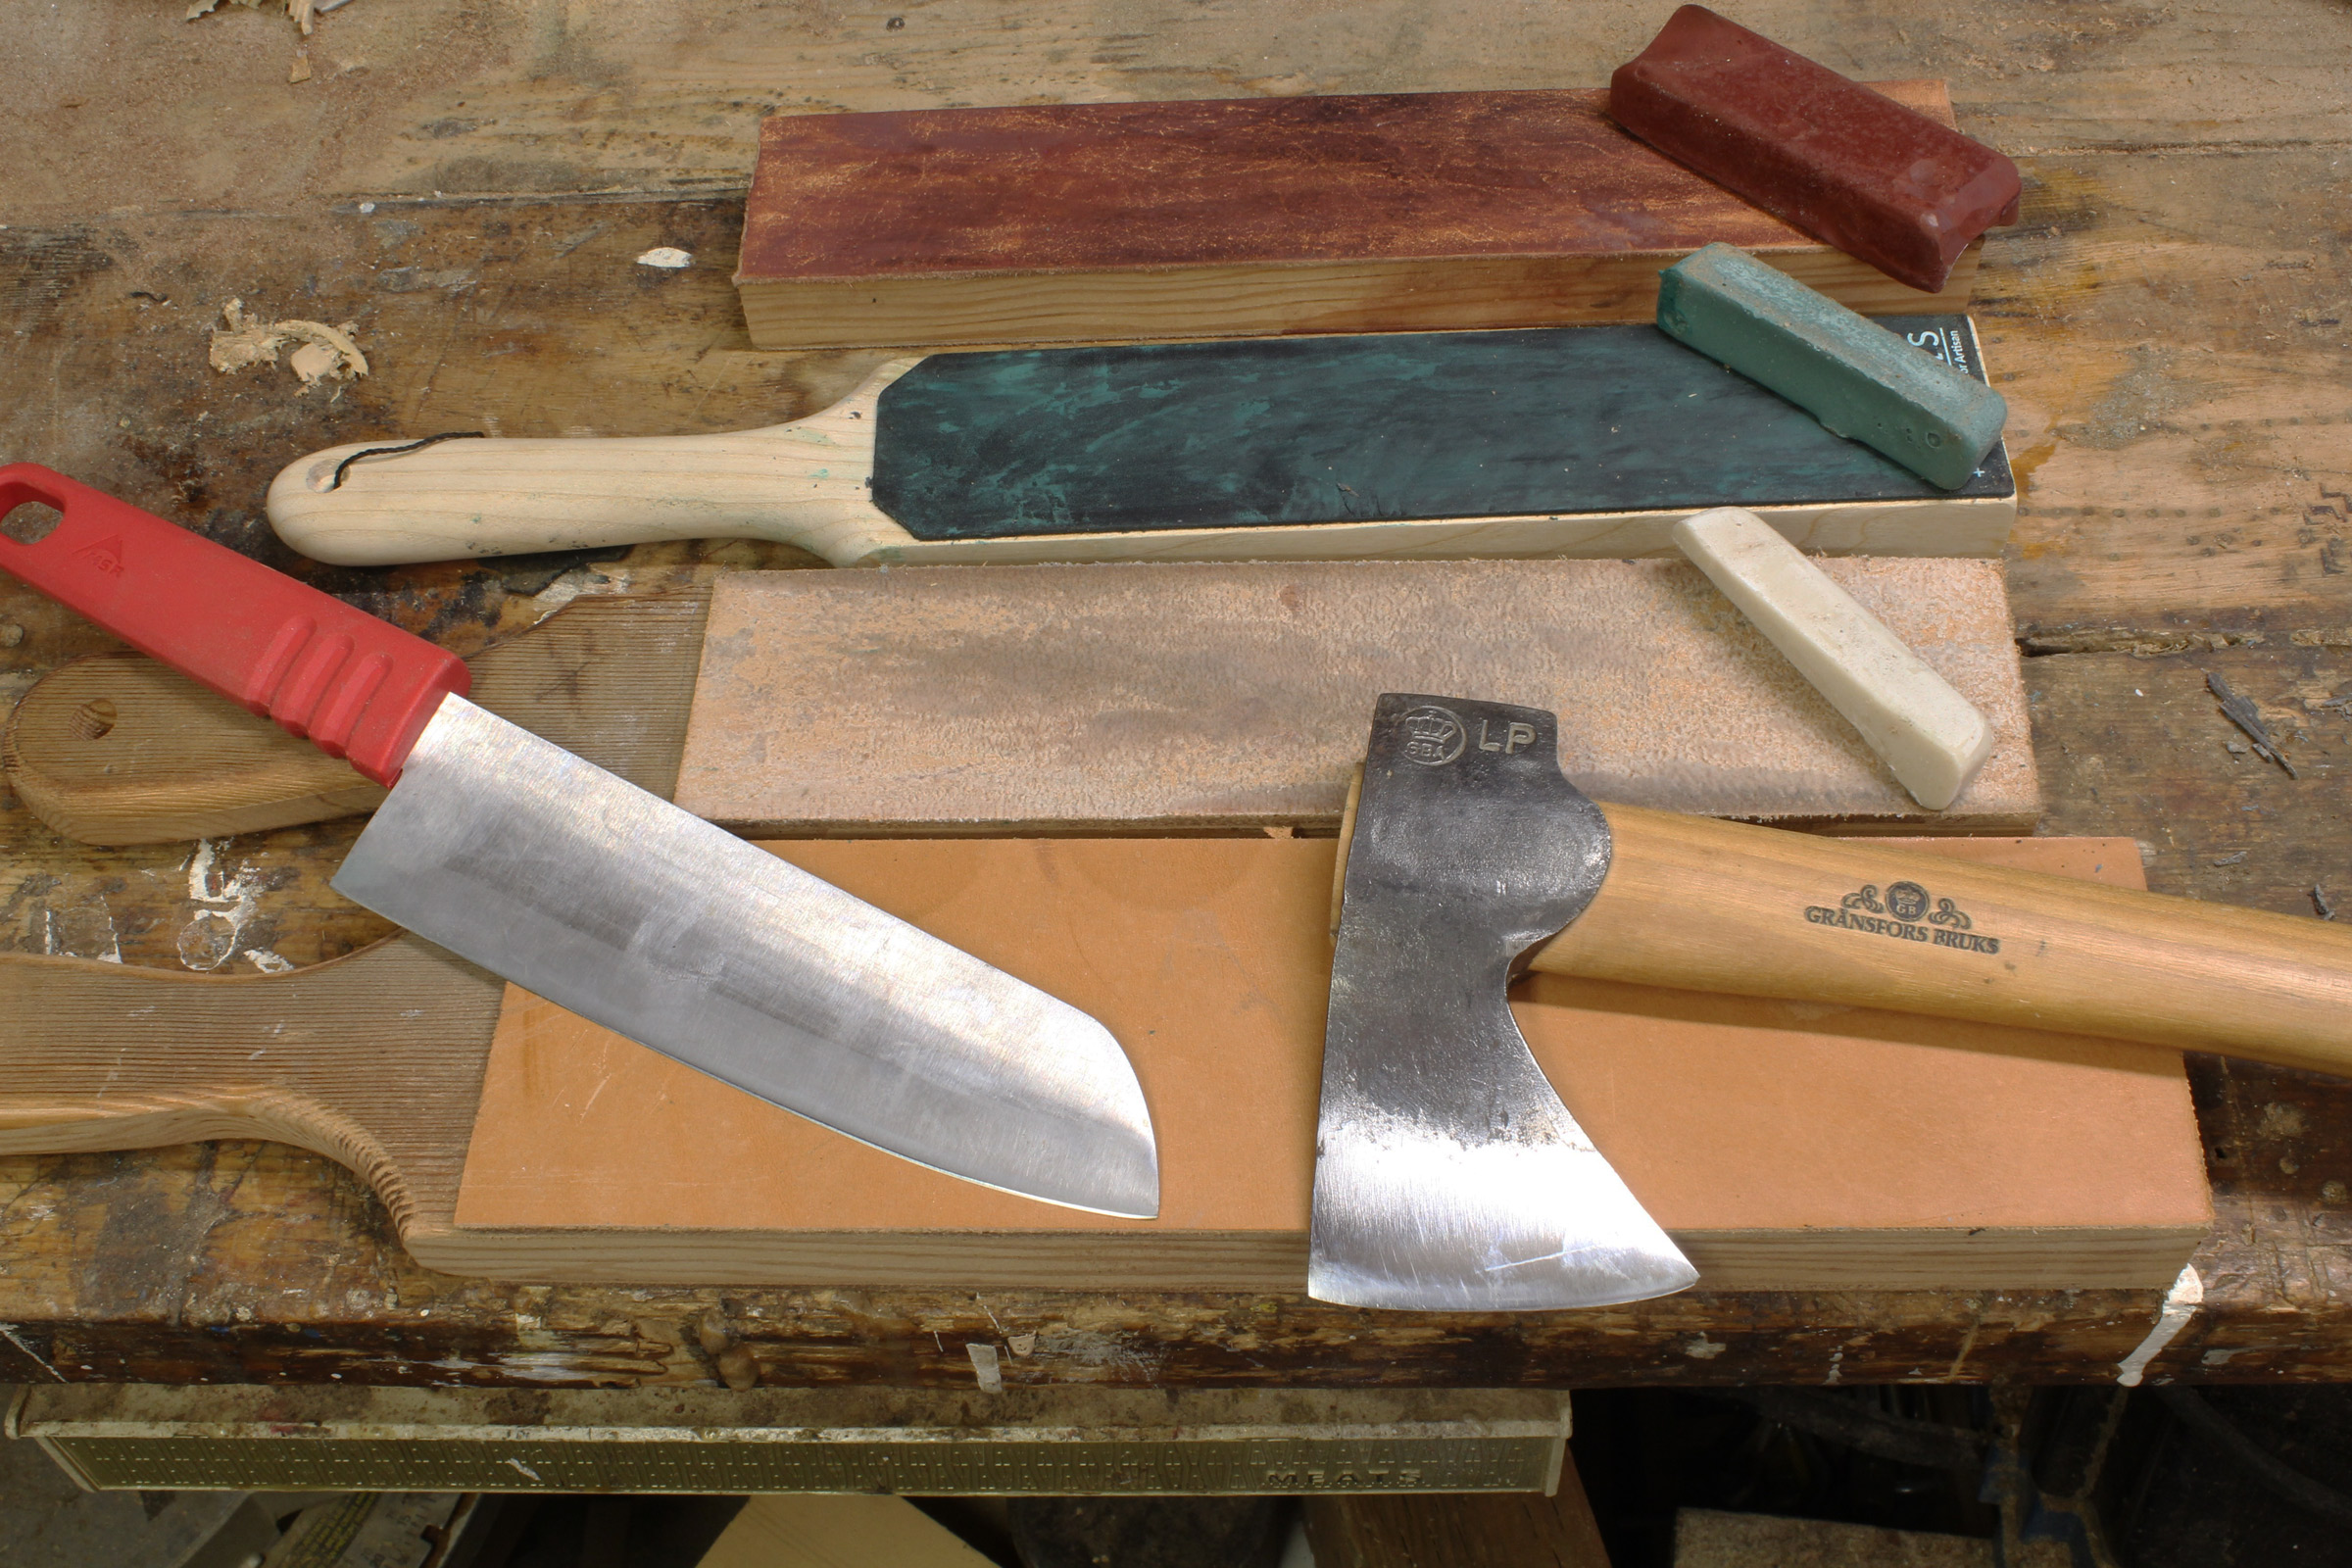
For maximum sharpness, honing is essential. Use a leather strop charged with honing compound or a fine ceramic rod. Draw the axe edge backward across the strop at the same angle used during sharpening. Do 5–10 strokes per side. This aligns the microscopic edge and removes any remaining burr.
If you don’t have a strop, use a clean section of your fine whetstone with very light pressure.
Polish for Long-Lasting Sharpness
A polished edge resists dulling longer in wood. For outdoor use, this step is worth the extra minute. Use a buffing compound or fine polishing stone to smooth the bevel. Avoid over-polishing the spine or flat side. Focus only on the cutting edge and bevel.
Maintain Your Axe After Sharpening
Clean and Protect the Blade
Wipe the axe head with a dry cloth to remove metal particles and moisture. Apply a light coat of oil, such as camellia, mineral, or gun oil, to prevent rust. Store in a dry place. If you’ve used water on a water stone, dry the blade thoroughly before oiling.
Never leave a freshly sharpened axe exposed to humidity or rain.
Establish a Sharpening Routine
A sharp axe is safer and more efficient. Touch up the edge every few hours of use. Carry a small sharpening stone in your kit for quick field maintenance. A few strokes between cuts keep the edge performing well.
Avoid waiting until the axe is completely dull. Frequent light sharpening preserves more metal and extends the axe’s life.
Troubleshoot Common Sharpening Issues
Uneven or Lopsided Edge
If the axe cuts crooked or one side looks sharper, you’ve applied uneven pressure or inconsistent angles. Re-sharpen both sides equally, focusing on matching the bevel. Use a marker to color the edge before sharpening. This reveals which areas are being contacted.
Rounded or Rolled Edge
Applying too much pressure or incorrect stroke direction can roll the edge. Fix this by returning to the coarse stone and re-establishing the correct angle. Use trailing strokes and lighter pressure. Avoid pushing the stone toward the edge.
No Burr Formation
If no burr forms after many strokes, you’re likely using the wrong angle. The stone may be too flat or too steep. Recheck the original bevel and adjust. Also, ensure the stone is clean and not glazed. Clean with a stone cleaner or green scrub pad if needed.
Final Tips for Field Sharpening
Use What You Have
In the wild, natural stones can work. Look for fine-grained, flat sandstone or quartzite. Wet the surface and test on a small area first. Even a piece of concrete can deburr in an emergency. Use the edge carefully.
Prioritize Safety and Simplicity
Always stabilize the axe. Never sharpen near your body. Use gloves and eye protection when possible. Keep strokes controlled and deliberate. A poorly sharpened axe is dangerous, so take your time.
Practice Makes Perfect
Sharpening an axe with a stone is a skill that improves with repetition. Start at home with good lighting and tools. Over time, you’ll develop muscle memory for angle and pressure, making field sharpening fast and effective.
Frequently Asked Questions About Sharpening an Axe with a Stone
How long does it take to sharpen an axe with a stone?
Most axes take 10–30 minutes to sharpen with a stone, depending on the edge condition. A heavily damaged axe may require 45 minutes, while a quick touch-up takes just a few minutes.
Can I sharpen an axe with a regular whetstone?
Yes, a standard whetstone works well for axe sharpening. Use a coarser grit for dull edges and a finer grit for finishing. Just ensure the stone is wide enough to cover the bevel in a few strokes.
What angle should I use to sharpen an axe?
Most axes perform best at a 25–30 degree angle. Lighter hatchets can be sharpened to 20–25 degrees for finer tasks. Always match the original bevel to maintain edge strength.
Do I need to use oil or water on my sharpening stone?
It depends on the stone type. Water stones require water, oil stones need oil, and diamond plates work dry or with water. Using the wrong lubricant can clog the stone or reduce its effectiveness.
How do I know when the axe is sharp enough?
A properly sharpened axe will slice paper cleanly and catch on your thumb when touched perpendicularly. If it passes both tests, the edge is ready for use in the field.
How often should I sharpen my axe?
Sharpen the axe whenever performance drops. For regular users, a light touch-up every few hours of cutting keeps the edge in top condition. Heavy users may need full sharpening sessions monthly.
Key Takeaways for Sharpening an Axe with a Stone
Mastering how to sharpen an axe with a stone comes down to three essentials: the right stone, the correct angle, and consistent technique. Start with a coarse grit to repair damage, progress to finer grits for a polished edge, and always use trailing strokes to protect the blade. Stabilize the axe, maintain a steady hand, and finish with honing for long-lasting sharpness.
Now it’s time to put this knowledge into practice. Grab your axe, choose your stone, and spend 15 minutes restoring that edge. The more you practice, the faster and more intuitive the process becomes. A sharp axe is a safer, more efficient tool, and you now have everything you need to keep it that way.



