
If your chainsaw isn’t cutting cleanly even after sharpening the teeth, the problem likely isn’t the chain itself. It’s the depth gauge, also called a raker, that controls how deeply each cutter tooth bites into the wood. Most users overlook this small but critical component, leading to frustrating, inefficient cuts that waste time and energy. Learning how to use a chainsaw depth gauge restores cutting performance, improves safety, and extends the life of your chain. This guide walks you through the exact steps to measure, file, and adjust depth gauges correctly.
You’ll discover why depth gauge adjustment matters, which tools you need, and how to perform the adjustment step by step. The guide also covers warning signs of misadjustment, common mistakes to avoid, and specialized techniques for different wood types.
Why Depth Gauge Adjustment Matters
The depth gauge sits just ahead of each cutting tooth on your chainsaw chain. Its height determines how much wood the tooth removes with each pass. When properly adjusted, the chain cuts smoothly and produces clean wood chips. When misadjusted, it can turn a sharp chain into a frustrating tool that stalls, kicks back, or produces nothing but dust.
Cut Quality Degrades Over Time
Every time you sharpen the cutting teeth, you remove a small amount of metal. The depth gauges, however, stay at their original height. This means after 2-3 sharpenings, the rakers sit relatively higher than the teeth, restricting how deep the cutters can bite. A freshly sharpened chain that still performs poorly usually has rakers that need filing.
Prevents Dangerous Conditions
Rakers set too low allow the chain to bite too aggressively, significantly increasing kickback risk. Rakers set too high cause the chain to rub rather than cut, generating excess heat and accelerating wear on both the chain and bar. Both extremes compromise safety and shorten equipment life.
Tools You Need for Depth Gauge Adjustment
Having the right tools makes this job straightforward. Most users can complete the adjustment with basic hand tools.
Essential Raker Adjustment Kit
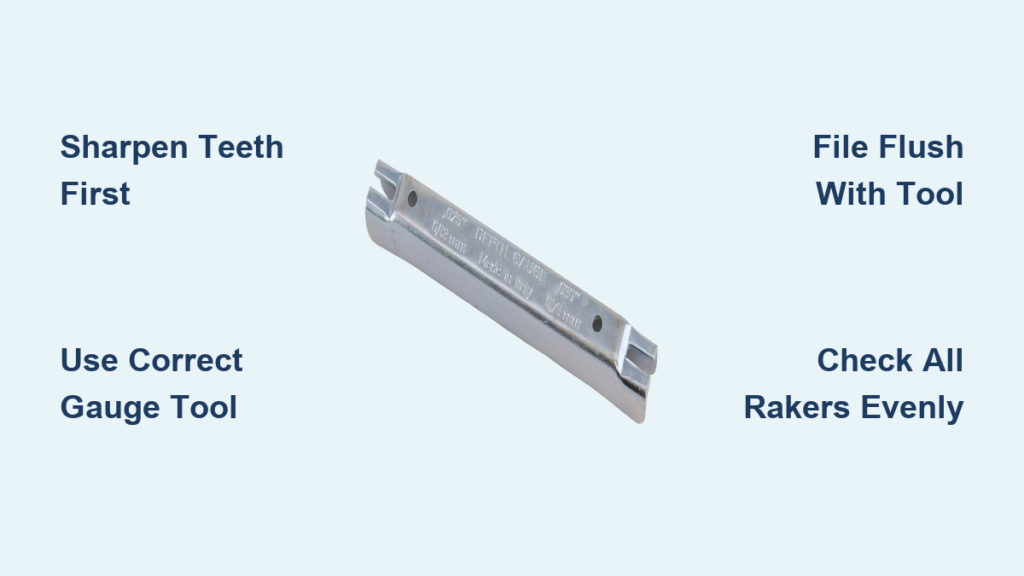
A flat mill file measuring 5/32″ or about 6 inches long serves as the primary tool for filing down depth gauges. You’ll also need a depth gauge tool, such as the Oregon .025″, which measures and guides your filing to ensure consistent height across all rakers. An optional chainsaw file guide helps maintain the correct angle when sharpening teeth first.
Advanced Options for High-Volume Users
Some professionals use a grinder with a raker attachment for faster adjustments. This approach works well for experienced users who process many chains regularly. However, grinders remove material quickly, and one slip can make the chain dangerously aggressive. Dual-setting gauges like those from Husqvarna allow adjustments for hardwood or softwood conditions.
Step-by-Step Adjustment Process
Follow this sequence for the best results. Skipping steps or working out of order leads to poor performance.
1. Sharpen All Cutting Teeth First
Always sharpen every cutting tooth before adjusting depth gauges. This ensures uniform tooth height across the chain, allowing accurate measurement of raker heights. Filing rakers before sharpening teeth leads to incorrect settings and continued poor performance.
2. Position the Depth Gauge Tool Correctly
Slide the depth gauge tool over two adjacent cutting teeth. The notch on the bottom of the tool should cradle the depth gauge. The top edge of the tool acts as your reference plane for checking height.
3. Check for Protrusion
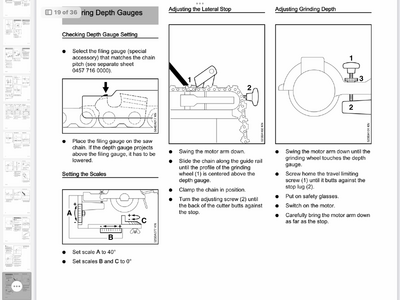
Look at where the raker meets the gauge tool. If the raker sticks above the top edge of the tool, it is too tall and needs filing. This is the visual cue that tells you which rakers require attention.
4. File to Flush Height
Use a flat file held perfectly level across the top of the raker. File with light, even strokes until the raker is flush with the gauge tool. Do not tilt the file during this process, as angling creates uneven surfaces that affect cutting consistency.
5. Look for Scoring
As you file, look down the length of the gauge. You will see the file scoring the metal, which confirms contact is being made. Once the raker no longer protrudes above the tool, move to the next one.
6. Repeat for All Rakers
Work around the entire chain, adjusting one raker at a time. All rakers must be even for balanced cutting. Alternate your filing direction on opposite sides of the chain to promote even wear.
7. Final Verification
Slide the gauge tool along the full length of the chain to confirm all rakers are flush. Reinstall the chain and make a test cut in scrap wood. Clean wood chips indicate success. Dusty output means one or more rakers are still too high.
Signs Your Rakers Need Filing

Recognizing the symptoms of misadjusted depth gauges helps you intervene at the right time.
Dust Instead of Chips
Powdery sawdust instead of clean chips indicates rakers are set too high. The cutters cannot take a full bite into the wood. File all rakers down to restore proper chip production.
Slow Cutting Despite Sharp Teeth
If the chain requires excessive force or cuts slowly even after sharpening, the rakers are likely restricting depth. This is one of the most common signs that adjustment is needed.
Frequent Kickback
Rakers filed too low allow aggressive bites that dramatically increase kickback risk. This is dangerous. Either reset the rakers carefully or replace the chain entirely.
Saw Stalls Under Load
Overly deep bites from low rakers overload the motor, causing the saw to labor and stall. This places unnecessary strain on the engine.
Wavy or Crooked Cuts
Inconsistent raker heights cause uneven cutting, resulting in wavy or crooked cut lines. Every raker must be filed to a uniform level.
Specialized Techniques for Different Conditions
Using Husqvarna Progressive Gauge Settings
This dual-setting tool adjusts raker height based on wood type. The hardwood setting contacts the tooth in front of the raker, creating lower clearance. File at a slight angle to prevent chatter. This setting works best for oak, maple, and hickory. The softwood setting creates a larger gap between the cutter and raker, allowing deeper bites in pine, fir, and cedar. Never use the softwood setting on hardwood, as it increases snag and kickback risk.
Grinder Use: Pros and Risks
Bench grinders with raker attachments speed up the process for professionals. However, the risk of over-filing is significant. One mistake can make the chain dangerously aggressive. This approach requires experience and careful attention.
Correct Heights by Chain Type
Matching your gauge to your chain pitch ensures accurate settings.
| Chain Pitch | Depth Gauge Height | Common Tool |
|---|---|---|
| 3/8″ LP | 0.025″ | Oregon .025″ |
| .325″ | 0.020″–0.025″ | Varies |
| .404″ | 0.030″ | Larger gauge |
Always check manufacturer specifications, as some chains vary from standard settings.
Common Mistakes to Avoid
Skipping Raker Adjustment After Sharpening
Many users sharpen the teeth and stop there. This leads to inefficient cutting and false conclusions about dull chains. Always check rakers after sharpening.
Using the Wrong Gauge Size
A mismatched tool gives incorrect readings. Verify your chain pitch before selecting a gauge tool.
Tilting the File
Angling the file creates a sloped raker surface, leading to inconsistent depth control and poor cut quality.
Filing Rakers Too Low
Going below the gauge level makes the chain overly aggressive. This increases kickback risk and strains the saw motor.
Not Checking All Rakers
One high raker can ruin cut quality. Inspect every single raker around the chain.
Best Practices for Long-Term Performance
File After Every 2-3 Sharpenings
Build raker adjustment into your regular maintenance cycle. Waiting for poor performance costs you time and effort.
Keep Rakers Even
Uneven rakers cause crooked cuts and accelerate wear on one side of the chain. Consistency matters.
Match Setting to Wood Type
Use the hardwood setting for dense materials and the softwood setting for pine and similar woods. This prevents dangerous snagging and ensures efficient cutting.
Avoid Over-Filing
Only file until the raker is flush with the gauge. Removing more material creates an unsafe cutting condition.
Field Maintenance Tips
Keep a compact raker gauge and flat file in your field kit. A quick check during a job can restore performance without returning to the shop. Even 1-2 strokes per raker eliminate dust and restore cutting efficiency.
For quick visual inspection, lay the gauge across the chain. Any raker sticking above needs attention. This takes seconds and prevents frustration mid-job.
Results of Proper Adjustment
A correctly set chain feeds easily, requiring less force from the operator. The saw produces clean, consistent wood chips rather than powder. Kickback and binding decrease significantly, making each cut more predictable. Many users describe the result as feeling like a brand-new chain.
Frequently Asked Questions About Chainsaw Depth Gauges
How often should I adjust depth gauges on my chainsaw?
Adjust depth gauges every 2-3 sharpenings, depending on how frequently you use the saw. Heavy use may require more frequent adjustment.
What happens if depth gauges are set too high?
Rakers set too high prevent the chain from cutting deeply, resulting in powdery sawdust, slow cutting, and excessive operator effort.
Can I use a grinder to file depth gauges?
Yes, but only if you have experience. Grinders remove material quickly, and over-filing creates dangerous cutting behavior with increased kickback risk.
What is the correct depth gauge height for a 3/8″ chain?
Most 3/8″ chains use a 0.025″ depth gauge height. Check your chain manufacturer specifications for exact measurements.
Why does my newly sharpened chain still cut poorly?
This usually means the depth gauges were not adjusted after sharpening. The rakers are likely too high relative to the freshly sharpened teeth.
Key Takeaways for Using a Chainsaw Depth Gauge
Proper depth gauge adjustment transforms a poorly performing chainsaw into an efficient tool. The small rakers located in front of each cutting tooth control chip thickness and directly impact cutting quality, safety, and chain life. Filing these rakers every few sharpenings restores proper clearance and prevents the frustration of a chain that produces dust instead of chips.
Always sharpen teeth first, then check raker heights using the correct gauge tool. File each raker flush with the gauge, keeping the file level to maintain consistency. Match your settings to the wood type being cut, and avoid the temptation to file aggressively. With practice, the entire process takes just 2-3 minutes and keeps your chainsaw performing like new.



