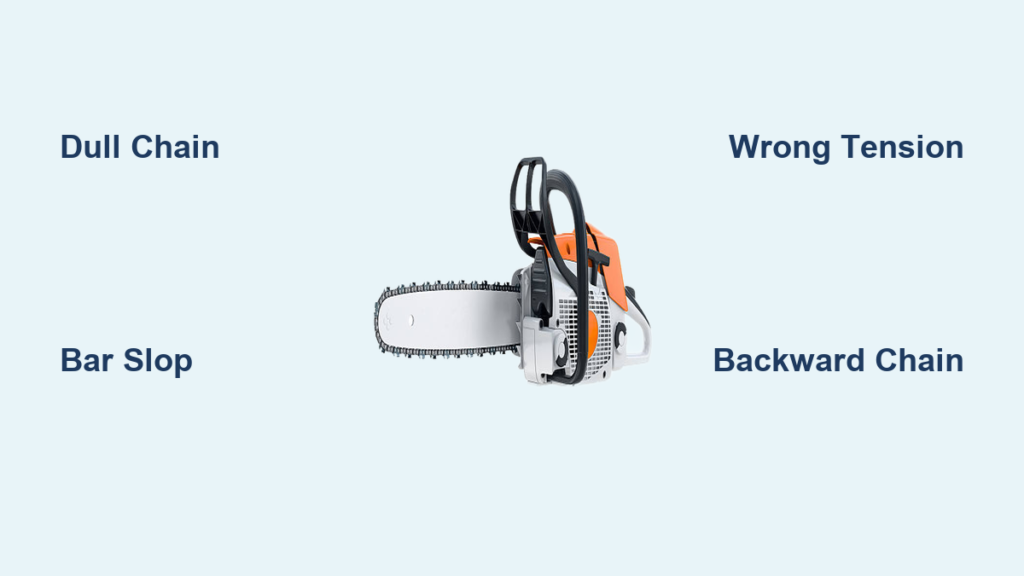
Your chainsaw isn’t cutting right. It’s forcing you to push harder, leaving smooth burnished cuts or fine sawdust instead of chips. Maybe it veers off course or won’t cut at all despite a spinning chain. These are classic chainsaw cutting problems, and they’re fixable. Most issues aren’t due to engine failure or broken parts. They stem from dull chains, incorrect sharpening, worn bars, or poor maintenance. This guide cuts through the noise with actionable steps to diagnose and resolve every major cutting issue fast. You’ll learn how to restore aggressive cutting performance, eliminate crooked cuts, and extend the life of your chain and bar using proven techniques and the right tools.
Diagnose Why Your Chainsaw Won’t Cut Properly
Your chainsaw gives clear signals when something’s wrong. Learning to read them saves time and money.
Dust Instead of Chips? The Chain Isn’t Cutting
If your chainsaw produces fine sawdust, it’s scraping wood, not cutting it. This means the chain is dull or improperly sharpened. Many users sharpen repeatedly but still get dust because they’ve preserved a blunt tooth profile. A properly sharpened chain creates thick, fibrous wood chips. If you’re still seeing powder after sharpening, the problem isn’t frequency. It’s technique. The tooth’s gullet must be deep and rounded to eject material. Shallow gullets increase friction and heat, turning cutting into sanding.
Saw Pulls to One Side? Check Bar Slop
A wandering or crooked cut usually points to excessive clearance between the chain and bar groove, not uneven teeth. Over time, both the chain’s drive links and the bar’s groove wear, creating side-to-side slop. This loss of lateral control makes the saw drift, even with a sharp chain. Look for burr formation along the groove edges. Your fingernail should glide smoothly, not catch. If the chain moves side-to-side when installed, the bar needs profiling.
Needing Excessive Force? Multiple Causes
When you have to force the saw into the wood, it’s a sign of one or more issues. The cut surface will often appear smooth and burnished, a telltale sign of friction, not cutting. A sharp chain should pull itself through wood with minimal pressure. If it doesn’t, don’t push. Diagnose these potential causes first.
A dull chain is the most common culprit. Incorrect depth gauge height reduces bite depth. A worn bar groove creates binding. Poor lubrication causes rapid overheating. Check each of these systematically before forcing the saw.
Chain Spins But Won’t Cut? It’s Installed Backward
The most common reason a chain spins freely but won’t bite is simple. It’s installed backward. The cutting edges must face forward at the top of the bar, following the direction of travel. If they face backward, the chain acts like a butter knife. Always verify orientation before assuming the chain is worn or the engine is weak.
Fix Improper Sharpening Technique

Most chainsaw cutting problems start with incorrect sharpening. The fix is straightforward but requires attention to geometry.
Use the Right File and Angle
Most chains require a 5/32 inch round file, not flat. The file must match the curvature of the cutting tooth. Filing with a flat motion flattens the tooth, destroying its ability to bite. Position the file at a 30 degree angle as viewed from above and file downward, following the tooth’s natural slope. This restores gullet depth and creates a sharp, rounded tip. Use a file guide to maintain consistency across all teeth.
File with Downward Pressure
Never file upward. Apply firm downward pressure to deepen the gullet and re-establish the original tooth profile. A properly filed tooth has a smooth, curved edge, not a flat or chisel-like tip. File all teeth on one side first, then flip the saw and repeat. Skipping this leads to uneven cutting and vibration.
Sharpen All Teeth Uniformly
Inconsistent filing causes imbalance. One long tooth takes more load, wears faster, and damages the bar. File each tooth the same number of strokes. After sharpening, inspect for uniform shape and tip curvature. A quick visual check: all teeth should look identical. If not, refile.
Restore Tooth and Gullet Profile

Restoring the gullet is the secret to aggressive cutting performance.
Deepen Flattened Gullets
Worn chains develop shallow or flattened gullets that can’t eject wood chips. This increases heat and friction. To fix, use the downward filing technique to carve out the gullet. The goal is a deep, U-shaped curve behind each tooth. This allows efficient chip removal and reduces binding.
Round the Tooth Tip
A sharp chain has a rounded, aggressive tip, not a flat edge. After repeated sharpening with poor technique, teeth become nearly vertical and ineffective. Correct this by angling the file to restore the original radius. The tip should extend slightly beyond the depth gauge to initiate the cut.
Test with a Real Cut
After sharpening, test on scrap wood. Thick, fibrous chips mean success. Dust or powder means the gullets are still too shallow or the angle is wrong. Don’t assume it’s sharp just because it looks sharp. Prove it with a cut.
Eliminate Bar Groove Slop
Bar groove wear is inevitable. The good news is you can fix it without replacing the bar.
Profile the Bar to Close the Groove
Use a chainsaw bar profile tool to gently compress the groove walls. Place the bar in the tool, tighten lightly, and push it down both sides. The adjustable wheels gradually close the gap. Goal: snug but free-moving chain.
Work in Small Increments
Over-compressing causes binding. Make one pass, then test fit a known-good chain. If still loose, increase pressure slightly and repeat. Never force it. Steel bars can crack. If you over-tighten, use a flathead screwdriver to gently pry open a small section. Do this only once to avoid weakening the bar.
Check for Uneven Wear
Bars wear unevenly, often more on one side. Profile each side independently. Flip the tool or adjust wheel pressure. After profiling, deburr the edges with a flat file to ensure smooth chain movement.
Adjust Depth Gauges for Better Cutting

Depth gauges control how deep each cutter bites. Neglecting them slows cutting even with sharp teeth.
Rakers Limit Cutting Depth
The depth gauge sits in front of each cutter tooth and controls bite depth. As you sharpen the cutters, the rakers stay the same height, becoming relatively taller. This reduces bite depth and slows cutting.
File Rakers Every Three to Five Sharpenings
Use a depth gauge tool to check clearance. Rakers should be 0.5 to 0.8 mm below the cutter tip. If higher, file them down until flush with the gauge. Do this for every cutter to maintain consistency.
Prevent Sluggish Performance
Neglecting rakers leads to slow, forced cutting even with sharp teeth. Eventually the chain becomes unusable and must be replaced. Regular raker adjustment extends chain life and maintains performance.
Set Proper Chain Tension
Proper tension prevents most cutting problems. It’s easy to check but often overlooked.
Avoid Too Tight or Too Loose
Too tight increases friction, overheats the bar, accelerates wear, and risks chain breakage. Too loose causes the chain to jump off, increasing kickback risk and reducing control.
Set to 1/8 to 1/4 Inch Lift
Correct tension allows the chain to lift 3 to 6 mm above the bar at the bottom, then settles back in. It should move freely by hand. Always check tension before each use and after the first few minutes of operation. Heat expands the bar.
Recheck After Use
Bar expansion during cutting loosens the chain. A properly tensioned chain stays in place without binding. If it loosens quickly, inspect for worn bar, sprocket, or clutch.
Verify Chain Installation Direction
This simple check solves more cutting problems than any other fix.
Teeth Must Face Forward
The cutting edges must point forward at the top of the bar. The oval-shaped cutters should face the direction of travel. If they face backward, the chain won’t cut.
Fix a Reversed Chain
Remove the clutch cover and flip the chain. Reinstall with the leading edge of each cutter facing forward. Double-check before tightening. This one mistake causes more no-cut issues than any mechanical failure.
Repair and Maintain the Guide Bar
A worn bar compounds all other cutting problems. Maintain it properly.
Fix a Bent or Warped Bar
Place the bar on a flat surface. If it rocks or wobbles, it’s warped. Minor bends may be corrected with heat and clamping, but replacement is safer. A bent bar causes uneven wear and poor tracking.
Close Splayed Rails
Use a guide bar closing tool to realign flared groove edges. This restores proper chain fit. Follow with a bar dressing tool to smooth the top surface and groove. These inexpensive tools extend bar life significantly.
Rotate the Bar Regularly
Flip the bar end-for-end every few chain changes. This ensures even wear and doubles its usable life. Always do this when installing a new chain.
Prevent Problems with Routine Care
Consistent maintenance prevents most chainsaw cutting problems before they start.
Lubricate Before Every Use
Use high-quality adhesive bar oil. Check the oiler by running the saw near a light surface. Oil should spray visibly. Low lubrication causes rapid wear, overheating, and potential seizure.
Clean After Each Use
Remove debris from the bar groove, sprocket, and chain. Built-up sawdust interferes with chain movement and lubrication. Wipe down the bar and check for burrs.
Store Properly
For long-term storage, drain fuel or add stabilizer. Remove and oil the chain and bar. Store in a dry, protected case. This prevents corrosion and keeps components ready for next use.
Diagnose Engine-Related Cutting Issues
Sometimes the problem isn’t the chain. It’s the engine.
Check Compression First
Even with a sharp chain, low engine power kills performance. For gas models, do a field compression test. Pull the starter rope to lift the saw. If it slowly extends, compression is weak. Normal range is 110 to 130 PSI. Use a tester for accuracy.
Follow the 10-Point Engine Check
A chainsaw uses as much air in one minute as an average person breathes in six hours. Keep the air filter clean. Follow this checklist.
Confirm compression. Use fresh 50 to 1 two-stroke fuel. Replace dirty fuel filter. Inspect fuel hose for cracks. Clean or replace air filter. Adjust carburetor T, L, H screws. Test for spark. Inspect spark plug gap at 0.5 mm. Clean spark arrestor in muffler. Inspect piston if compression is low.
Test and Verify Your Fix
After repairs, prove the fix works with a real-world test.
Perform a Real-World Cut Test
After repairs, cut a log. Success looks like thick, fibrous chips, smooth straight cutting, and minimal resistance or vibration. If you still get dust, revisit sharpening. If the saw wanders, recheck bar slop.
Confirm with Visual and Tactile Feedback
A properly functioning chainsaw pulls itself into the wood, requires little force, tracks straight, and runs smoothly under load. User feedback confirms effectiveness. Many report immediate improvement after correcting sharpening or profiling the bar.
Final Thoughts on Solving Chainsaw Cutting Problems
Most chainsaw cutting problems are preventable and fixable with proper technique and care. Focus on sharpening geometry, bar condition, tension, and lubrication, not just sharpness. By restoring tooth profile, eliminating groove slop, and maintaining components, you’ll achieve fast, straight, and efficient cuts every time.
Adopt a pre-use checklist. Check chain sharpness, verify tension, inspect bar for burrs, ensure oil reservoir is full, and test chain brake operation. Five minutes of prep prevents hours of frustration. Invest in the right tools. A 5/32 inch round file with guide, bar profile tool, depth gauge tool, flat file for deburring, and compression tester pay for themselves in extended chain and bar life. Wear proper safety gear including cut-resistant gloves, chaps, eye and ear protection, and steel-toe boots. Even a stopped chain causes injury during maintenance.
Frequently Asked Questions About Chainsaw Cutting Problems
Why does my chainsaw only produce dust instead of chips?
Your chain is scraping rather than cutting. This happens when the chain is dull or when the gullet is too shallow. Improper sharpening technique preserves a blunt tooth profile even after filing. Deepen the gullets using downward filing pressure to restore aggressive cutting ability.
What causes a chainsaw to cut crooked?
Excessive clearance between the chain and bar groove causes wandering cuts. This slop develops from normal wear on the chain drivers and bar groove. Profiling the bar with a bar profile tool closes the gap and restores tracking precision.
How often should I sharpen my chainsaw chain?
Sharpen after every fuel tank refill or every one to two hours of use. Delaying accelerates bar and sprocket wear. A sharp chain cuts faster, reduces engine strain, and improves safety.
Why does my chainsaw require forcing into the wood?
Multiple issues cause this. A dull chain, incorrect depth gauge height, worn bar groove, or poor lubrication all create resistance. The cut surface will appear smooth and burnished instead of rough and fibrous.
Can a chainsaw bar be repaired instead of replaced?
Yes. Splayed or worn rails can be closed with a bar profile tool. A bent bar can sometimes be corrected with heat and clamping, though replacement is safer for significant damage.
What’s the correct chain tension?
The chain should lift 3 to 6 mm above the bar at the bottom when properly tensioned. It should settle back into the groove on its own and move freely by hand. Recheck after the first few minutes of operation.